Managing Users
Overview
Adding a New User
- Using the Navigation Menu, click Settings.
- Under the Organization section, click Users.
- Click the plus sign to add a new user.
- Enter the user's information. The only required fields are First Name, Last Name, and Role. By default, there is an Administrator Role that gives full access to CSU Transfer Planner and a Viewer Role that gives limited access to CSU Transfer Planner. See Managing Roles for role definitions.
- Under Team Membership, add the user to a team by clicking the plus sign.
- Under Portal Access, select if you want to send an email invitation to the user after you create their account.
- Click Create User.
Managing Users
To manage existing users' accounts:
- Using the Navigation Menu, click Settings.
- Under the Organization section, click Users.
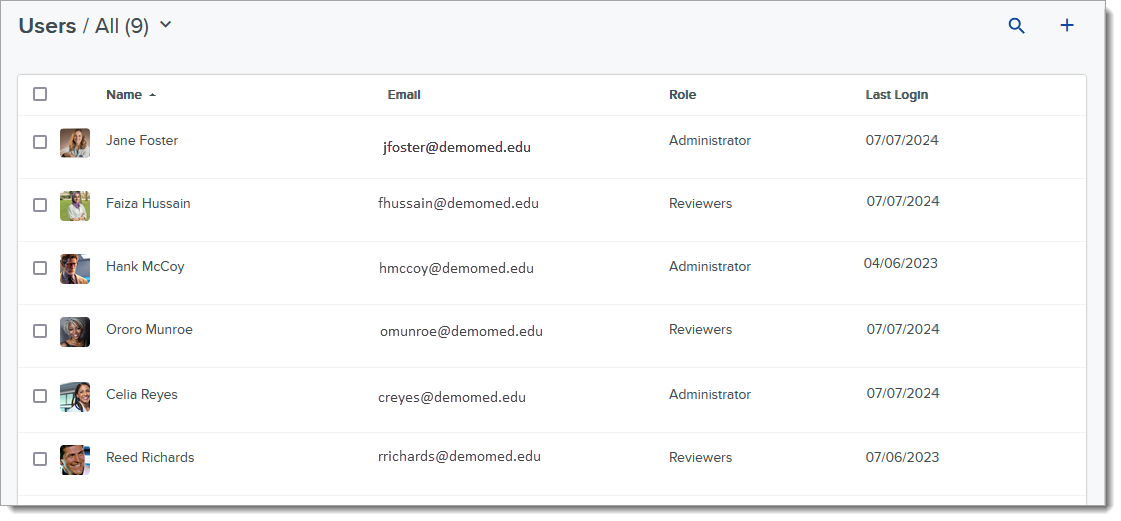
Searching for Users
Click on a column header to sort users alphabetically in ascending or descending order. Use the search icon to search for specific users by their name or email address. Click the dropdown arrow to filter users based on their Role, Portal, or Review Team.
Editing Users
Permissions for each user are based on the role they are assigned. Administrators can modify a user’s access by changing their role.
To modify users:
- Click a user’s name to view their page.
- Adjust settings as described above. You can select a new role in the Role area, or adjust the user’s assignment settings in the Team Membership area.
- Click Save Changes to save your new settings.
Any user in the software can also make edits to their own account by clicking My Account at the bottom of the Navigation Menu. From the My Account Menu, you can edit your contact information, update your account image, change your login email, or reset your password.

Inviting Pending Users
If there are any users with pending access, click # invitations ready to send to see who those users are. Click Send All to send the email invitations in batch.
You can also select users to send them an invitation, allowing them to confirm their access and create a password. Invitations expire after 90 days.
To resend an invitation, click the user you'd like to re-invite, and click Resend Invite.
Deleting Users
To remove a user from your account, click the checkbox near their name, then click Delete.
Exporting Users
Click the checkbox next to the user's name, then click Export. Select the export view, then click Download.