Sending Emails
Overview
To improve efficiency communicating with applicants, you can create a series of email templates that you can easily send to applicants. When using this feature, keep the following in mind:
- Emails can only be sent from FellowshipsCAS – you cannot receive replies within the system.
- Any responses to your email will be sent to the reply-to email address you specify when sending the email.
- Sent emails are tracked in two places:
- The Activity History section of the application, which provides a record of all emails sent to the applicant.
- The Activity > Emails section of the main menu, which includes tracking and engagement details like opens and clicks.
- You can include emails in workflows and automation.
Create an Email Template
- From the Settings menu, open the Application Setup section, then select Email Templates.
- Click the + icon.
- Under Template Settings, name the template (the template key automatically populates). Then, under Email Headers, either leave the default address information as is or click customize to update the Reply-to-Address to the correct institution email designation.

- In the Message box, construct your email. The email editor allows you to:
- Add general formatting options (i.e., headings, bolding, bullets, etc.).
- Add links.
- Add images and videos.
- Insert merge fields to personalize your message. A merge field is a placeholder that automatically fills in personalized information for each applicant (i.e., name, CAS ID, etc.) when the email is sent.

Notes:- Attachments cannot be added to email templates but can be included when sending a message. You can add up to five attachments, each with a 50MB limit, for a total of 250MB.
- Alternative methods of adding files to an email template is by copying over the link/url from the pdf you wish to include in the body text. As shown above, you will be able to add links to external documents or to our interview portal (i.e. virtual consent forms, program overview booklets).
- When you add a merge field, you can preview how the email will appear to applicants (if multiple values are present for a merge field, the system will include them all in a comma-separated list).

- Be sure to Save Changes when done.
Sending Emails
You can send emails in two ways:
- Send an email to multiple applicants via the Applications Grid.
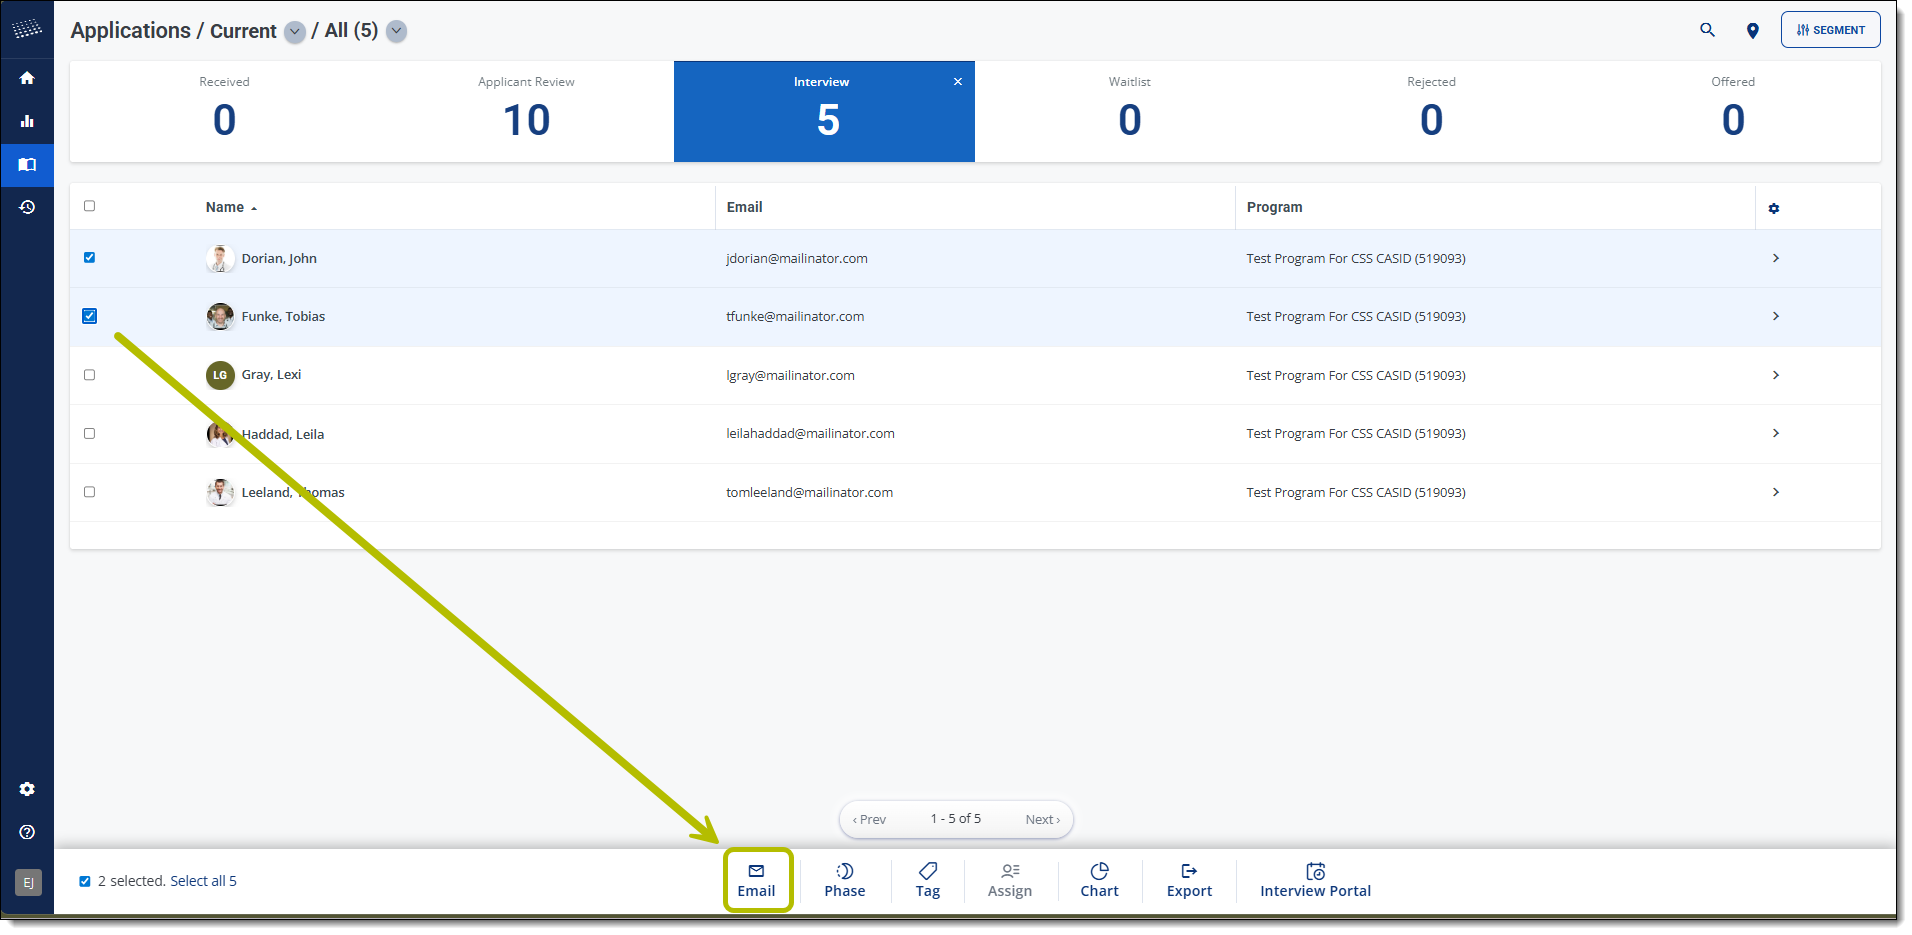
- Send an email to an individual applicant using the More Options Tab.

- Once the email editor opens, you can select a template (or construct a new message), make any modifications, and add attachments. You can add up to five attachments, each with a 50MB limit, for a total of 250MB. Additionally, you can preview the email's merge fields and send test emails to yourself and others.

Tracking Emails
From the Activity section in the main menu, you can open the Emails section to see which messages were sent, when they were sent, and how many recipients each message had.

Clicking into an individual email brings you to a summary page with key details. From here, you can see who received the email and track engagement, including how many people opened it and how many clicked any links. From the summary page, you can drill down further by either clicking the links within each tile or using the bottom navigation menu – both options take you to the same detailed views.

Email Statuses
Once you send emails through FellowshipsCAS, you can monitor their delivery status. Initially, an email appears as Sent, and then its status may update to one of the statuses listed below as more information becomes available. These statuses include:
- Sent: the message is being processed for delivery to the recipient.
- Bounced: the message was rejected by the recipient’s email server; you should verify the recipient’s email address. Contact support for further assistance.
- Delivered: the recipient’s email server received the message; however, this does not indicate that the applicant opened or viewed the message. The recipient may have recently changed their email address, or they may have rules or junk mail settings enabled that prevent the email from reaching the inbox. Applicants are encouraged to maintain updated contact information and disable junk mail filters.
- Note: some institutional servers, such as hospitals or universities, automatically filter unfamiliar email domains before the messages reach inboxes. If your emails (e.g., interview invitations) remain in Delivered status for several days, this may be the reason. In this case, you may need to personally reach out to the recipeint to confirm they received the intended information.
- Opened: the recipient received the message and opened it.
- Clicked: the recipient received the message, opened it, and clicked a link or image.