Tracking Event Check-Ins
As guests arrive at your event, you can mark those guests as Attended in one of two ways (the same check-in processes apply to those serving as Staff or Volunteers):
If you include QR codes in your confirmation email, you can easily scan these codes using a scanner or even a smartphone, and the guest’s status will automatically be updated to “attended.” QR Codes have a time window that they can be used before and after an event; these are configured in Events Custom Settings.
For instructions on generating QR codes in your email templates see Using QR Codes for Event Check In.
The other means of marking your event guests as attended is to have the event open on your computer at the event check-in desk. You can then use the Filter to find the specific guest, and click the “Attended” checkbox. As attendees arrive, you can use the filter section to search for them by first name or full name. Note: Use an * as the filter to bring back ALL registrants.
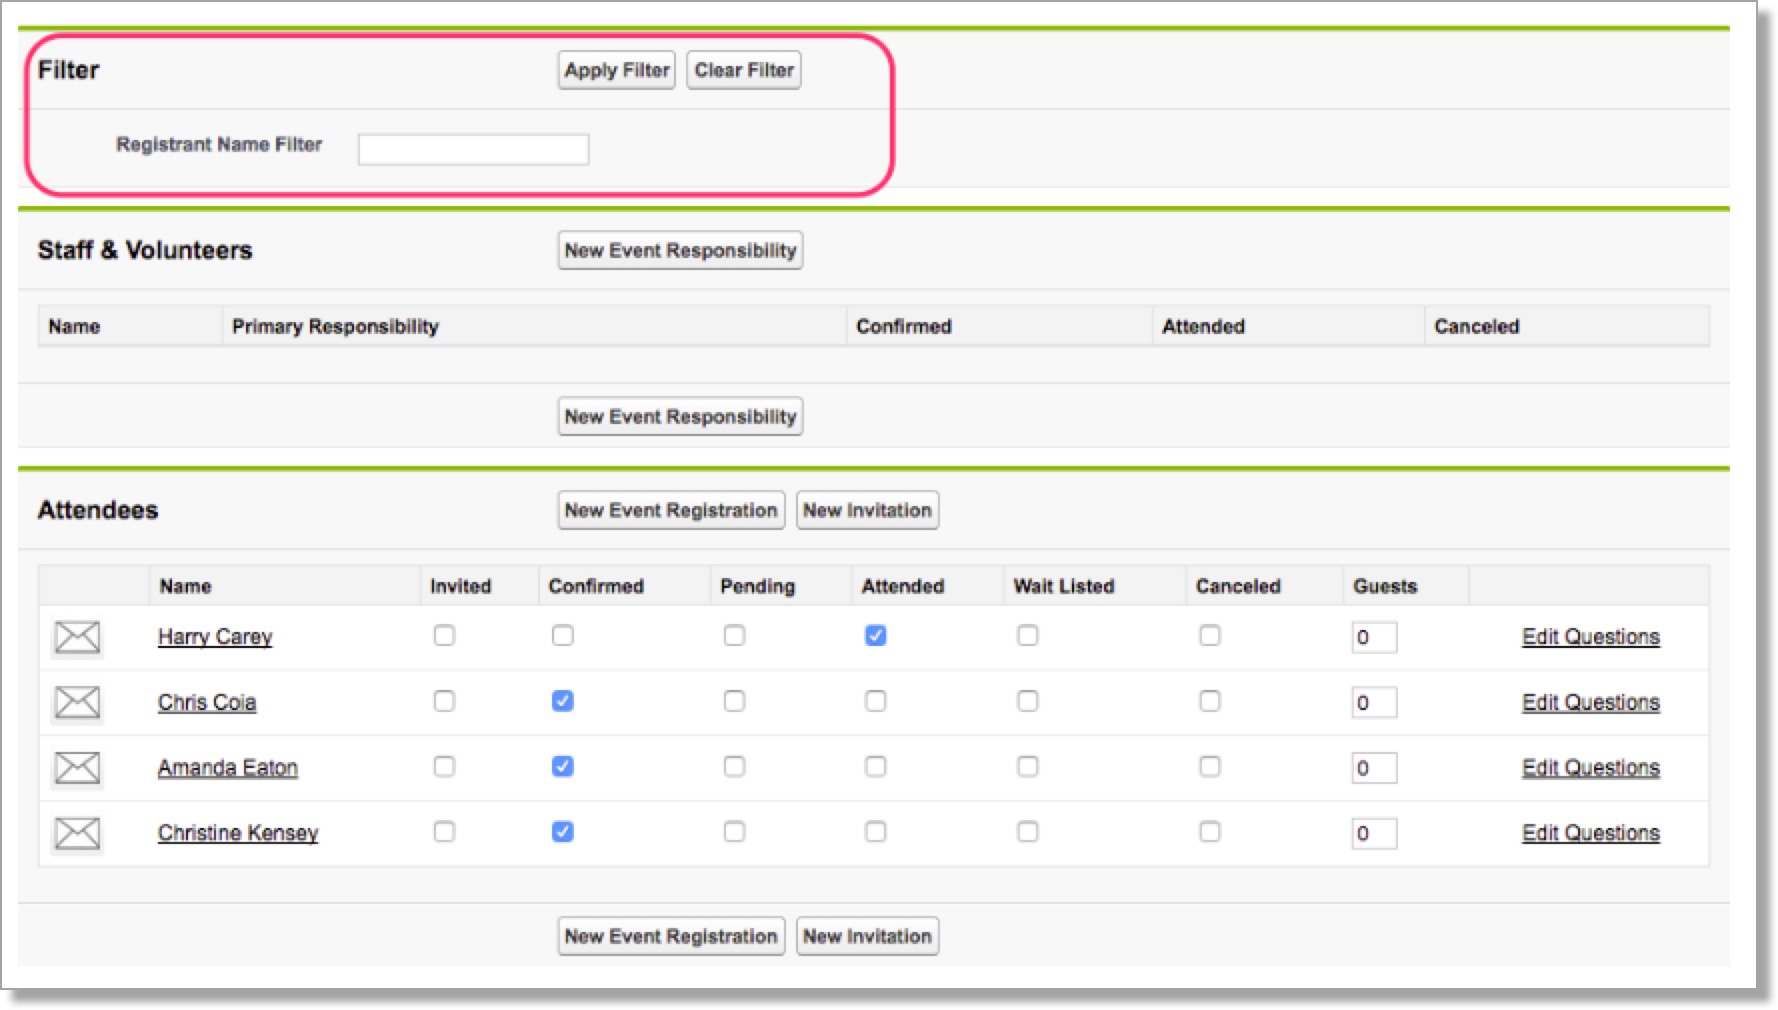
Note: if you are updating the number of Guests, you must click outside of the Guests Field or press the tab key on your keyboard for the auto-save to be triggered.
If an unregistered or uninvited guest wishes to attend your event, you can add him or her to the guest list by clicking the New Event Registration or New Invitation buttons.