Configuring a Custom Welcome Email when using Multiple Communities
Note: This update can only occur within Sandbox and then perform a change set to Production in order to save those changes.
The TX_CommunitiesSelfRegController Apex Class and TX_CommunitiesSelfRegConfirm Visual Force page must be modified in a Sandbox and moved to production via a Change Set. For additional information, please see: Deploy Orchestrations with Change Sets.
Step 1: Disable all welcome emails for communities
- Navigate to Setup and search for Digital Experiences (formerly All Communities).
- Select the Manage link next to your first Community.
- Select the Administration option in the left pane and then Emails.
- Uncheck the Send Welcome Email option in the “Email Templates” section.
- Save your changes.
- Repeat steps 2-5 for each Community.
Step 2: Edit the Forgot Password Email Template to be a ‘Welcome Email’
- Select Setup and search for Classic Email Templates.
- Select the Folder = Unfiled Public Classic Email Templates.
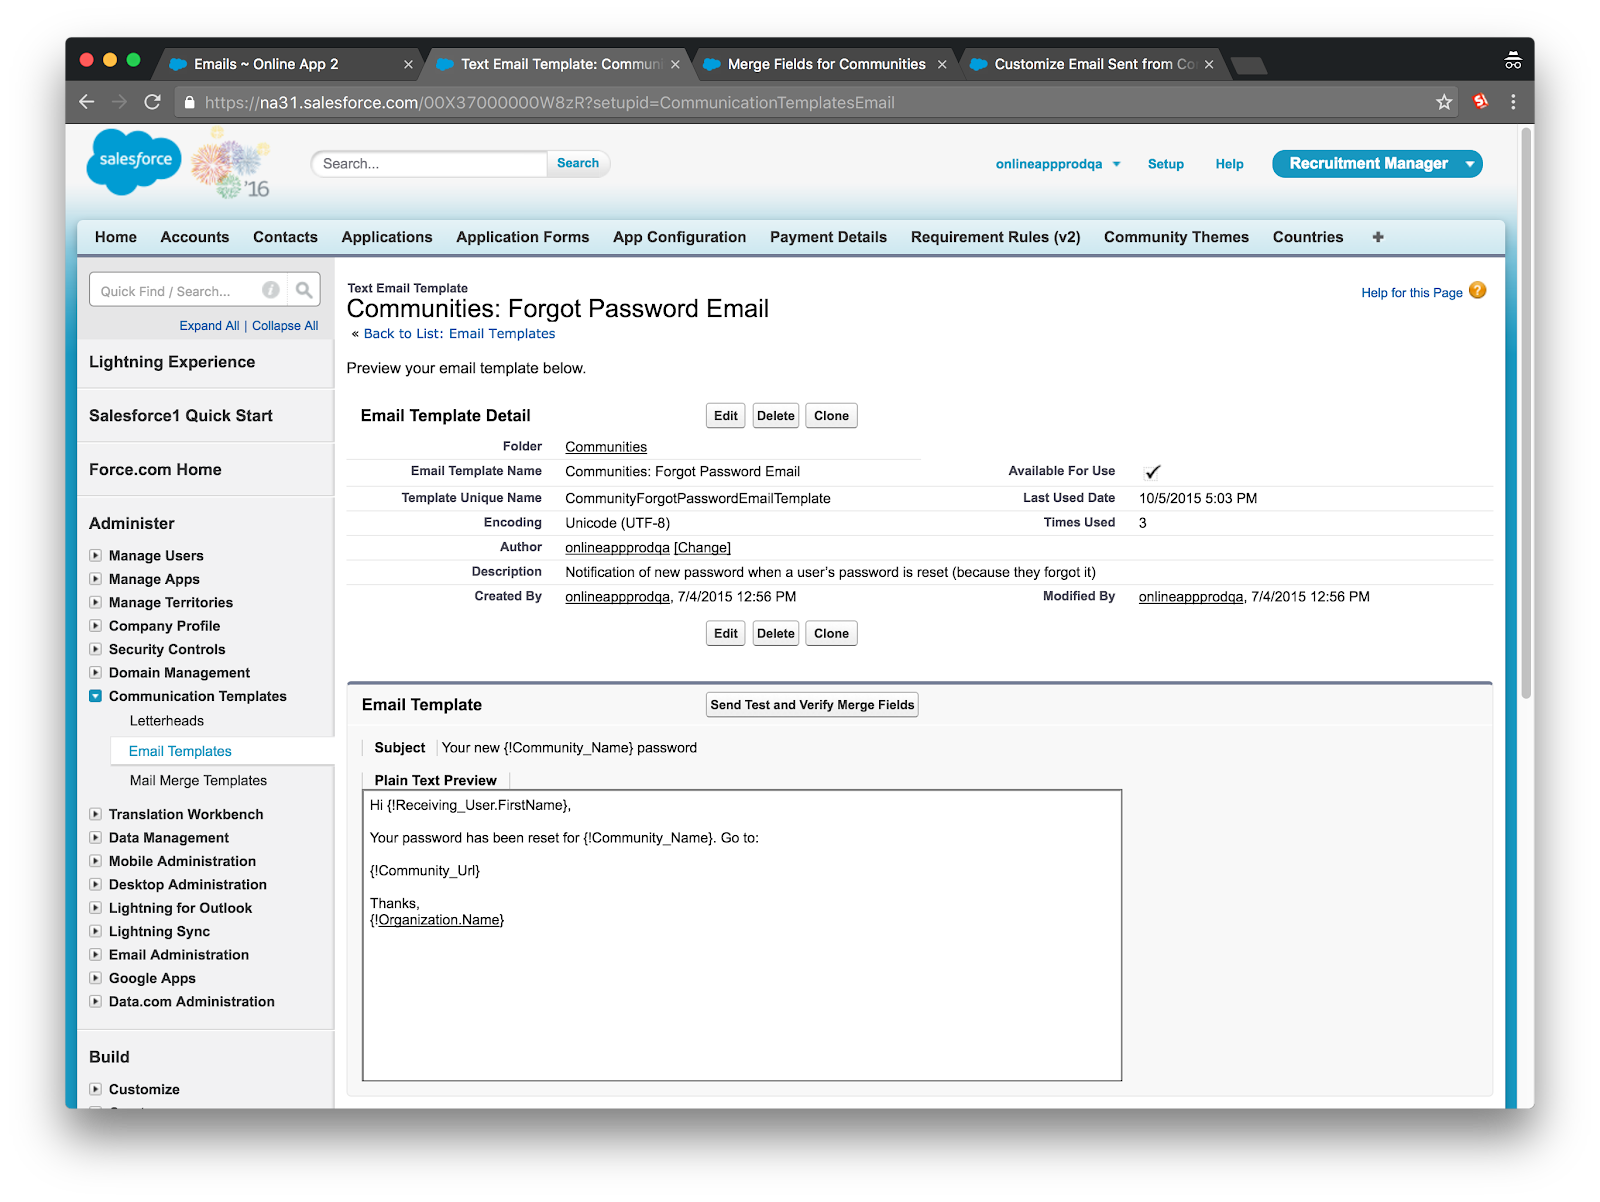
- Click on the Communities: Forgot Password Email template name.
- Select the Clone button and provide a unique name for the new template.
Best Practice: If you are using multiple Communities, the Forgot Password email should be designed to accommodate both New registrants AND those who forgot their password.
-
Update the Subject and Email Body. You can use the following sample text:
Hi {!Receiving_User.FirstName},
Thank you for visiting {!Community_Name}! Click the link below to create your password.


Your Username: {!Receiving_User.Username}


Button Link: {!Community_Url}


Thanks,

{!Organization.Name}

- Save your changes.
Step 3: Update self register controller to pass username to self register confirm controller
- Navigate to Setup and search for Apex Classes.
- Click the TX_CommunitiesSelfRegController.
- Click Edit.
- Locate the following text (approximately line 85):
PageReference page = System.Page.TX_CommunitiesSelfRegConfirm;
- Add the following AFTER the above text:
// passes userName to self reg confirm page

page.getParameters().put('username', userName);
Step 4: Add Self Register Confirm Controller to send out reset password email
- Save your changes.
- Navigate to Setup and search for Apex Classes.
- Select the New button.
- Paste the following into the new class:
//code

public with sharing class TX_CommunitiesSelfRegConfirmController {


    public TX_CommunitiesSelfRegConfirmController() {

        sendWelcomeEmail();

    }


    public TX_CommunitiesSelfRegConfirmController(TargetX_Base.TX_CommunitiesBase controller) {

        sendWelcomeEmail();

    }


    private void sendWelcomeEmail() {

        String userName = ApexPages.currentPage().getParameters().get('username');

        if(String.isNotBlank(username)) Site.forgotPassword(userName);

    }

}
- Save your changes.
Step 5: Update Self Register Confirm page to use new Apex Class that was added in previous step
- Navigate to Setup and search for Visualforce Pages.
- Click on TX_CommunitiesSelfRegConfirm.
- Select the Edit button.
- REPLACE the first line on this page to the following:
<apex:page showHeader="false" standardStylesheets="false" sidebar="false" expires="0" cache="false" docType="html" controller="TargetX_Base.TX_CommunitiesBase" extensions="TX_CommunitiesSelfRegConfirmController">
- Save your changes.
Step 6: Select the new Forgot Password Email Template in your Community
- Navigate to Setup and search for Digital Experiences (formerly All Communities).
- Locate your Community and click on Workspaces.
- Click on Administration and then Emails.
- Under the Email Templates section, update the Forgot Password field with the template you cloned in Step 2.
- Save your changes.
Validating the new email
To validate that your email works properly, follow these steps:
- Navigate to your Community.
- Select Signup.
- Enter the required information and select Submit.
- Check the email address for the user you just signed up.