Tracking UTM (Google Analytics) Conversions for Reporting
These steps are intended to be followed by an individual who is accustomed to writing apex code, visualforce code, html, understands querystring parameters, and can create customer fields. These instructions are intended to be followed in a sandbox environment before being pushed to production via Outbound Change Set.
Overview
The steps below outline how you can enhance your standard signup form by recording tracking codes that identify acquisition sources. This example is based around using the popular tool Google Analytics, which uses the following query string values utm_campaign, utm_source, utm_medium, etc.
These values are provided to a landing page by querystring. Note the following screenshot showing that I landed on the following page by clicking an ad from a site and that site provided utm_ codes in the URL:
discover.ecpi.edu/nurs/index.php?utm_source=campusexpclick$&utm_medium=cpc&utm_campaign

Add your tracking fields to the Contact record
- Click Setup
- Type Contact into the left nav search Field.
- Click Fields under the Contact navigation:

- Click the New button at the top of the “Contact Custom Fields & Relationships” section.
- Choose a type = text.
- Choose a logical name for your use case; in this example, it’s called “UTM Campaign”:
Note the “Field Name” for later.
- Click Next then Save to finish the wizard.
Open the visualforce page controller (class)
This step will copy the value from the URL when the user is signing up (the query string) to the Contact record for reporting. During user signup within a Salesforce Customer Community, a User record is created and also a Contact record (Note: If public access settings allow it when email matches with an existing user, the related Contact record is updated). At the point where the Contact is created, we will copy the tracking value to the Contact record’s new custom field we created before.
- Click Setup
- Type “class” into the left nav search Field
- Click “Apex Classes”

- Filter/sort/paginate the table to find the row with Name “TX_CommunitiesSelfRegController”
- Click “Edit” on the row with the Name “”

Map the query string parameter to your custom field to save the value
- Locate the following:
String userId = Site.createPortalUser(u, String.isBlank(accountId) ? null : accountId, password);
if (userId != null) {
- Add a new line and enter the following:
update new Contact(
Id=[select ContactId from User where Id = :userId].ContactId,
UTM_Campaign__c=ApexPages.currentPage().getParameters().get('utm_campaign')
);

Please note: The field “UTM_Campaign__c” in the sample below should be changed to the API name of the tracking field you created.
- Save your changes.
Reporting
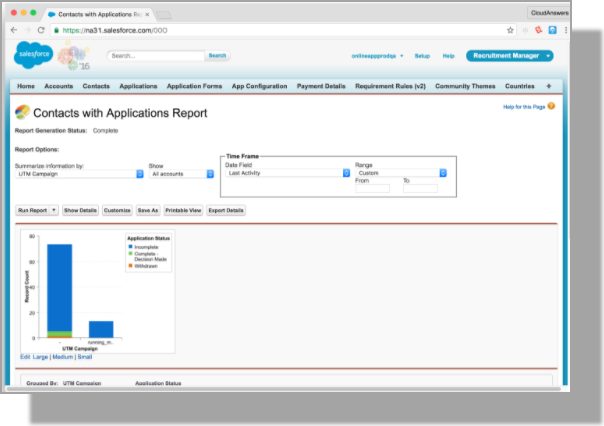
To report on which applications came from students that were acquired through given UTM Campaign values, create a new report:
- Open the “Reports” tab
- Click the “New” button
- Select the “Contacts with Applications” report type and click “Create”

Group by the “UTM Campaign” field to see the number of applications that came from given UTM Campaign values:
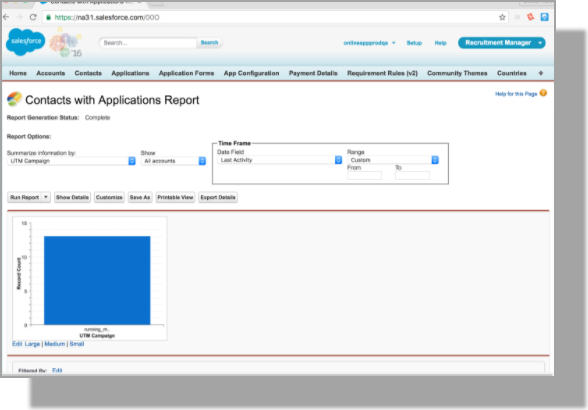
Additional groupings can illuminate which acquisition sources have more effective close completion rates: