Using Targetx Events CSS With Form Assembly
DISCLAIMER: This CSS tag is not supported or maintained by TargetX and is meant as an example of how you may choose to use CSS within our products. Some or all of the customizations these tags provide may change or no longer apply to your instance at any time. If the CSS impedes expected functionality in the TargetX product at any time, we recommend you remove the CSS to regain functionality.
(Optional for users that want their Form Assembly styling to match Events)
- Download the zip file here.
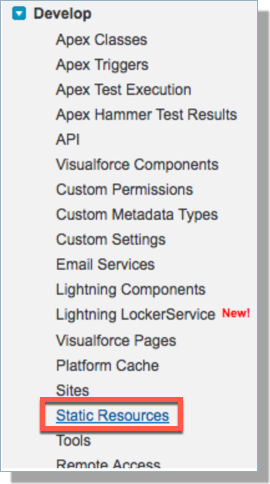
- After downloading the zip, log in to your Salesforce account, navigate to Setup, and search for and click Static Resources.
- Click ‘New’ at the top to create a new resource. Name the Resource (this document uses ‘faCSS’ as the name). Browse for the file you downloaded earlier to upload.
- Set Cache Control to ‘Public.’
- Save the Resource.
- After saving, right-click on the ‘View File’ link and choose ‘Copy Link Location’ (Note: exact verbiage may vary based on the browser). The link should look something like this:
https://c.na34.visual.force.com/resource/1488475061000/faCSS
- Next, you’ll need to grab your Events site URL:
- Navigate to Setup, then search for and click Sites.
- Locate the Site you created for Events
- Copy the Site URL for that record.
- Once you have your site URL, you’ll want to take the resource URL from earlier and copy everything after (and including) ‘resource.’ In the end, your URL should look like this:
http://your-salesforce-site.com/siteLabel/resource/1488475061000/faCSS - Add ‘/txCSS.css’ to the end of that URL to get a URL that looks like this:
http://your-salesforce-site.com/siteLabel/resource/1488475061000/faCSS/txCSS.css - Add secure.force to the URL (and make sure the URL begins with https):
https://your-salesforce-site.secure.force.com/siteLabel/resource/1488475061000/faCSS/txCSS.css
- Now that you have that URL log in to Form Assembly and navigate to the form you wish to apply the CSS.
- Open the custom code section, and add the following line:
<link rel="stylesheet" href="yourUrlHere" type="text/css" media="all" /> - Replacing ‘yourUrlHere’ with the URL you built earlier.
- ‘Apply’ the change and save the form. And you’re done!
Note: Not using the TargetX delivered CSS code may cause usability issues on mobile devices.