Customizing the message users receive after submitting a payment
- Navigate to your Payment Connectors tab.
- Select the record for Nelnet where you want to add a custom message.
- Enter the message in the Confirmation Message field.
Note: If you don't see the Confirmation Message field, contact your Administrator to add it to the Page Layout.
-
Save your changes.
The user will see a message during payment:
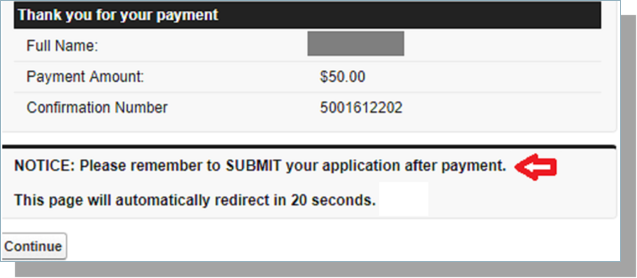
For details on setting the redirect time, see How to set the 'redirect time' for Payments.