Institution Group Manager Functions
Overview
Welcome to Liaison Academy! If you're here, you’ve likely been designated as an Institution Group Manager in TargetX. This role allows you to manage your institution's users, their training assignments, and reporting. If you believe you should have this role but don't, please contact a member of your account team.
As you navigate through the Academy, you may notice there are multiple ways to complete specific actions; therefore, this article presents a set of workflows you can use as a starting point. If you need assistance, contact us at academy@liaisonedu.com.
Default View
By default, your view of the Academy provides access to a manager menu:

However, to enroll in and complete courses for yourself, you can switch to a learner view. To do so, click the User Settings icon at the top right, then click Switch to Learner.
Managing Users
Adding Users
To add users to Liaison Academy, you'll use the standard TargetX User Community Signup Form (see Using the TargetX User Community). Once you complete the form, the user is automatically created in Liaison Academy and assigned to your group. This process usually takes a few minutes.
Deactivating Users
To deactivate a user, disable their login access:
- From the manager menu, select Users.
- Search for and select the user.
- Disable the Login enabled toggle and click Save.

Managing Training
Assigning Training
- From the manager menu, select Enrollments.
- Find and select the Courses or Learning Journeys (formerly "Learning Paths"), then search for the user(s) and click Enroll.

Unassigning Training
- From the manager menu, select Users.
- Search for and select the user.
- Open the Enrollments section.
- From either the Enrolled Courses or Learning journeys tiles, use the ellipses (three dots) to unenroll the user.
Example of Course Unenrollment:
Example of Learning Journey Unenrollment: 
Reporting
Manager Dashboard
For quick, high-level insights, you can reference the Manager Dashboard, which provides a snapshot of activity:

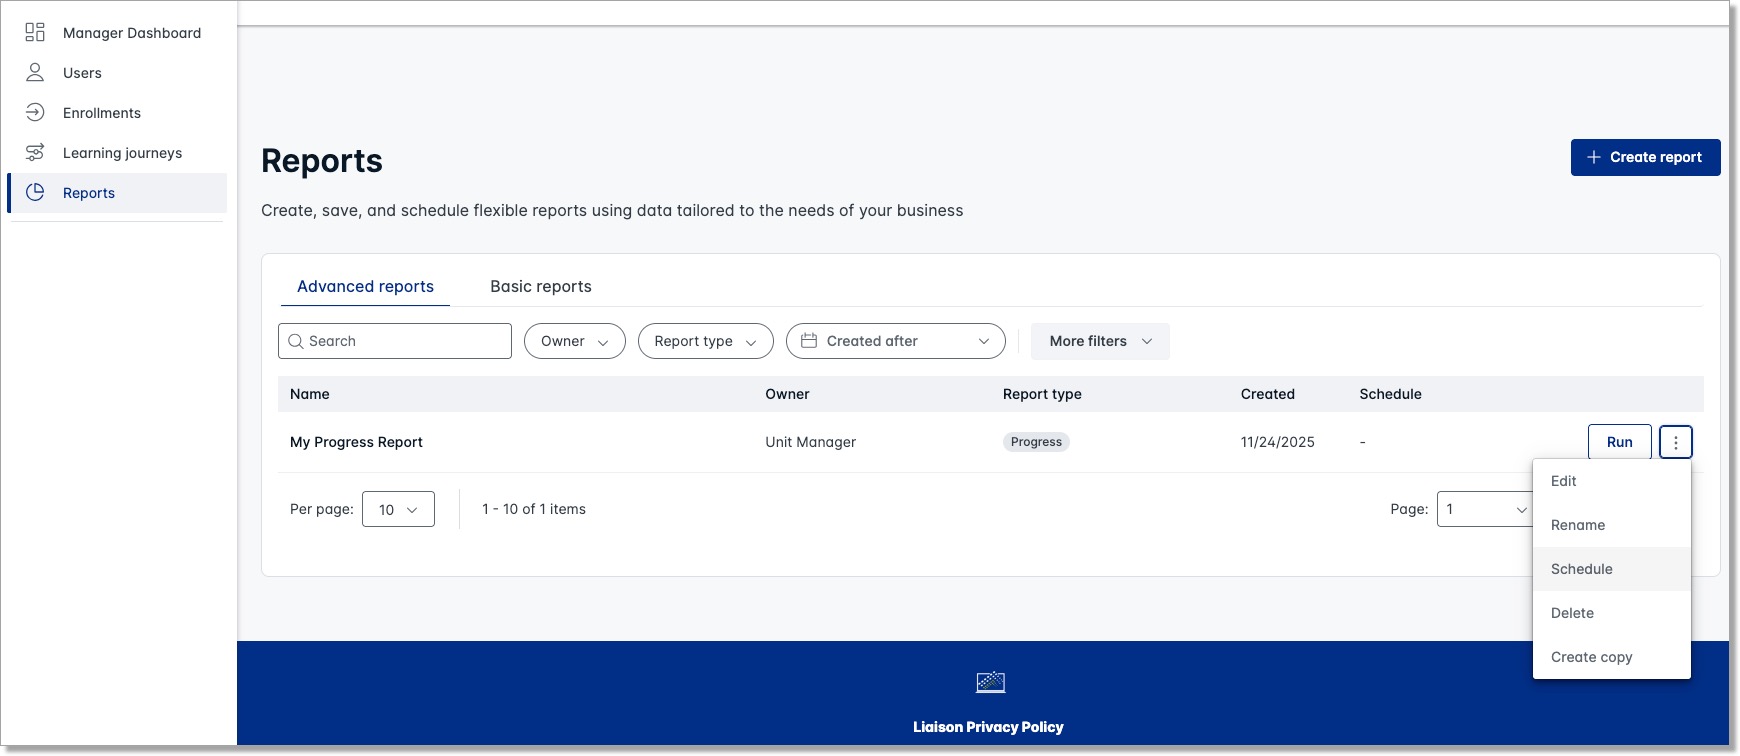
Building Reports
For more detailed insights, you can build reports:
- From the manager menu, select Reports.
- Click + Create report.
- There are several types of reports, but for most Institution Group Managers, the Progress report provides all key data.

- After selecting the progress report, you can apply filters or leave them blank. Leaving the filters blank ensures the report includes all users.
- In the layout section, you can choose and reorder the data points.

To help you choose the most useful data points, the table below highlights a few key fields and what each one represents.
Field Recommended for your report? Description Course reference code Yes This is useful for reporting on Learning Journeys – if a course is part of a Learning Journey, this field includes the name of the journey. Progress Yes This is the key data field for understanding where a learner is in a course. The Academy uses several statuses:
- Not Started and In Progress reflect whether a learner has begun or is actively working through a course.
- Completed and Passed both indicate successful completion, so you can treat them as synonymous. The status you see depends on how the course is structured and whether it includes quizzes or check-your-understanding questions.
-
Failed indicates unsuccessful completion due to an exam failure.
Score No Some courses include quizzes and check-your-understanding questions, but not all of them have scoring. When scoring is used, it can differ depending on the course structure, so it isn’t a reliable way to gauge progress. It's better to use Progress instead.
Course completion % No Course progress differs based on course design, so the percentage isn’t a dependable indicator of total completion. It's better to use Progress instead.
- Once you've added your fields, click Create report. From here you can export or save the report.

Note: while the course name appears as a hyperlink, Institution Group Managers can’t access the course from here. - Saved reports display in your report list, where you can edit, rename, schedule, delete, or copy them.