The Consortium Quick Start Guide
Overview
This guide for Consortium members provides you with documentation, step-by-step instructions, and other information you need to get started with Outcomes.
Outcomes is a cloud-based admissions management platform that provides you with tools to streamline your admissions processes. Through these tools you can:
- Manage each application as it progresses through the admissions cycle.
- Manage collective groups of applications.
- Obtain holistic views of applicant pools.
- Take full advantage of applicant data to make the best admissions decisions.
- Communicate with applicants and other key contacts.
You may also wish to review the Consortium Frequently Asked Questions document.
Accessing Outcomes
You can log in to the software by going to https://the-consortium-2022.admissionsbyliaison.com/#/. If you don't already have an account, an administrator can create one for you and have an invitation sent to your email address.
The Consortium
Outcomes works in conjunction with The Consortium. When applicants apply to your program, their information is made available to you. To learn more, consult:
Contact Support
Outcomes: General Software Management
Below, you'll find instructions to complete some of your most common tasks in Outcomes.
Adding Attachments to Application Records
Outcomes allows you to add attachments directly to application records. For example, you may wish to add an Executive Assessment Test Score Report here, so that it is linked to the applicant. To add an attachment:
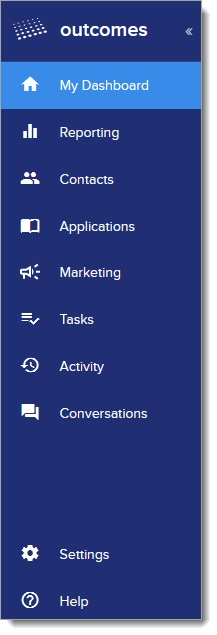
- Navigate to the Applications view by clicking Applications from the Navigation Menu on the left.
- Click your desired application to view the record.
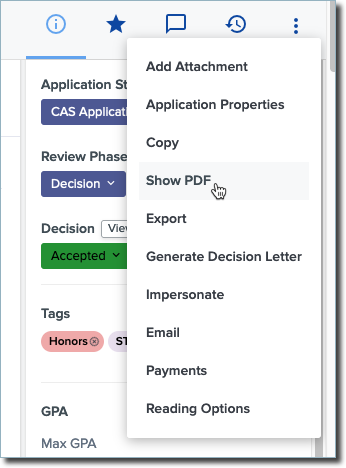
- Click the More Options (three dots) icon at the top right of the application record, then click Add Attachment.
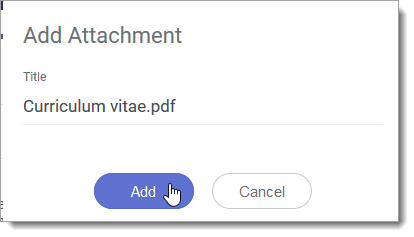
- Click Choose File to open the File Upload window and choose the attachment you'd like to upload.
- Click Add to attach the file.
Once your file is uploaded, you can view it by scrolling to the Attachments section at the bottom of the application record.
Adding Rankings and Other Application Properties to the Applications Grid
To view rankings and assist applicants with inquiries, you may decide to add the ranking fields to the Application Grid. To do so:
- Navigate to the Applications view.
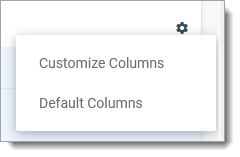
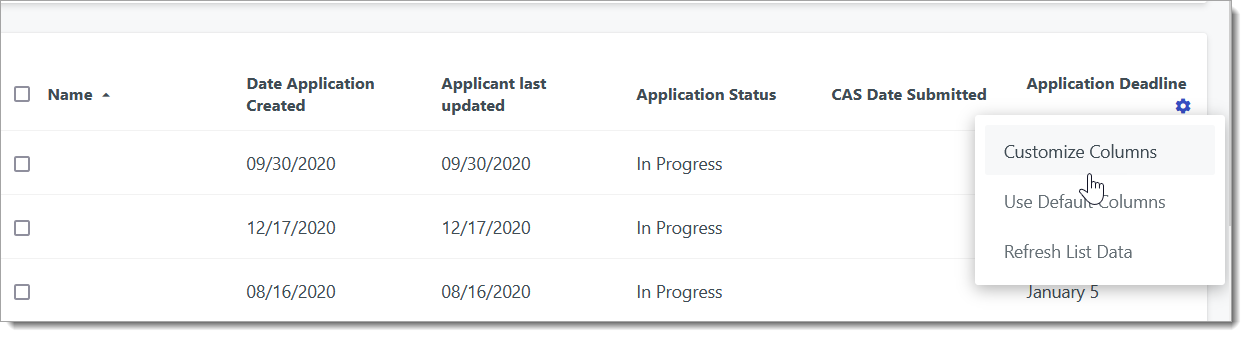
- On the right side of the Applications Grid, click the gear icon, and then click Customize Columns.
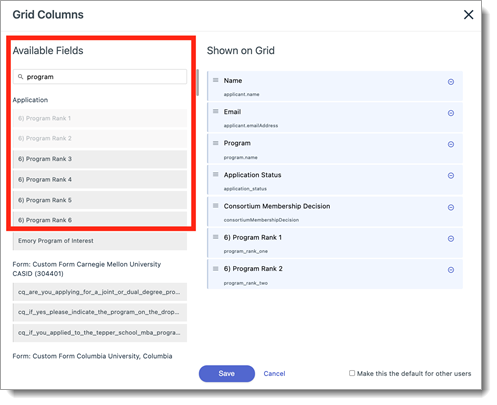
- Next, find the fields you want and drag them to the Show on Grid section. For example, type "Program Rank" into the search bar to find the Program Rank fields. Drag them each to the right side to add them to the grid.
- Once you're done adding fields, click Save.
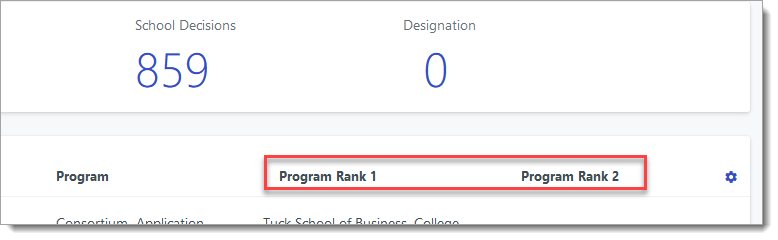
- Now your ranking information is displayed on the Application Grid.
Managing Exports and Export Schedules
Review the information below to better manage and control your exports.
Export Ownership
Victoria Wayne of the Consortium is assigned ownership of all existing exports, including baseline templates. No exports will be shared, and Victoria will maintain access to export fields to edit exports as required.
For a dictionary of all exportable fields in Outcomes, review the CGSM Data Dictionary.
Export Schedules
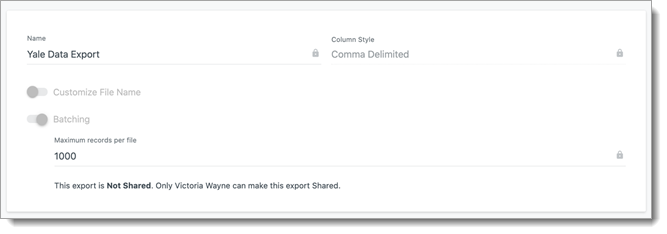
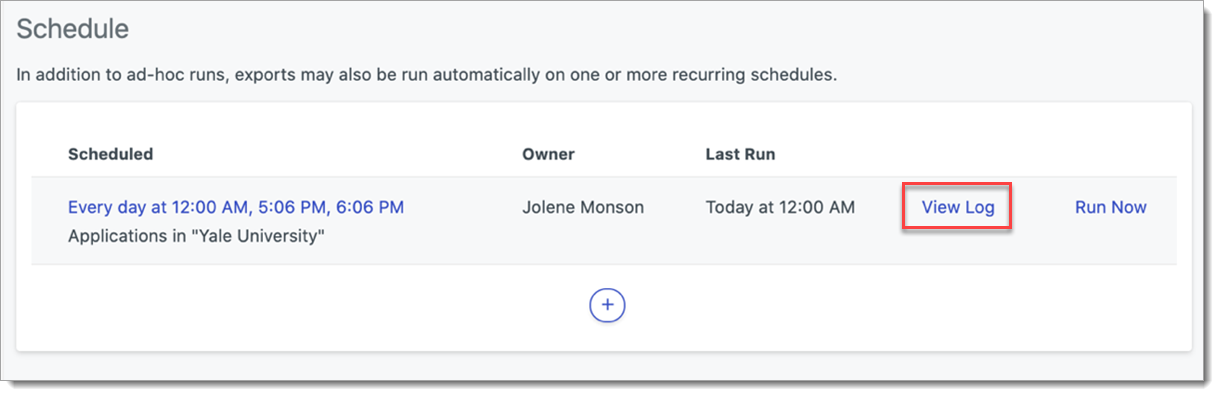
Export Schedules created in Outcomes need to have an owner. For existing schedules, one of your school users will be assigned ownership. For example, Jolene Monson is the owner of the Yale Data Export schedule shown in the screenshot below. Any active user at the school, including Jolene, can access and edit the schedule that Jolene owns.

When working with the Applications Grid, you can only view the default export files and not used by The Consortium. All export files you've created are hidden.
Manually Creating and Downloading Export Files
If you're the owner of an export schedule, you, or any user with the same role, can manually create and download any export schedule. To do this:
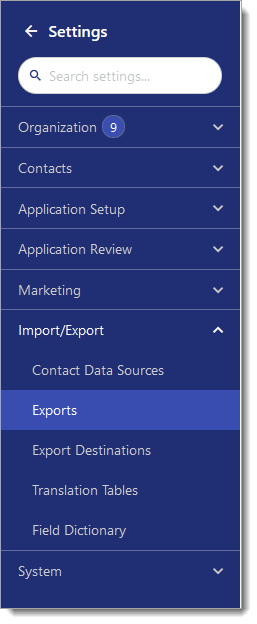
- Log in to Admissions and use the Navigation Menu to go to the Settings area.
- Go to the Import/Export section of the Settings menu and click Exports.
- Find and click on the appropriate export file (i.e., [School Name] Data Export, [School Name] Daily PDF Export).
- Scroll down to view the Export Schedule area.
- From here, you can create a new schedule or run an export that was previously run. There are two options to choose from, as described below.
Option 1: Adding Times to an Existing Schedule
- Follow the steps above to access the Export Schedule of your choice.
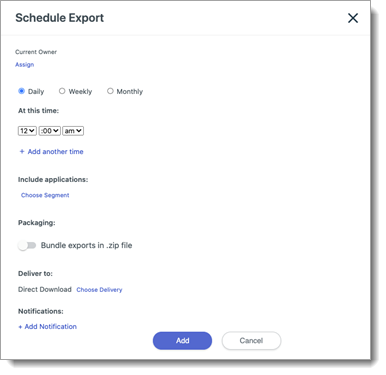
- Click anywhere on the schedule, causing the Schedule Export window to appear.
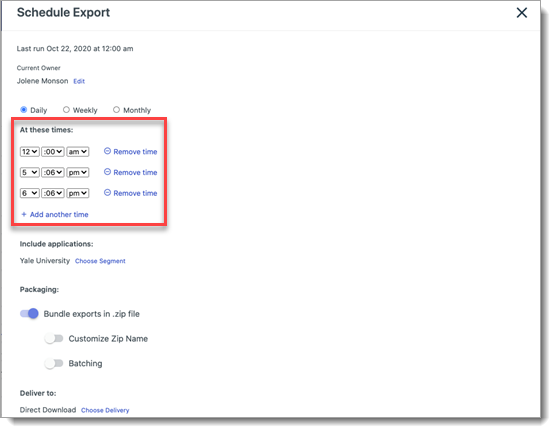
- Click Add another time to add times to the existing schedule.
Option 2: Creating a New Schedule
To create a new Export Schedule, follow the steps above to navigate to the Export of your choice. Then:
- Click the plus sign in the Schedule area.
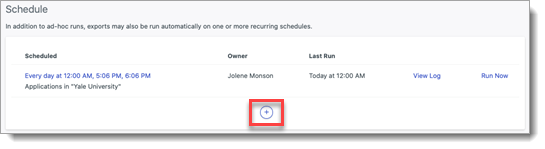
- Configure the Export Schedule as desired, and click Add.
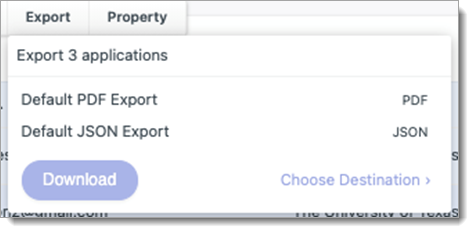
Option 3: Manually Downloading an Existing Export
To manually download a previously created export, complete the steps above to access the export of your choice, then:
- Click View Log in the existing schedule.
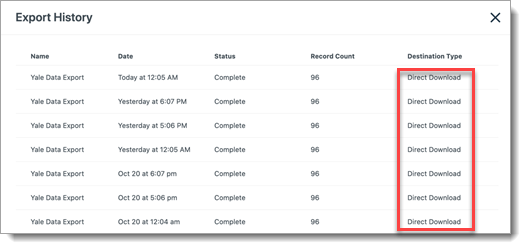
- Click Direct Download on any of the complete export files.
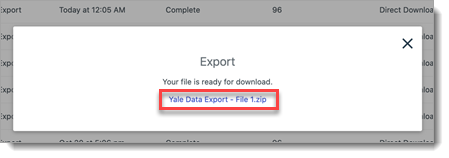
- Click the link to complete the file download.
Process Instructions
Below, you'll find guidance on processes you'll need to complete in Outcomes.
Finding Applicant Membership Decisions
Once Applicant Membership Decisions are released, you can find them in Outcomes. There are several methods to find these decisions:
Option 1
One option is to add the Membership Decision column to the Applications Grid. To do this:
- Navigate to the Applications view by clicking Applications from the Navigation Menu.
- Click the Settings icon on the Applications Grid header, then click Customize Columns.
- Find the Membership Decision field by searching for it in the Available Fields section, then click and drag it to the Show on Grid section.
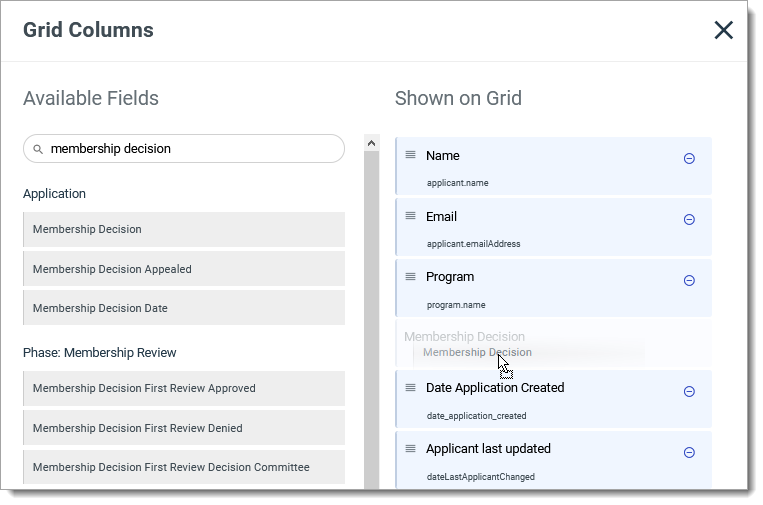
- Drag your columns into the desired order, then click Save.
- The Membership Decision column now appears in the Applications Grid.

Option 2
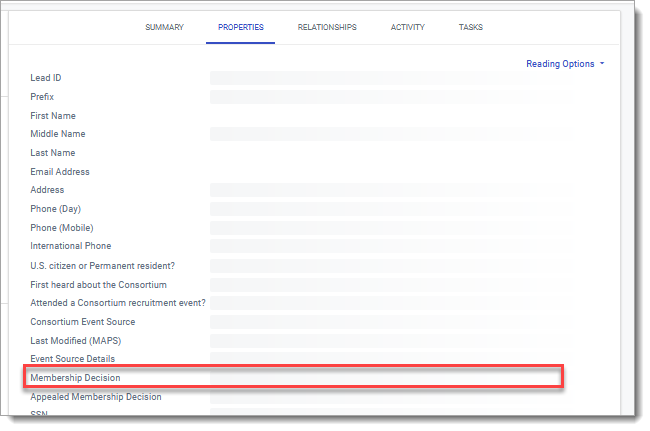
- Navigate to the Contacts view by clicking Contacts from the Navigation Menu.
- Click on a Contact to view its record.
- Open the Properties tab to find the Membership Decision field.
Finding Applicants with Denied Membership Decisions and Submitting an Applicant Membership Appeal
The Consortium reviews applicants for membership eligibility and releases those decisions in Outcomes. Once this happens, if you'd like to appeal a decision, you can submit your appeal through the software.
To find applicants with Denied Membership Decisions:
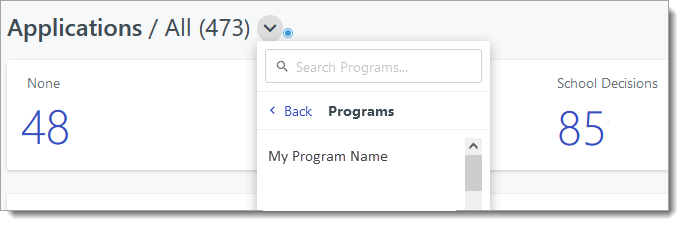
- Navigate to the Applications view from the Navigation Menu.
- Check the filters on the Applications Grid to ensure you have your program selected.
- Add the Consortium Membership Decision field to the Applications Grid as described above.
- On the scheduled date, Membership Decisions will populate in that field.
Submitting an Applicant Membership Appeal
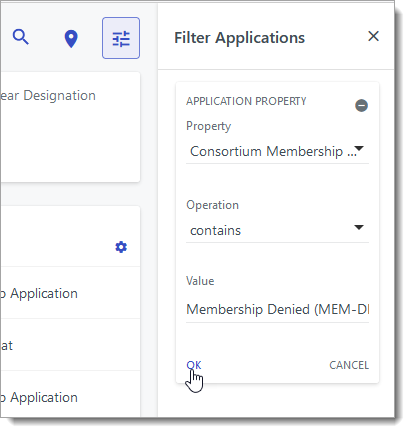
To find applicants with a Membership Denied decision, you may also add a filter to the Applications Grid. Then you can select the appropriate applications and submit your appeal. To do this:
- Filter the Applications Grid to show applicants with a Membership Denied decision. This is done by filtering by the Application Property of Consortium Membership Decision. Look for those that contain Membership Denied (MEM-DEN).
- From the filtered list, select an applicant record.
- Go to the Review Panel and complete the applicable fields.
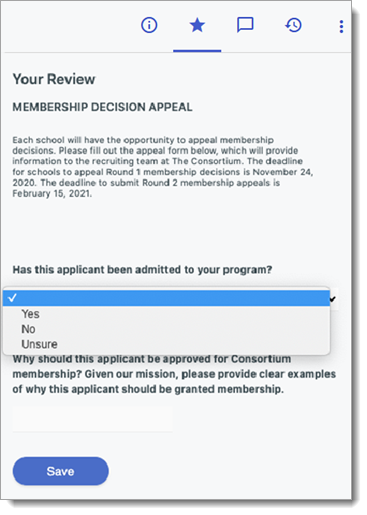
- Click Save to submit your appeal. The Consortium will review all appeals and decisions will be released per the project plan.
Entering Admission Decisions on Applicants
In Outcomes, you can submit your admissions decisions on each application individually or in batch. Read below to learn how to set these decisions within the requirements for a fellowship grid that contains all applicant decisions.
Fellowship Grid
The fellowship grid is required for Consortium staff to prepare for the annual fellowship meeting in March. This is a master grid containing all applicants, membership decisions, school rankings details, and program designations with associated admission and fellowship decisions (if applicable.)
Setting Admission Decisions on Applicants
On the specified date when schools can begin making admission decisions, the Edit Applicant Decision permission will be enabled in Outcomes. When you are ready to input admission decisions on my applicants, log in to Outcomes and select Applications from the Navigation Menu. There are two options for rendering admission decisions.
Entering Applicant Admission Decisions in Batch
To set your decisions in batch:
- Navigate to the Applications view by clicking Applications from the Navigation Menu.
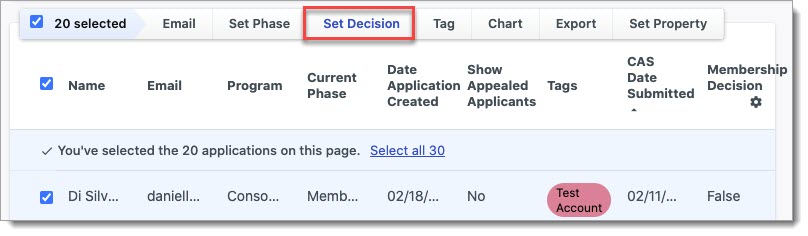
- Check the boxes next to the appropriate applicant records.
- Click Set Decision from the menu that appears.
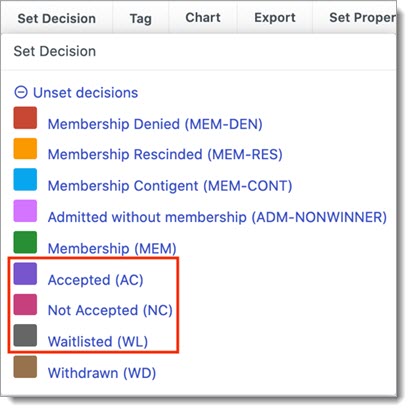
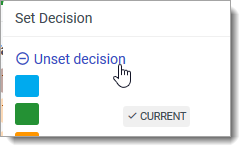
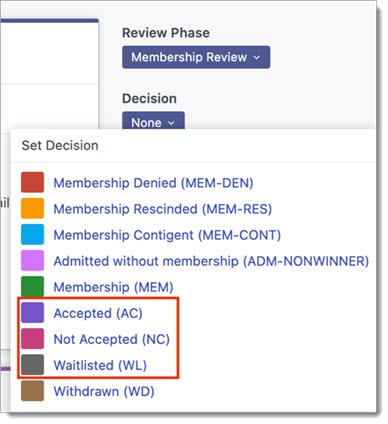
- Select the appropriate decision. Choose Accepted (AC), Not Accepted (NC), or Waitlisted (WL).
- To undo decisions in batch, click Unset decision from the same menu.
Entering Applicant Admission Decisions Individually
To set your decisions on individual applications:
- Navigate to the Applications view by clicking Applications from the Navigation Menu.
- Click on an application to open it.
- From the panel on the left, click Decision.
- Select from one of the appropriate decisions:
- Accepted (AC)
- Not Accepted (NC)
- Waitlisted (WL)
- To undo decisions, click Unset decision.
Note that applicant rankings will not be shared with schools until the admission decision is submitted.
Viewing Applicant Rankings
Within 24 hours of rendering an admission decision on an applicant, you can view their applicant rankings.
To find applicant rankings:
- Navigate to the Applications view by clicking Applications from the Navigation Menu.
- Find the desired application and click to open it.
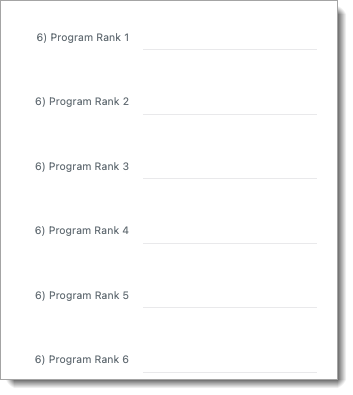
- Open the More Options (three dots) menu and click Application Properties.
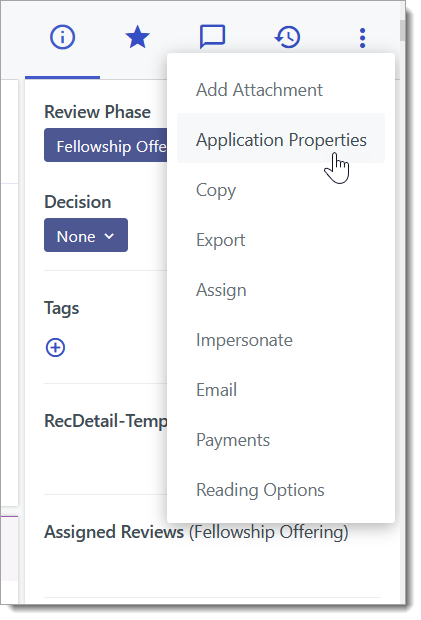
- The School Rank fields are listed here as 6) Program Rank.
By default, this is the only place in Outcomes where rankings are visible to you. If desired, you can also add these Application Properties to your Applications Grid.
Important Notes on Rankings
- Rankings are only released on applicants in which a school renders an Accepted (AC) decision.
- Rankings are released only once on an applicant.
- Rankings are not hidden or removed if an applicant decision is changed from the Accepted (AC) decision.
Entering Applicant Fellowship Decisions
In Outcomes, you can submit fellowship decisions on each application. Before you can render fellowship decisions on an applicant, an admission decision must be placed on them. This allows applicant rankings to display. In the case an applicant has ranked your school in the School Rank 1 spot, the school may render a fellowship decision on an applicant.
Follow the instructions below to enter a fellowship decision on an applicant.
- Navigate to the Applications view by clicking Applications from the Navigation Menu.
- Open the application of an applicant who has placed your school in the Program Rank 1 spot.
- From the panel on the right, click the Evaluation (star) tab to view the Fellowship form.
- Complete the form and click Submit.
Once fellowship decisions are submitted, you cannot make edits.
Recent Outcomes Feature & Functionality Updates
Recommendations Received Date
There are two fields on the recommendation form in the Outcomes application record, shown below:
- Requested Date
- Received Date
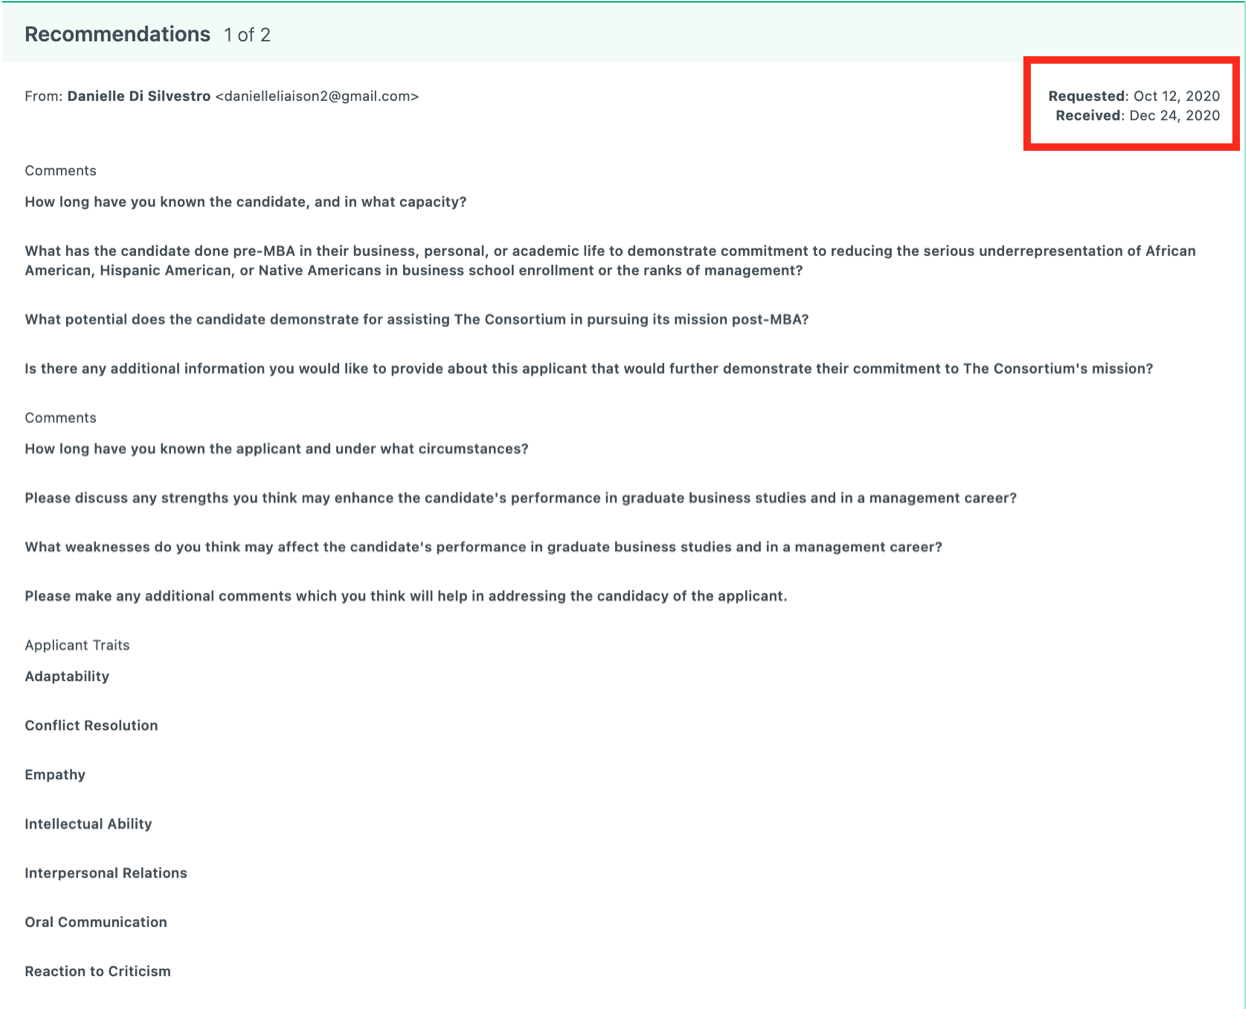
On the form, there is no recommendation data since the recommendation has not yet been completed by the recommender. In these instances, the Received field has been removed from the recommendation form. The Received date will be added when the recommendation is submitted by the recommender.