Navigating an Application
Viewing Applications
From the Applications Grid, you can select an application to review by clicking on an applicant's name. Note that the configuration here is customizable, so the options you see in your environment may be slightly different. You can edit the layout of this page by going to App Review in the Application Review section of the Settings menu and clicking Manage.

- Application Search: use this field to search the application.
- Application Header: use this area to review the applicant's name and contact information, or edit their tags.
- Application Navigation: use these tabs to open different sections of the application.
- Next/Previous Application: use these arrows to navigate to the previous or next application within the segment you're viewing.
- Application Panes: use these buttons to open the Information Pane, Review Pane, or Comments Pane.
- More Options Menu: click the More Options (3-dots) button to perform several other actions on an application.
- Bookmarks Menu: use this button to access your bookmarks, allowing you to quickly jump back to different sections of the application.
- Application Sidebar: use this collapsible area to see the Information Pane, Review Pane, or Comments Pane.
- Application Timeline Summary: if enabled, this section gives you a a visual overview of an applicant’s journey, including education, work experience, and other relevant activities.
- Application Summary: this section gives you a summary of the application you're viewing, with information such as the applicant's Demographics, Contact Information, or other information of your choice.
Application Sidebar
The application sidebar a collapsible pane found on each application record.

Click the appropriate button to open the pane and complete several actions, described below.
Information Pane
Review this pane to see the applicant's phase, interview status, tags, and other relevant information. Where applicable, you can customize what appears in this area of the sidebar.

Review Pane
Use this pane to enter your responses to the current review form. A review form appears here if the applicant is in a phase currently associated with a review. Where applicable, click All Reviews to see already completed reviews of the application.

Comments Pane
Use this pane to enter and review comments regarding the application, if your permissions allow. All users who have access to view comments can see the comments left here. Any user who adds a comment can also edit it, even if their permission to add comments is later removed.

More Options Menu
Use the More Options (3-dots) button to perform several other actions on an application.

Some options available to you may include:
- Activity History: allows you to review the history of updates made to this application.
- Workflows: allows you to review and manage workflows associated with this application.
- Add Attachment: allows you to upload a file to associate with this application.
- Application Properties: allows you to review or edit your application properties for this application.
- Copy: allows you to manually assign the application to another program at your institution. This doesn't impact the existing application, and applicants do not receive any notification that you have done this.
- Show PDF: allows you to review the application in PDF format.
- Export: allows you to use one of your existing export templates to generate an export file for this application.
- Assign: allows you to assign the application to a reviewer.
- Generate Decision Letter: produces a decision letter for the application.
- Impersonate: where applicable, allows you to impersonate the applicant to see their view of the Student Portal.
- Email: allows you to email the applicant.
- Reading Options: allows you to change your view of the application.
Editing Application Information
As described above, applications are divided into several sections. In some instances, you may have an option to modify the contents of some sections using the Edit Pencil.

If your application data is imported from a Centralized Application Service (CAS), any modifications you made through the edit pencil, including document uploads, are subject to be overwritten the next time data is imported from the CAS. However, some sections of the application can be locked to prevent overwritten data. This allows you to make manual changes to things like test scores, citizenship information, or contact information without having your edits overwritten by updated information from CAS. It also allows you to add documents like transcripts or personal statements.
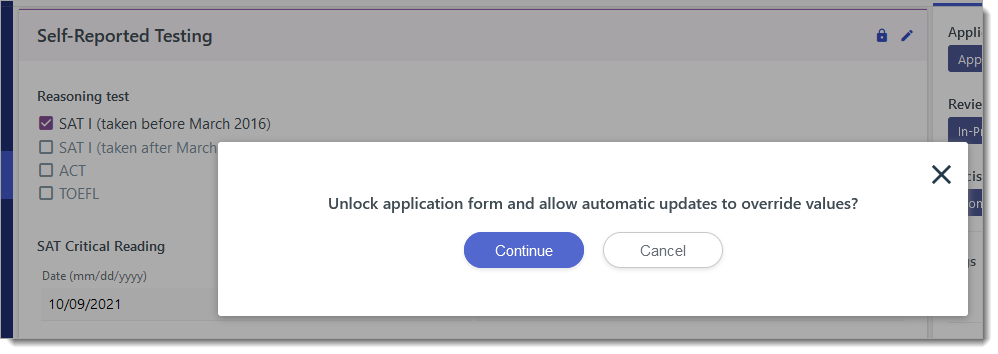
Where applicable, after you click the Edit Pencil, a message asks you to confirm you'd like to prevent automatic CAS updates from overwriting your changes.

After locking a section of the application, you can choose to allow updates again by clicking the lock icon.
When adding documents to the application using this method, we recommend making it clear in the document name that this is an internally added document, or that it is the one to be reviewed (where applicable). To add documents to applications without the possibility of them being overwritten by CAS updates, you can also use the Add Attachment option in the More Options menu seen above.
Bookmarking Application Sections
Click the bookmark icon on any application panel to add it to your bookmarks, making it easier to revisit that section. To see your bookmarks, click the bookmark icon at the top right of each application.