Working With Contact Tags
In Outcomes, Tags are labels you can place on application or contact records, adding descriptions or categorizations. This provides another way to organize your records. For example, you can create a Tag for contacts from a specific region, or another for students you're recruiting.

Creating Tags
Tags are created by adding them directly on a contact record. To create a new Tag:
- Use the Contacts View to navigate to a contact record on which you’d like to place a Tag.
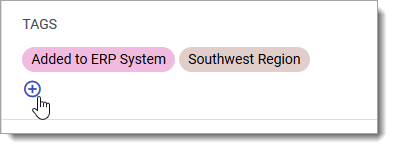
- Under Tags, click Add.
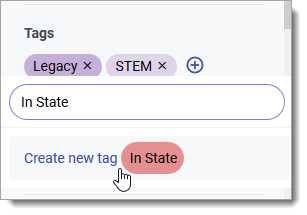
- From here, you can select an existing tag or create a new one. In the Search or create tags field, type the name of your new Tag.

- Click Create new tag to create the Tag and apply it to the applicant.
- If desired, continue adding existing Tags or creating new Tags.
- The new Tag is now available to add to other contact records.
Once you’ve created Tags, they become available to use in other areas of Outcomes. For example, you can use Tags as a filter in the Applications View, or as a condition when creating a Segment.
Managing Contact Tags
Currently, there isn’t a Tag Management page in Outcomes. You can delete a Tag by removing it from all Contacts it is associated with. To remove a Tag from a contact record:
- Use the Contacts View to navigate to the desired Contact.
- From the panel on the left, under Tags, click X near the desired Tag to remove it.

- The Tag is now removed from this record and can be re-added later if desired.