Working with Statuses
In SlideRoom, you can use customized Statuses to keep track of where applicants are within your review process. You can create up to 50 Statuses to correspond with the different stages an applicant can be in. For example, you may create Statuses for applicants who are Under Review, Wait-listed, Accepted, and Denied.
Creating Statuses

To create a Status:
- Click the gear icon at the top right of the Administrator Dashboard, and click Account Settings.
- From the menu on the left, click Evaluation Settings.
- Scroll down to the Application Status section to review your existing Statuses.
- Click into the New Status Name field at the bottom to begin naming a new Status.
- Select a color to associate with the new Status.
- Click the green checkmark to create your Status.
Once you've created your Status, you can begin assigning it to applicants.
Assigning Statuses
Once you have created Statuses, you can assign them to applicants as you see fit.
To assign a Status individually:
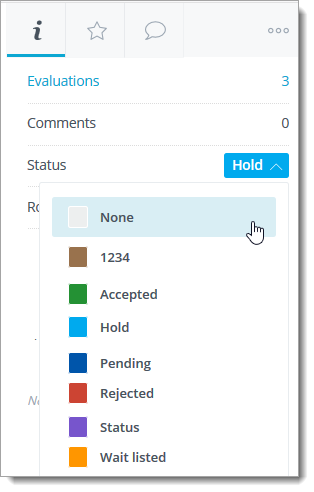
- Navigate to the applicant of your choice and open their application.
- From the information panel on the right, use the Status drop-down to select a Status.
To assign a Status in batch:
- Navigate to the Applicants View.
- Add filters or search for your desired applicants.
- Click the checkbox next to your desired applicants, or use the top checkbox to select all applicants in your current view. If desired, click Select all X applications to select the applicants in your search that are not currently visible.
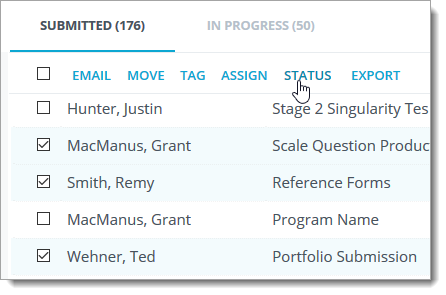
- Click STATUS, select your desired new Status, then click UPDATE STATUS.