Configuring Communication Planner Settings
Administrators can define numerous settings for your institution within the Communication Planner tool. Select the gear icon at the bottom left of the tool and click the carrot to display the available settings.
General Settings
These settings are related to the creation and maintenance of Email Test Lists.
Test List
Schedule Jobs
Schedule Jobs enables you to Start, Stop, or Schedule Apex jobs, deactivate idle jobs, and more. The date/time of the last time the job was run is displayed.
These tasks are designed to simplify the technical management responsibilities of a communication planner.
- Auto Deactivate Campaigns and Tracks - sets the status of any active Campaigns or Tracks to inactive if the end date is less than today's date.
- Campaign Sync Retry - attempts to synchronize campaigns that do not have a Sync Status of Success or any campaigns with tracks that do not have a Sync Status of Success.
- Report Validator - will send an email to all org admins if any Tracks are found to have invalid or deleted Reports that contain details of the Campaign, Track, and report. Reports will then need to be manually undeleted or edited to be valid Reports for Communication Planner, or the Tracks will need to be updated to select new valid Reports.
Transfer Images
Transfer Images allows you to copy images located in the Documents Email Image Library and transfer them to the TargetX Communication Planner Images file library. You can check the job's status by navigating to Apex jobs.
Email Settings
The table below outlines the Email settings available in the Communication Planner tool:
Email Opt-Out Page Footer Settings
These settings are related to what appears in your Email Opt-out Page.
|
Setting |
Description |
|---|---|
|
Institution Name |
The Institution Name that will display on the Opt-out Page footer. |
|
Address 1 |
The Address1 that will display on the Opt-out Page footer. |
|
Address 2 |
The Address2 that will display on the Opt-out Page footer. |
|
City |
The City that will display on the Opt-out Page footer. |
|
State |
The State that will display on the Opt-out Page footer. |
|
Postal Code |
The Postal Code that will display on the Opt-out Page footer. |
|
From Email |
The From Email that will display on the Opt-out Page footer. |
|
From Vanity |
The From Vanity that will display on the Opt-out Page footer. |
Email General Settings
|
Setting |
Description |
|
Enable Email Groups |
This enables Email Groups. You aren’t required to select an Email Group. If you don’t select a group, the system will send the communication to all eligible recipients in your report. If one or more email groups are specified on a track or element, recipients in the report who belong to the selected group, as well as those with no email group, will receive the communication. |
|
Alternate Email Address: Contact |
This setting allows you to select an alternate email field when choosing to use Alt Email in the Track or Element level. For example, if you have a custom field for your University email, you can select it here and when Alt Email is selected, this field will be used. |
SMS Settings
Twilio Settings
Twilio Settings are where admins manage your SMS account's Twilio settings.
- Navigate to the Communication Planner tab.
- Click Settings (gear icon).
- Under the SMS heading, click Twilio Settings.
- Enter the following:
- Twilio Account SID
- Twilio Account Auth Token
- Country code default
- Note: Twilio requires a country code for sending SMS messages. When sending an SMS, the system uses the default country code unless the Salesforce mobile field already contains a different country code. If no default country code is set and the Salesforce mobile field does not include one, Communication Planner will automatically apply the US/Canada country code “+1.”
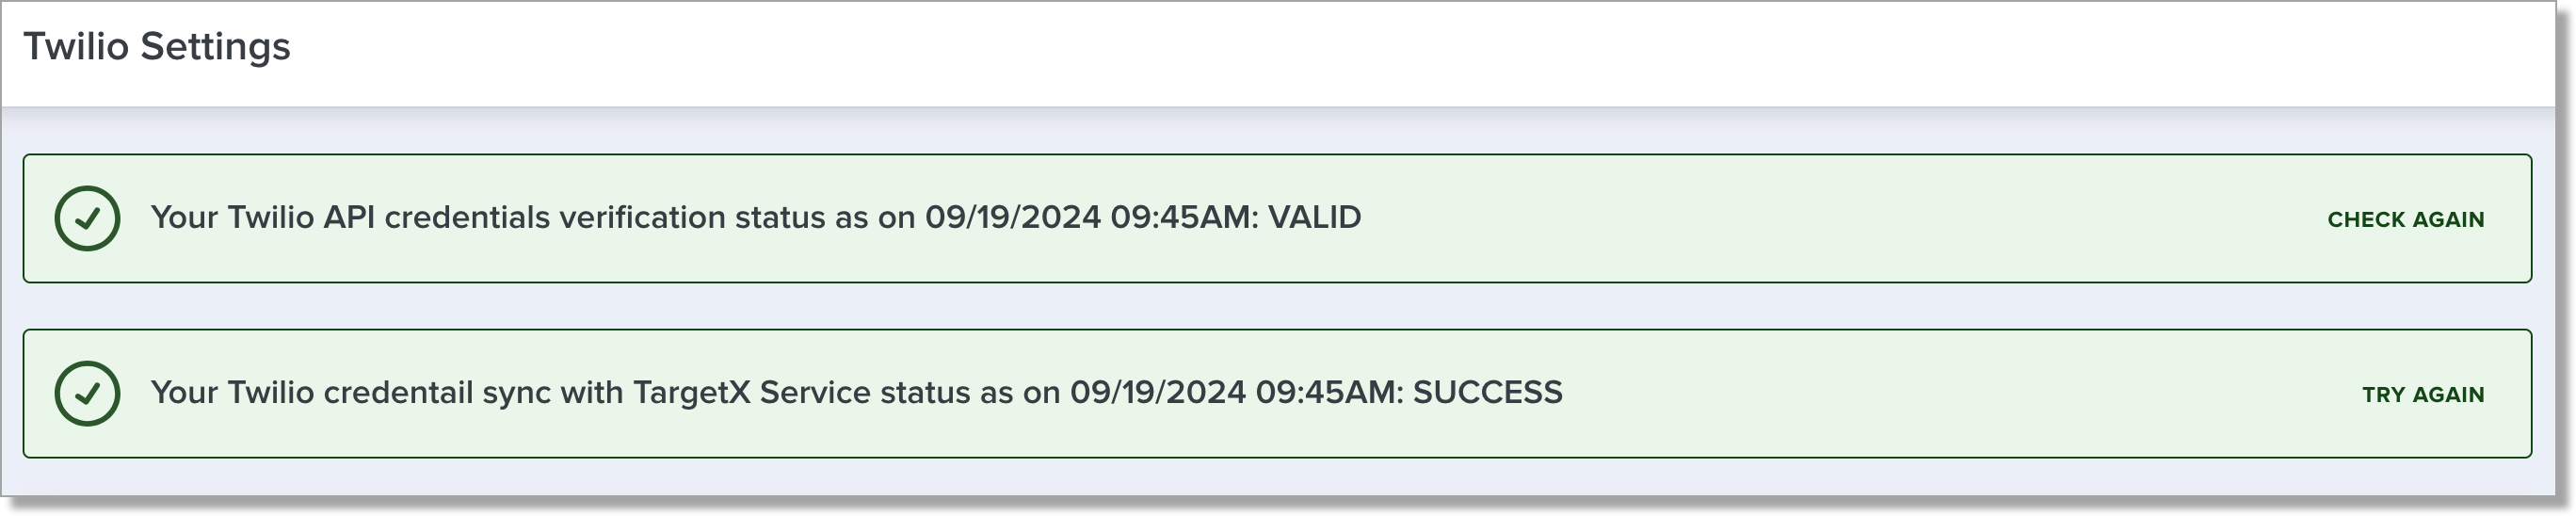
- You can verify your Twilio API credentials and your Twilio credential sync by choosing Check Again or Try Again in the top of the screen:
Inboxes
Use this setting to create inboxes and manage the users associated with them.
The Scan SMS Inbox option reviews existing SMS credentials used for Campaigns or Quick Messages, checks whether each number is linked to an inbox, and flags any that are not. You can then assign those unassigned numbers to inboxes using the Assign Numbers to Inboxes feature.
If no options are returned, the listed phone number is connected to a messaging service that does not have an inbox.
Note: remain on this page while the job is running.
A list of your Inboxes will display along with their Messaging Service ID and associated Phone Number(s). From here, you can create new Inboxes, manage users, or deactivate the Inbox.
General Settings
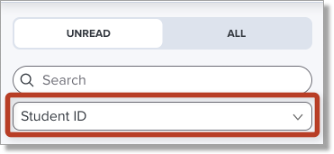
The Student ID field identifies the Student ID you want to use for SMS Inbox search and creation. Enter the Field label for the ID you wish to use. Once defined, choosing the Student ID to search the SMS Inbox will use the specified ID:
To update the Student ID after initial setup, please reach out to Support.