Managing Engage Waitlists
Understanding how the ‘Waiting List’ in Engage is ordered
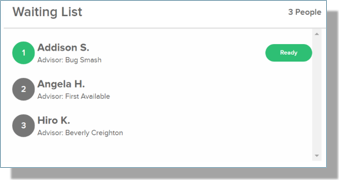
The list of students waiting for Advisors in each room is ordered as follows:
- Starred students in order of date/time created (as long as they have not requested a specific advisor).
- Starred students requesting a specific Advisor.
- Non-starred students in order of date/time created (who have not requested a specific advisor).
- Non-starred students who requested a specific advisor in order of date/time created.
Note: the ‘Waiting list’ uses the Kiosk URL in Room Settings.
The following statuses display:
- Ready (green) - advisor is ready to start the meeting with the student. This occurs when an Advisor selects Pick-up next to a student’s name in their list, and the session has started.
- No status (grey) - Student is waiting in the queue.
- In Progress - session was started but not yet closed.
- When the Session starts, the student will be removed from the Waiting List view:
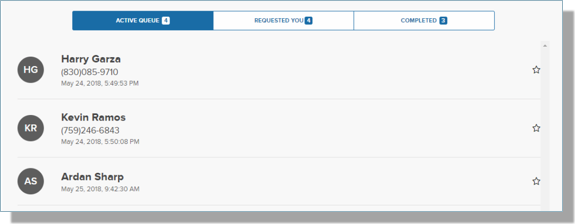
Prioritizing Students on the Engage Waiting List
Selecting the star will move the student to the top of the Waiting List. Note: This pertains to the Engage Room and impacts all participants, prioritizing the student marked as 'starred' over all other students in the queue. Furthermore, any advisor can remove the star at their discretion.

Adding instructional text to the Engage Waiting List
When you configure the image that displays on the left side of the Sign In page, use a custom image that includes instructional text and assign that image to your Engage Rooms:
- Navigate to the Advisor Center.
- Click
for the room where you want to set the poster image.
- Click the
icon.
- Click the Room Settings icon (
).
- In the Poster URL, enter a URL for the image you want to display.
- Click Update.