Customizing the Applicant Header
Best Practices for Managing Your Applicant Pool
Video Overview
Overview
You can customize the Applicant Header by adding an applicant photo and selecting fields for quick access to information.
Gaining Access to This Feature
All admissions users can upload an applicant photo.
For Applicant Header fields, the Applicant Header feature is available under the Management panel and access to this tool is controlled through Work Groups. You must have the Configure Software permission to create and edit Applicant Header fields.
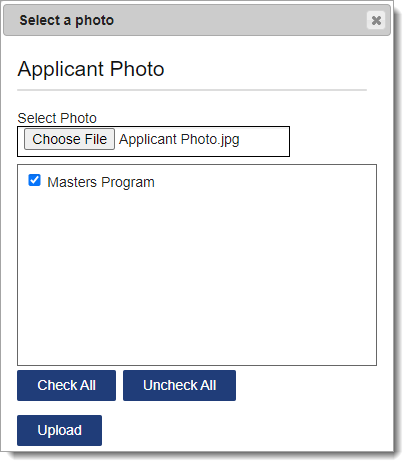
Uploading an Applicant Photo
You can upload a photo in .jpg, .gif, .bmp, and .png formats. We recommend a size of 640x480 pixels. Note that photos are optional and are not provided by the CAS.
- From the Applicant Details page, click Upload in the Applicant Header section.
- Click Choose File to find and select the photo on your computer.
- WebAdMIT automatically selects the programs that the applicant applied to. Users will only see the photo for the programs you select and they have access to. If necessary, uncheck any programs.
- Click Upload.
Managing Applicant Photos
You can manage applicant photos on the Applicant Details page for each applicant.
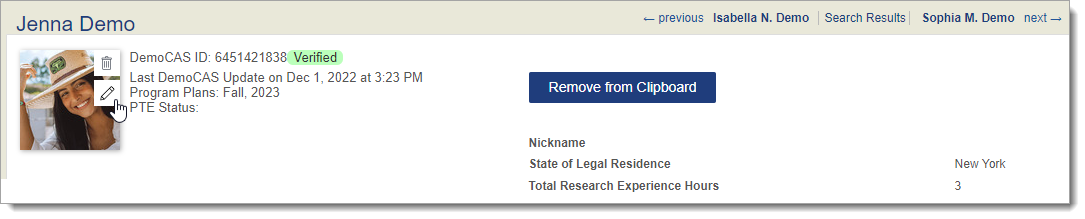
Editing Photos
Use the pencil icon to edit the photo.
Deleting Photos
Use the trash icon to delete a photo.
Adding Header Fields
WebAdMIT allows you to select up to five fields that display in the Applicant Details page header.
- Using the Menu Bar, open the Management panel, then click Applicant Header.
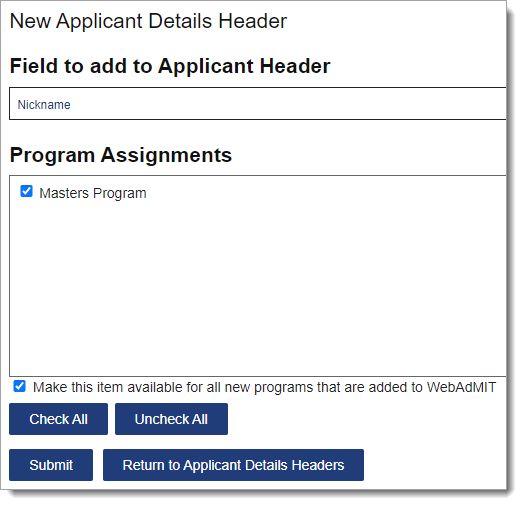
- Click Add Field to Header.
- From the Select a Field drop-down, select a category and field. Only select fields are available to add to the Applicant Header. Some fields are determined by the CAS and other fields, such as Custom Fields, Requirements, and Prerequisite GPAs, only appear if your organization configures them in WebAdMIT.
- Select the associated program(s). You can batch check/uncheck all programs.
- If desired, select Make this item available for all new programs that are added to WebAdMIT to automatically activate any programs added mid-cycle through the Configuration Portal. You will still need to manually activate any programs that existed before selecting this checkbox.
- Click Submit to save or click Return to Applicant Details Headers to discard the changes.
Viewing Applicant Header Fields
When you go to the Applicant Details page, the selected fields appear in the header.

Managing Header Fields
To manage existing Applicant Header fields, click Applicant Header from the Menu Bar.

Reordering Fields
Use the grip icon to drag and drop the fields into the preferred order.
Editing Fields
Use the pencil icon to edit a field.
Deactivating Fields
Use the trash icon to deactivate a field.