AAPI Quick Start Guide
Overview
This guide for Internship Training Directors provides you with documentation, videos, and other assistance to get started with Outcomes. While we continue to build on the content available here, feel free to contact our Support team with any additional questions.
Outcomes is a cloud-based admissions management platform that provides you with tools to streamline your admissions processes. Through these tools, you can:
- Manage each application as it progresses through the admissions cycle.
- Manage collective groups of applications.
- Obtain holistic views of applicant pools.
- Take full advantage of applicant data to make the best admissions decisions.
- Communicate with applicants and other key contacts.
Contact Support
Working in a New Cycle or Phase
Each year, there is a new cycle for applicants to submit for positions at your institution. Within each cycle, there is a Phase II opportunity. Phase II is a chance for unmatched applicants to submit for positions not filled from Phase I of the Match process. In Outcomes, applicants are grouped together based on their cycle and Phase. Note that the Phases mentioned here are different from Phases used in Outcomes to categorize your applications.
To update deadlines:
- Contact support.
- Log in to the AAPIC directory and update the deadline there accordingly.
Customizing Your Default Dashboard for the New Cycle
In Outcomes, each institution has its own Default Dashboard, allowing teams to see the information that is most relevant to them. You also can adjust your Dashboard to customize it to your preferences. Changes made to the Default Dashboard apply to all users on your side who have not customized their own Dashboard. To update the Default Dashboard when a new cycle begins:
- From the Navigation Menu, click Reporting.
- Select your Default Dashboard report.

- Click the Edit pencil at the top right.

- Adjust the Program dropdown by selecting the current cycle. This filters the data that is used on your Dashboard, so that it only includes the selected cycle.

- Click Save Changes. The Default Dashboard now updates with the applicable data.
Customizing Your Own Dashboard for the New Cycle
If you prefer to update your own Dashboard, rather than applying changes to the shared Default Dashboard, follow these steps:
- Click My Dashboard from the Navigation Menu.
- Click the Edit pencil to customize your Dashboard.

- Adjust the Program dropdown by selecting the current cycle. This filters the data that is used on your Dashboard, so that it only includes the selected cycle.
- Click Save Changes. Your Dashboard now updates with the applicable data.
Updating the Desired Program of Interest Chart
By default, there is a Desired Program of Interest chart on your Dashboard indicating what applicants have selected on the application when asked to identify the program they are interested in. Each cycle's application has a new version of this question, so for this chart to contain current data, you'll need to point it to the most recent version. To update the chart:
- Click Reporting from the Navigation Menu, and select your Default Dashboard.
- Click the Edit pencil.
- Locate the Desired Program of Interest chart and click the dropdown filter.

- Search for "cq" to locate this custom question. It appears near the bottom under the label Custom Form Phase Applicants 2022. Click the cq_ code to select it.

- The chart now updates, using the data from the most recent version of this question.
- Click Save Changes at the top of the page.
Accessing Phase II Applications
Once Phase II begins, you can review Phase II applications. To access this group of applications:
- Navigate to the Applications Grid and use the Program filter to select Phase II Applicants.

- This removes Phase I applications from the grid, allowing you to work with only the applicants who applied for Phase II.
Once you have identified your Phase II applicants, you can:
- organize them with Phases or Tags,
- review them,
- or communicate with them.
Filtering the Dashboard for Phase II Applicants
The Dashboard in Outcomes displays charts to provide you with relevant information about your application pool. Each report on the Dashboard can be filtered to display Phase II applicant information. To do this:
- Navigate to the Dashboard and click Edit Dashboard.

- Go to the chart you'd like to adjust and click the Filter icon.

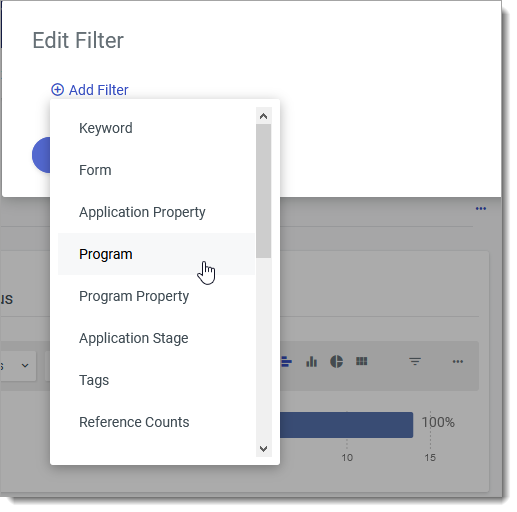
- From the Edit Filter window, click Add Filter and select Program.
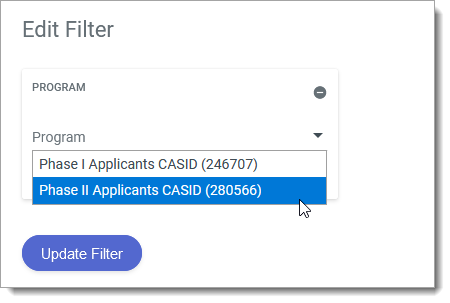
- Select Phase II from the program list and click Update Filter.
- The chart updates, only including Phase II applications.
- Complete this for each chart you'd like to filter.
Working with Evaluation Forms
In Outcomes, the standard way of assigning applications is by creating Evaluation Forms and linking them to Phases. This process allows applications to be automatically assigned to reviewers with a designated review form whenever you change their Phase.
In this video, you'll learn how to use Evaluation Forms. The following topics are all covered:
- Building an Evaluation Form - 1:07
- Applying the Evaluation Form to a Phase - 11:30
- Configuring Assignments - 13:44
- Changing Phases to Assign Evaluation Forms - 19:30
- Submitting Evaluation Form Results - 20:00
- Summary - 21:00
Assigning applications via Evaluation Forms as described in this video comes with several benefits, including the ability for assignees to enter their responses in the Evaluation tab, the ability to create PDF files with evaluation results, and the ability for assignees to be notified of their assignments (as seen at the 20:15 mark of the video above). For a simpler process, though, you may wish to assign applications via Tags or Tasks. Read below for more information on these other options.
Assigning Applications with Tags
To assign applications in Outcomes without using Evaluation Forms and Phases, you may decide to work with Tags or Tasks.
Watch this video to learn how you can incorporate Tags or Tasks with your application review process. You'll learn:
- How to assign applications using Tags - 0:23
- How to assign applications using Tasks - 7:03
Using Tags to Assign Reviews
Tags are labels that you can place on applications to categorize them for any purpose. One way of working with Tags is to create Tags that indicate which reviewer should work with an application. Once the reviewer has completed their review, they can use the comments tab or add other Tags to indicate the results of their review.
To assign reviews using Tags:
- Go to the Applications View and find an application you wish to assign.
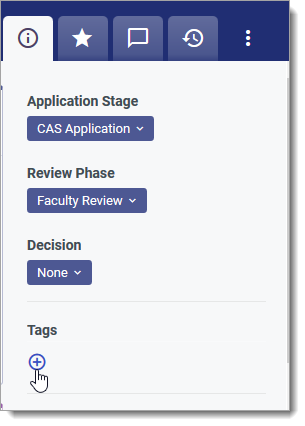
- From the Information Panel on the right, click the plus sign under Tags.
- Start typing to name the Tag. You can choose a name that associates the application with the appropriate reviewer (e.g., Barry, Review Group 1, or November 15th Reviews).
- Once you've created a Tag on one application, that Tag becomes available to use on other applications. So to use the Tag again, click on the plus sign and select the Tag from the list.

Assigning Tags in Batch
To save time, Tags can also be created and assigned in batch from the Applications View. To do this:
- Navigate to the Applications View and click the checkboxes next to the applications you wish to Tag.
- When the Batch Action menu appears, select Tag.
- Type to create a new tag, or select the existing Tag(s) you wish to apply and click Update Tags.

After Tags have been created, you can group them for reviewers, interviewers, or others to see which applications they should work with.
Grouping Applications Based on Tags
Once you've started applying Tags to applications, you can create Filters or Segments to see which applications are assigned to each reviewer. To create a Filter or Segment based on Tags:
- Go to the Applications View and click Add Filter on the left.
- Select Tags from the drop-down.

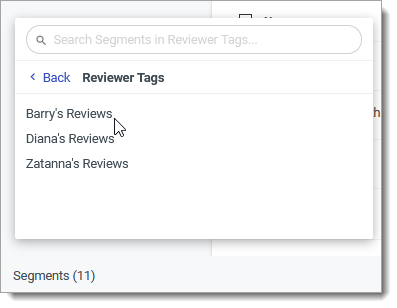
- Select the Tag(s) you'd like to focus on. For example, you may only want to work with Tags assigned to one reviewer.

- Click APPLY.
- The Filter is applied and the grid updates to only show applications with the Tag(s) you've selected.
- If desired, you can save this Filter for later use or for other users to work with. To save the Filter as a Segment, click Create Segment at the bottom left.
- Give the Segment a name, and if desired, categorize it. For example, you can create a category of Segments based on Tags.

- Click Create Segment.
- Your new Segment will be listed in the Segments area of the Application View. Any user with access to Segments can consult these Segments to see which applications are assigned to each Tag.
Assigning Applications with Tasks
As noted above, another way of indicating which applications need some action taken on them is by creating Tasks. Watch the video for guidance, or continue reading for written instructions.
You can use tasks to assign reviewers to applications individually. To do this:
- Go to the Tasks View by clicking Tasks from the Navigation Menu.
- Click the Create Task icon.

- Select an Assignee, Due Date, and an Application to assign. Only one application can be assigned as a Task at a time. Use the Description field to indicate what should be done (e.g., "Complete a Review" or "Review the applicant's Assessment Hours").
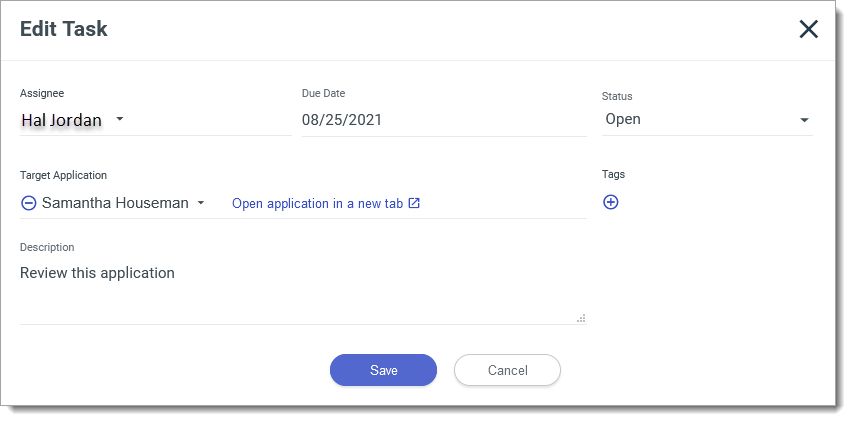
- Click Create to save the Task.
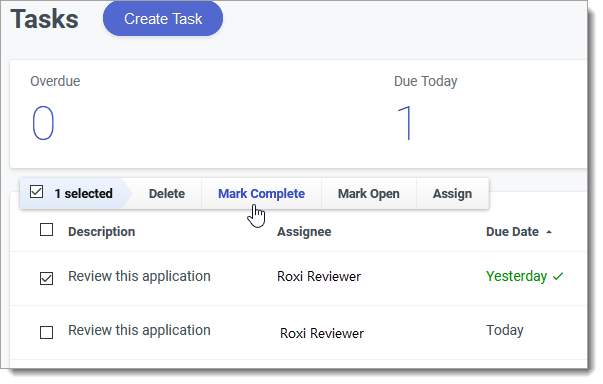
- Any user with access to Tasks can now navigate to the Tasks view and see which applications are assigned to them. They can also use filters to isolate specific Tasks.
- Once a reviewer has completed their review, where applicable, they can enter their results in the Comments tab of the application and mark the Task as complete.
Sending Emails to Applicants
Outcomes allows you to configure email templates to send to your applicants. You can send emails individually from the More Options menu in an application, or in batch from the Applications Grid.
While configuring email templates, you should also configure your Reply-to Address. This refers to the email address that will be used when your email recipients reply to your message. For example, if you have a shared inbox that all applicant emails should go to, you can set that email address as the reply-to address. If this option is not configured, you may not receive replies to your messages. To establish your Reply-to Address:
- Create a new email template or edit an existing template.
- Click Customize Email Headers.
- From here, use the Reply-to Address field to enter the email address of your choice.
- Use the Reply-to Name field to enter a name to associate with this email address (e.g., Demo University Admissions).
This name and email address will populate when a recipient attempts to reply to one of your messages.
Exporting Application Data
Outcomes allows you to design Exports so you can extract the application data you need into a spreadsheet, PDF, JSON, or zip file.
You may wish to create an applicant data download containing all application data, or you may wish to build an export template by selecting specific fields to include. This section focuses on exporting all application data, while the following section helps with exporting review and assignment data specifically.
Exporting All Application Data into a JSON File
The easiest way of extracting all applicant data into a single file is to use the Default JSON Export option. This option sends all the included applicants' data into a JSON file without any additional configuration. JSON is a format commonly used to transmit data from web applications but, unlike a Speadsheet Export, it isn't easily readable in Excel. Instead, JSON files are typically imported into another system. For a more readable file containing all application data without additional configuration, you may choose to export the Default PDF file.
To create a Default JSON Export file:
- Navigate to the Applications View.
- Use Segments, Filters, or the Search bar to find the applications you wish to include in your export. Select them individually or use the top checkbox to select all applications.
- Click Export from the Batch Actions menu.
- Click Generate next to Default JSON.
- A window appears confirming that your export is being processed. Wait for the export to finish and click the link to download it here, or dismiss the window.
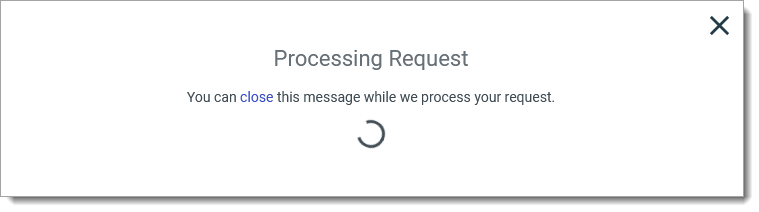
- If you dismiss the window or need to access the export again, go to the Downloads in the Activity section to download the file later.
Exporting All Application Data into an Excel File
If you prefer to export all application data into an Excel file, you can do this by configuring a Spreadsheet Export Template with all fields included. To do this:
- Go to the Import/Export section of the Settings menu and click Exports.

- Click Create Export to begin creating a new export file.
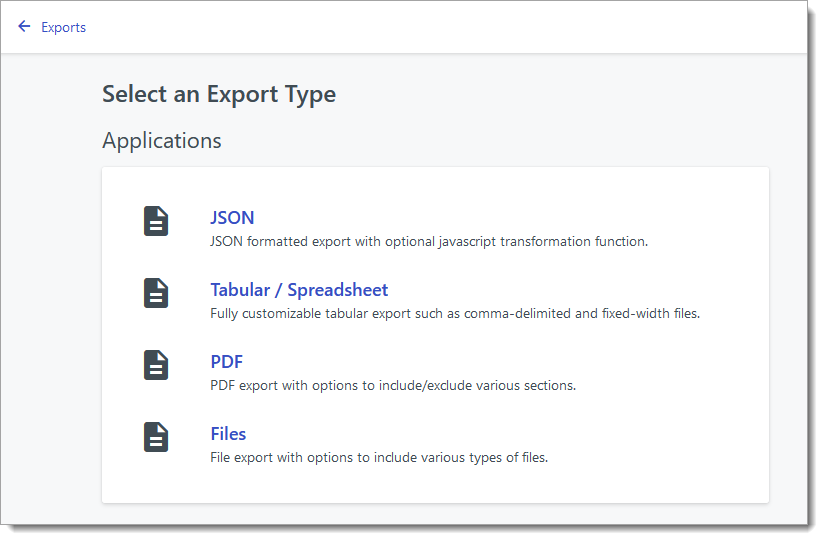
- Click Tabular/Spreadsheet.
- Name the export file, and select from the Comma Delimited, Tab Delimited, or Fixed Width style types. The most common option is Comma Delimited, but your needs may vary.

- In the Columns area, add the fields you wish to include in your export by finding them on the Available Fields panel and clicking to add them. You can also drag-and-drop them into your desired order.
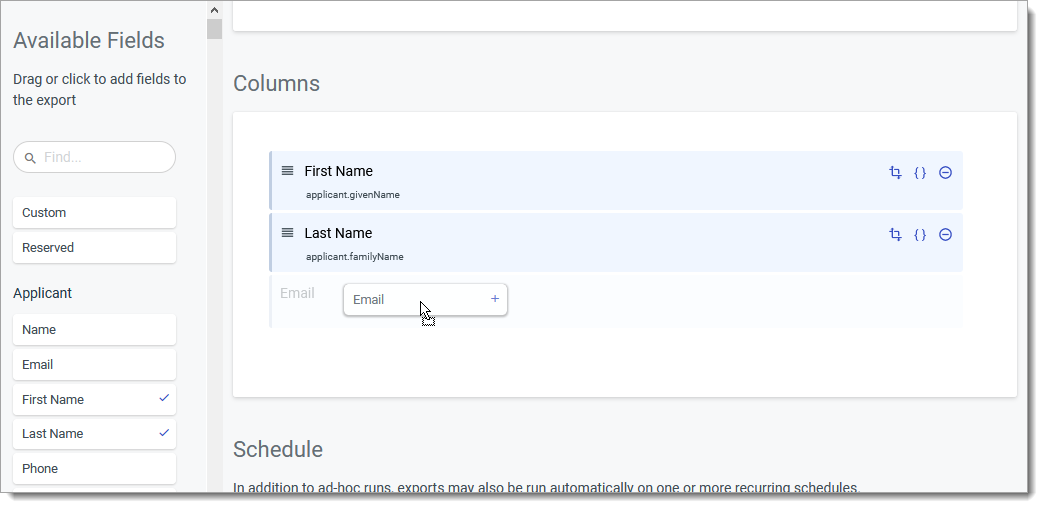
- Where applicable, click the plus sign near any section to add all of its fields. Fields you have already included appear with a checkmark beside them.

- For fields that involve multiple data points, a Pivot window appears allowing you to select which columns to include. To do this:
- Drag the desired columns from the left to the right.
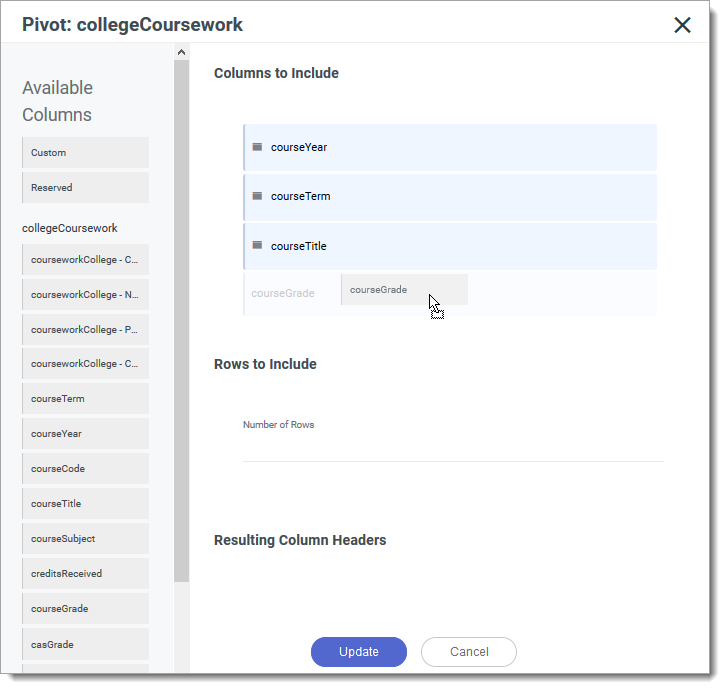
- Order them as desired.
- Select the number of rows you'd like to include. For example, for Colleges Attended, if you set this number to 5, five colleges and their corresponding data will be included in your export. The remaining data is excluded.
- Check the Resulting Column Headers section to review how your column headers will appear in the resulting export.
- Click Update to save your changes.
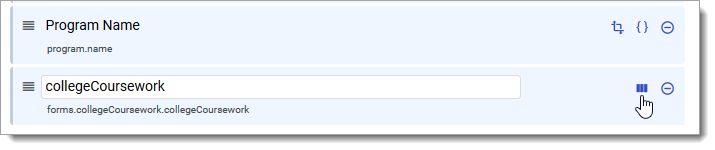
- To make changes to the selected fields once you've dismissed this window, click the Pivot Table icon on the corresponding field.
- Drag the desired columns from the left to the right.
- When you’re done configuring the export, click Create Export.
Exporting Review Results
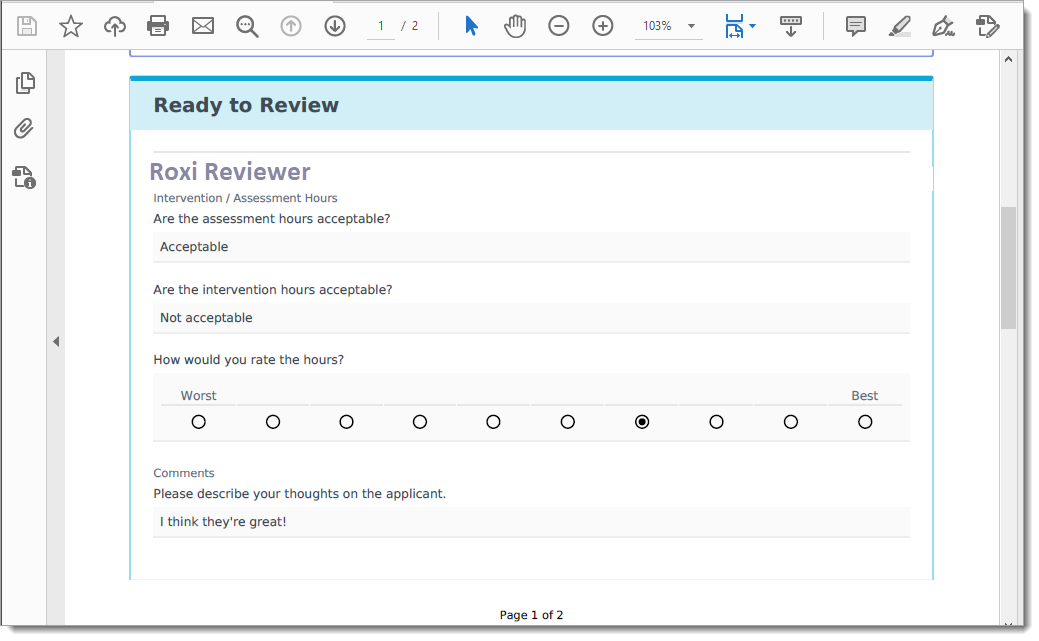
If you're using Evaluation Forms to record the results of your reviews or interviews, you can export the results into a PDF. When generating Application PDFs, the Evaluation Form results appear in a section called Evaluations.
Exporting the Default PDF
The quickest way of exporting review results is to export the Default PDF. There's no configuration required to generate this file, which includes a cover page, attachments, documents, and other applicant data.
Since this PDF document includes the entire application, this method allows you to quickly create an export file without needing to select which sections you want to include. To export a Default PDF:
- Navigate to the Applications View.
- Click the checkbox near any application you wish to include in your export.
- Click Export from the Batch Actions menu
- Click Generate next to Default PDF.

- A window appears confirming that your export is being processed. Wait for the export to finish and click the link to download it here, or dismiss the window.
- If you dismiss the window or need to access the export again, click Downloads from the Activity section to download the file later.
- The Evaluations section of the PDF file includes all review forms completed on the Application, along with the Reviewer's name, field responses, and Datestamp. The Evaluations are separated by headings displaying the name of the Evaluation Form used for the review.
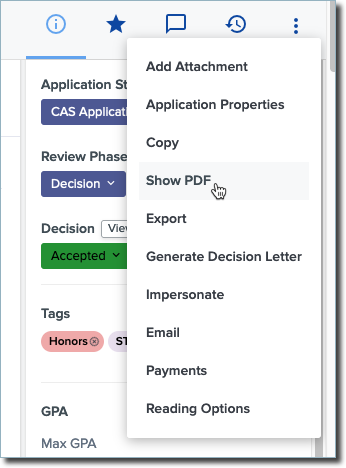
You can also generate the Default PDF for an individual application by navigating to the desired application record, and selecting Export from the More Options (three dots) menu.
Configuring an Export Template with Review Results
If you don't want to export the entire application as described above, another way of exporting review results is to create a customized export file. Using this method, you can select the specific elements you wish to include in your PDF file. For example, you can configure a PDF export that only includes the Summary Page and Evaluation Form results. To configure an export file including review results:
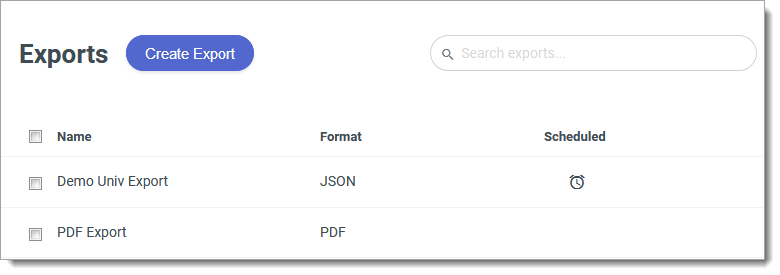
- Go to the Import/Export section of the Settings menu and click Exports.
- Review the existing exports, or click Create Export to begin creating a new export file.
- Select PDF Export.

- Name the export file.
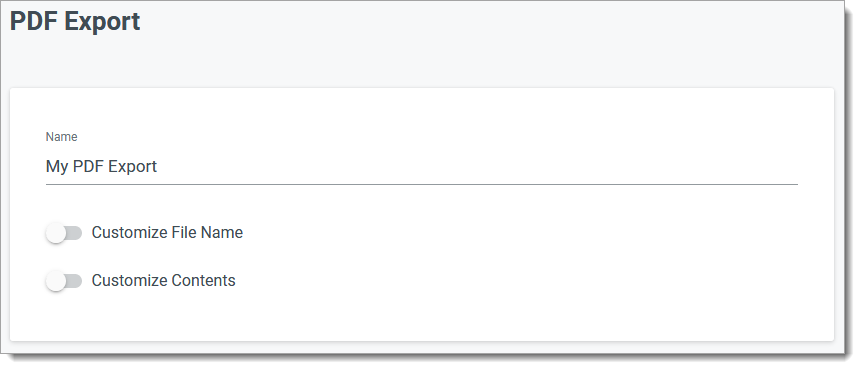
- Enable the Customize Contents option to establish which sections of the PDF you'd like to include. To include review results, make sure Evaluations is checked.

- Check and uncheck the sections as desired, then click Create Export at the bottom of the page.
- Once you've configured this export file, it becomes available to select when generating an export file.
- Once the files have generated, click the links to download them.

- The Evaluations section of the PDF file includes all review forms completed on the Application, along with the Reviewer's name, field responses, and Datestamp. The Evaluations are separated by headings displaying the name of the Evaluation Form used for the review.
Filtering for AAPI Accreditation Status
It may be useful for you to filter applicants by their APA, CPA, and PCSAS Accreditation Statuses. To do this, you'll need to create Custom Properties for each of these accreditations and then display the Custom Properties as desired.
Creating AAPI Accreditation Custom Properties
To filter your applicants for their accreditation status, you'll first need to add three Custom Properties to capture this information. Once you're finished, you'll have fields on each application that indicate the accreditation status for APA, CPA, and PCSAS, respectively. To add the Custom Properties:
- Navigate to the Settings menu and click Application Properties under the Application Setup heading.

- Click the Edit Pencil.
- Click and drag the Calculated Property option from the left to the list on the right.

- After placing the field as desired, configure its name (e.g., APA Accreditation, CPA Accreditation, or PCSAS Accreditation). You'll do this for each of these accreditation types.

- Select String as your Data Type.
- Next, enter the JavaScript Expression that looks for the appropriate accreditation.
- Once you've completed this, click Add.
- Repeat steps 3-7 for each accreditation.
Applying the Required JavaScript Expressions
JavaScript is a programming language commonly used to add interactive elements to a webpage. In Outcomes, JavaScript expressions allow you to dynamically incorporate other data points from the software in a Custom Property. In this case, you'll need to add the following JavaScript Expressions for each Accreditation Custom Property. Copy the appropriate text below, and paste it into the Expression window when completing Step 6 above.
APA Accreditation
{
  // Enter key of accreditation value to return.
  let statusKey='apa';
  if ((forms.dct_designated_subfield_info)
      && (forms.dct_designated_subfield_info.accreditation_status.rows)
     ) {
     let formRef = forms.dct_designated_subfield_info.accreditation_status.rows;
     return (formRef[statusKey].accreditation) ? formRef[statusKey].accreditation : null;
  } else {
    return null;
  }
}
CPA Accreditation
{
  // Enter key of accreditation value to return.
  let statusKey='cpa';
  if ((forms.dct_designated_subfield_info)
      && (forms.dct_designated_subfield_info.accreditation_status.rows)
     ) {
     let formRef = forms.dct_designated_subfield_info.accreditation_status.rows;
     return (formRef[statusKey].accreditation) ? formRef[statusKey].accreditation : null;
  } else {
    return null;
  }
}
PCSAS Accreditation
{
  // Enter key of accreditation value to return.
  let statusKey='pcsas';
  if ((forms.dct_designated_subfield_info)
      && (forms.dct_designated_subfield_info.accreditation_status.rows)
     ) {
     let formRef = forms.dct_designated_subfield_info.accreditation_status.rows;
     return (formRef[statusKey].accreditation) ? formRef[statusKey].accreditation : null;
  } else {
    return null;
  }
}
Working with the Accreditation Custom Properties
After completing the steps above, the accreditation information now appears as a Custom Property on each application. This allows you to run filters based on accreditation.
To find the accreditation status for an individual applicant:
- Navigate to their application.
- Click the More Options (three dots) button and select Application Properties.
- The accreditation status fields you've built appear here.

To filter for accreditation statuses:
- Navigate to the Applications View.
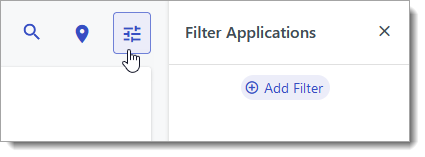
- Click the Filter icon and select Add Filter.
- Click Application Property and find the accreditation status you'd like to filter on.

- Next, adjust the filter as necessary (e.g., select is exactly, and type in the status you'd like to filter for).
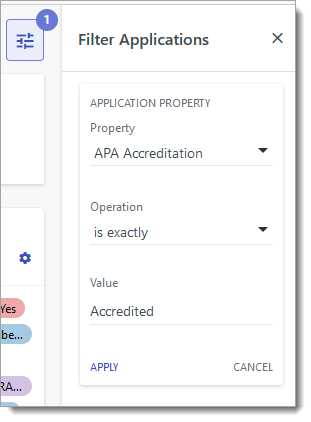
- Click APPLY to add your filter. The applications that appear are those that match your query.