Note that anyone with the Manage Destinations permission can view and edit all destinations created.
- Using the Menu Bar, open the Reports & Exports panel, then click Destination Manager.
- Click New Destination.
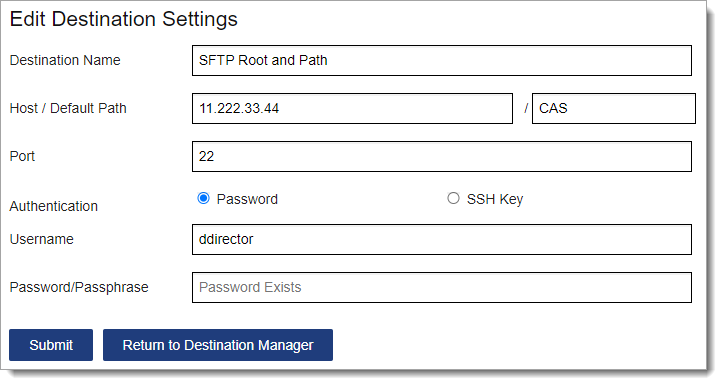
- Enter a name for your destination.
- Enter the host path (i.e., root folder) of your access. If needed, you can enter a subfolder in the default path. For example, you can enter 11.222.33.44 / CAS, where 11.222.33.44 is the root of your SFTP login and CAS is a subfolder underneath it. Note that this path will be checked and verified once you submit.
- Enter a port name. If you do not have a port name, you can use the default 22 value.
- Select how you want to authenticate your destination setup and your authentication credentials. Ensure that the host/default path is accurate. Also note the following:
- You may need to contact your IT team for the host name and other information.
- In some cases, this path is not an IP address.
- SSH keys need to be in PEM format.
- Liaison requires the private SSH key to be entered.
- Click Submit.
