Creating Filters for Data in Tables
It may be useful for you to filter applications using data points not exposed in Outcomes's standard filters. For example, data stored in an array or table (e.g., Colleges Attended, Accreditation Status, etc.) is not available to query for in application filters. This is also true of any data point stored in a Named Row table you've created on a form.

To work around this, you'll need to create Custom Properties for each of these data points, and then display the Custom Properties as desired.
Note: As of 2025 release 2, when working with segments on the Applications Grid, more powerful filtering is now possible using the data found within tables on application forms. Searches and segments now evaluate data at the row level. This means that your queries will return results only when all your specified conditions are met within a single row. For example, if you're querying for data within a college coursework table, you can isolate colleges that are within a specific state and where an applicant attained a desired number of credit hours. This enhancement allows for more dynamic and accurate searches and segmentation.
Creating the Custom Properties
To filter your applicants using fields from a table, you'll first need to add Custom Properties to capture this information. Once you're finished, you'll have fields on each application that display your desired information. To add the Custom Properties:
- Navigate to the Settings menu and click Application Properties under the Application Setup heading.

- Click the Edit Pencil.
- Click and drag the Calculated Property option from the left to the list on the right.

- After placing the field as desired, configure its name (e.g., High School GPA).

- Select the appropriate Data Type.
- Next, enter the JavaScript Expression that looks for the appropriate field, as shown below.
- Once you've completed this, click Add.
- Repeat steps 3-7 for any additional fields you'd like to create.
Applying the Required JavaScript Expressions
In Outcomes, JavaScript expressions allow you to dynamically incorporate other data points from the software in a Custom Property. In this case, you'll need to add the following JavaScript Expressions for each data point you'd like to use in filters. For each field you're adding, you'll need to:
- Copy the JavaScript expression below.
- Edit the JavaScript to insert the appropriate field keys.
- Paste the code into the Expression window when completing Step 6 above. (Use the view source icon at the top right to copy the code snippet.)
JavaScript Code to Use
{
    // Enter the ID of form data to return
    let formId = 'forms.your_form_name'
    // Enter the ID of table data to return
    let tableId = 'yourTableName';
    // Enter the ID of column data to return
    let columnId = 'yourColumnId';
    // Enter the ID of named row data to return
    let statusKey='yourRow';


    // DO NOT EDIT BELOW
    if ((forms[formId])
        && (forms[formId][tableId].rows)) {

        let rowRef = forms[formId][tableId].rows;
       return (rowRef[statusKey][columnId]) ? (rowRef[statusKey][columnId]) : null;

    } else {
      return null;
    }
  }
Modifying the Code
For this expression to work in your environment, you'll need to replace the four variables at the top of the code snippet.
- On the line let formId = 'forms.your_form_name', replace forms.your_form_name with the key of the form that contains the data you need. To use the form in the example below, you'd replace forms.your_form_name with HighSchool.

- On the let tableId = 'yourTableName' line, replace yourTableName with the key from the table you want to use. In the example above, highSchoolGPA is the key you would use.
- On the let columnId = 'yourColumnId' line, replace yourColumnId with the key from the column you want to use. For example, if you wanted to extract the GPA from the table shown above, you could click the GPA column to see its details. As seen below, the key is gpa.

- Lastly, on the let statusKey='yourRow' line, replace yourRow with the key for the row you're using. In the example above, if you wanted to work with the Junior Year GPA, you could click the Junior Year named row to see its key. In this case, the key is juniorYear.

With the updates from this example, the editable area of the code would appear as follows:
{
    // Enter the ID of form data to return
    let formId = 'HighSchool'
    // Enter the ID of table data to return
    let tableId = 'highSchoolGPA';
    // Enter the ID of column data to return
    let columnId = 'gpa';
    // Enter the ID of named row data to return
    let statusKey='juniorYear';
Once this is complete and the code is used in a Custom Property, each application will have a Junior GPA custom property usable in queries and exports.
Working with the new Custom Properties
After completing the steps above, the data you've pulled in now appears as a Custom Property on each application. This allows you to run filters based on that data.
To find the accreditation status for an individual applicant:
- Navigate to their application.
- Click the More Options (three dots) button and select Application Properties.
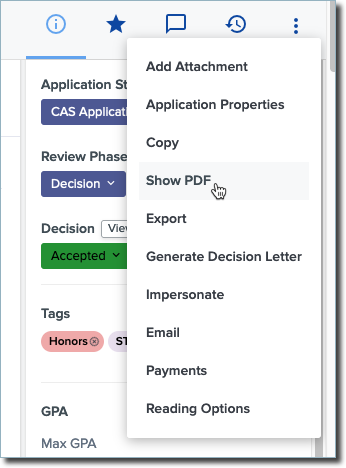
- The new fields you've built appear here.

To filter using these fields:
- Navigate to the Applications View.
- Click the Filter icon and select Add Filter.

- Click Application Property and find the field you'd like to filter on.

- Next, adjust the filter as necessary.

- Click APPLY to add your filter. The applications that appear are those that match your query.