Including Data about Applicant Uploaded Documents in Files Export Manifest File
When using the Files Export feature to export applicant-uploaded documents, Outcomes includes a manifest file that you can configure to contain metadata about the files you're exporting.

By default, there is no option to include document-specific metadata in this manifest file. Using this configuration, you can pull the applicant-uploaded document metadata (specifically the included document subtypes) into the manifest file of your Files Export. This allows you to see what types of applicant-uploaded documents are included at a glance.
The document type options include:
- Copy of Passport
- Immunization Record
- Research Proposal
- Other International Document
- Work Experience
- English Proficiency Exam
- Unofficial Transcript
- Certification Record
- Supplemental Document 1
- Supplemental Document 2
- Unofficial Foreign Transcript (Original Language)
- Military Papers
- Test Score Report
- Work Sample
- Unofficial Foreign Transcript Evaluation
- Other
- Writing Sample
- Personal Statement
- Application Essay
- Certificate of Finances
- Publication
You'll configure this by building a Files Export with these modifications:
- Customized file source names that use a JavaScript snippet to display the document type.
- An adjusted manifest file that uses another JavaScript snippet to extract each document type from the file source name.
Build the Files Export
To build the Files Export:
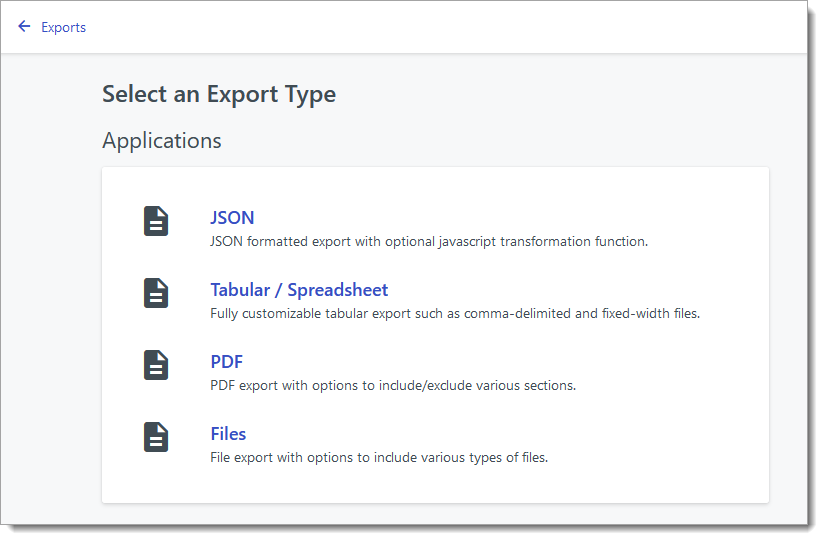
- Create a new export and select Files as your export type.

- Give the export a name, and select your desired file sources to include them in the export (e.g., Application PDF, College Transcripts, CV/Resume, Other Attachments).

Add JavaScript Code to the Filenames in the Export
Once you've added your file sources, update them by adding a JavaScript expression to the filename. This expression extracts the needed metadata and places it in the name of the file that you're exporting.
In the {filename} fields, add the following JavaScript expression:
{{filename}}_{{item.form.other_attachments.documentType}
The resulting File Sources to Include will look similar to the image below.

Configure Manifest File Fields
Once you've configured the File Sources to Include area, you can work with the Manifest File area to configure what metadata gets exported in that file.
To do this, click the plus sign under Add Manifest.

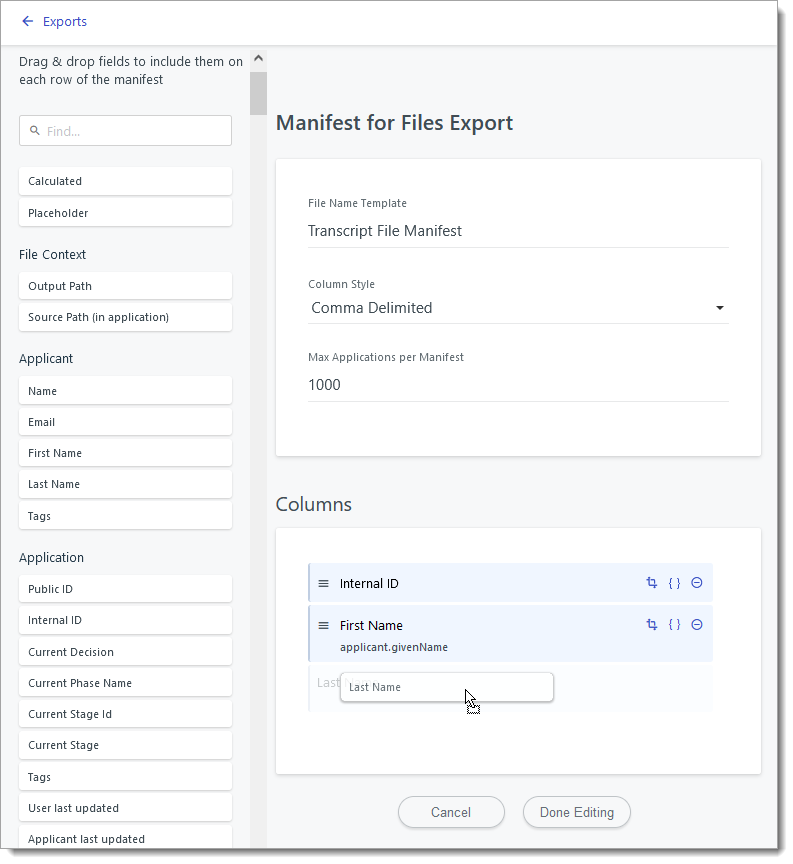
Next, name the Manifest file, and add the data points you'd like to include in the manifest by dragging them into the Columns area. The columns you add here are your preference, but make sure to set Document Type as your second column.

Add JavaScript Code to Manifest File Fields
Once you've added the columns to your manifest file, you'll need to add a JavaScript snippet to the Document Type column. The snippet will use the filename created above to extract the required data into the manifest file.

Click the expression icon and paste the following JavaScript expression.
{
   return (file.fileName.split(".")[0]).split("_")[2];
}
Save your changes and run the export as desired. This should result in a manifest file that includes the document types as a value for each application.

