Working with Export Destinations
Outcomes provides several options to download the exports you create. Aside from directly downloading exports to your computer, you can have your files sent to the online destination of your choice. Through the Export Destinations feature, you can establish where you'd like your exports to be sent.
SFTP
SSH File Transfer Protocol, or SFTP is a network protocol that facilitates file transfer and manipulation over a secure data stream.To create an Export Destination using an SFTP account:
- Navigate to the Settings menu and select Export Destinations under the Import/Export heading.
- Click Link SFTP Account from the Export Destinations window.

- Enter your SFTP Account information. This can be obtained from your SFTP provider.

- You can set up your SFTP destination using a username and password or a username and SSH key combination. If you use the SSH key combination, enable the Use SSH private key toggle. This allows you to add your SSH private key.
- We support the following SSH key formats:
- RSA in OpenSSL PEM and ssh.com format
- DSA in OpenSSL PEM and ssh.com format
- ECDSA 256/384/521 in OpenSSL PEM format
- ECDSA 256/384/521, ED25519 and RSA in OpenSSH key format
- Private keys can be encrypted using one of the following cipher methods:
- DES-EDE3-CBC
- DES-EDE3-CFB
- DES-CBC
- AES-128-CBC
- AES-192-CBC
- AES-256-CBC
- We support the following SSH key formats:
- If desired, enable the Encrypt with a Public PGP key option, then enter your PGP key information.
- Click Create.
- Once your information is validated, the Export Destination is added.
If you use IP whitelisting on your SFTP, you'll need to add the following IP addresses:
- 34.236.56.236
- 52.201.147.233
- 54.156.209.141
- 52.203.59.228
- 54.92.250.34
Webhook
A webhook is an event notification transmitted online to provide another application with real-time information. If you or your technical staff understand how webhooks work, you can create one in Outcomes to have your data sent directly to the compatible application of your choice.
To configure a webhook as an Export Destination:
- Navigate to the Settings menu and select Export Destinations under the Import/Export heading.
- Click Add Webhook from the Export Destinations window.
- Enter your webhook data. The webhook configuration settings here are determined by the requirements of your webhook destination. Since this data is provided by a third party, you'll need to consult your endpoint service documentation for these details and for help with testing your webhook settings.
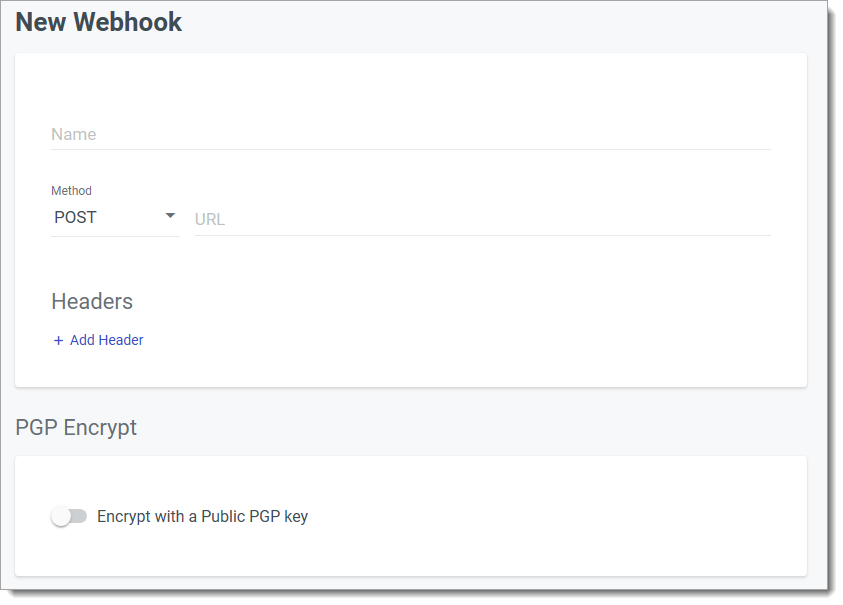
- If desired, enable the Encrypt with a Public PGP key option, then enter your PGP key information.
- Click Create.
- Once your information is validated, the Export Destination is added.
Applying Workspaces for Additional Security
If you'd like to prevent some users within your institution or consortium from seeing an export destination you've created, you can do this by applying a workspace in your settings. With this feature, only the members in the team assigned to that workspace can see your export destination.
To apply a workspace, enable Restrict to Selected Workspaces and click the plus sign to add the workspaces that should have access.
