Scheduling Automated Actions
In Outcomes, you can establish automated updates, or Automation Rules, that allow you to automatically complete desired tasks when specific conditions are met. For example, you can isolate a specific group of applications, change their phases, and have an email sent to the associated applicants once they meet the application status of your choice.
Choosing Between Workflows and Automations
Building Automation Rules
To create an Automation Rule:
- Navigate to the Settings menu and select Automation under Application Review.
- From the Automation page, you can review your existing rules, or click Create Rule to create a new rule.

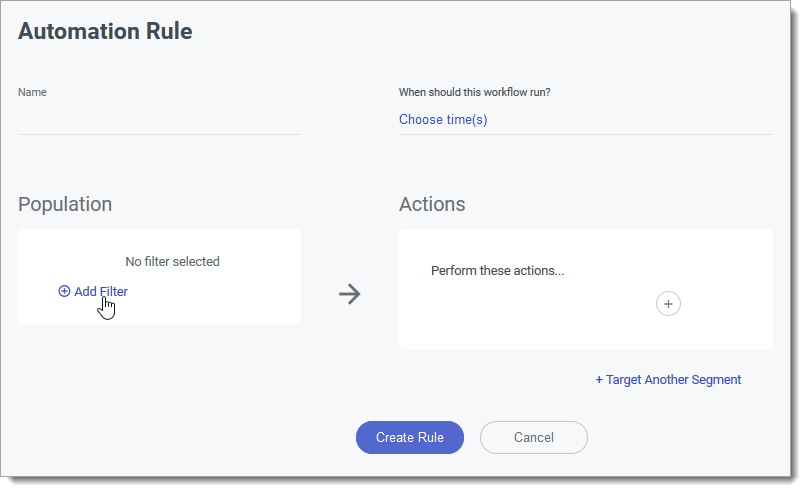
- Give your Automation Rule a name, and click Add Filter to begin configuring your rule. Automation rules will act on every record that matches these criteria at the scheduled time.
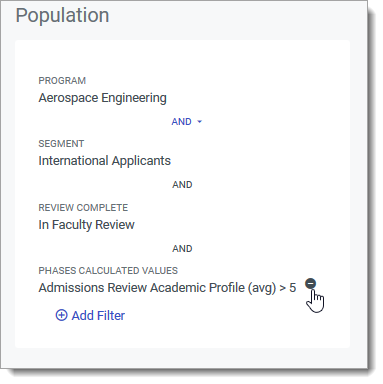
- Select your desired filter and click APPLY. Click Add Filter again to add more filters, including the Group option.
- If you've added multiple filters, select whether included applications must match any or all of the filters by clicking AND or OR.

- Click the minus sign to remove a filter.
- Next, establish what actions should be applied to any applications that meet your criteria. Start by clicking the plus sign under Actions.

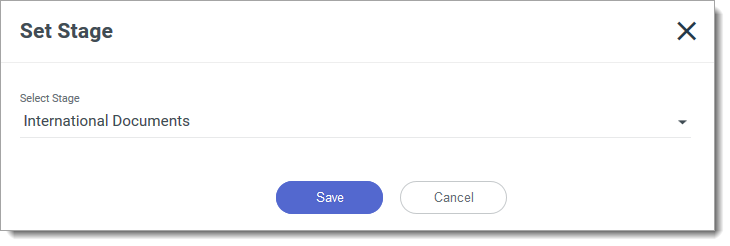
- Indicate which available action should take place, and click Save.
- Click the plus sign again to add additional actions. To add alternate actions based on the segments applications are in, click Choose Segment, and select the Segment that this action should apply to.

Then, add the corresponding ELSE action below by clicking Target Another Segment. Next, click the plus sign to add your alternate action.
- You can continue adding alternate actions by clicking Target Another Segment, or remove actions by clicking the More Options icon, and selecting Delete Set.

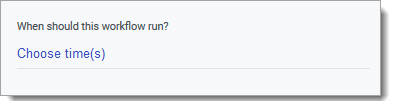
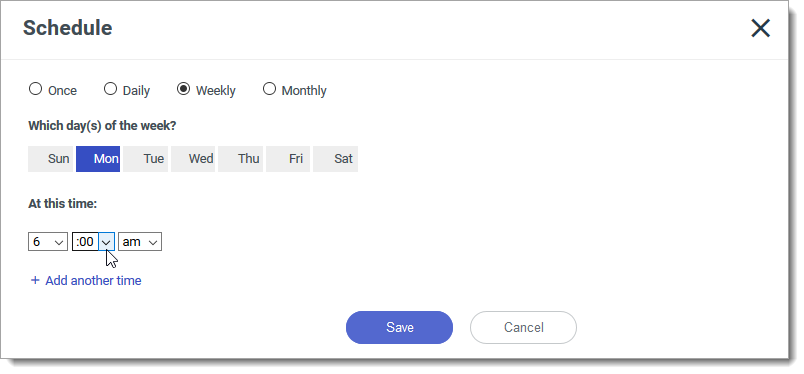
- To establish a timed schedule for this rule, click Choose time(s). Automation rules run only at the times you configure here; they do not run immediately when a field changes. Use Workflows if you need real-time responses to triggers like phase changes or tag updates.
- Indicate whether the rule should run once, daily, weekly, or monthly. If necessary, select the day and time the rule should run. To schedule this rule to run more than once on that day, click Add another time and select a new time. Avoid scheduling the same rule to run multiple times within the same hour; allow enough time for one run to complete before the next begins. Click Save to keep the time(s) you selected.
- Once you're satisfied with your settings, click Create Rule to save your rule.
Using Groups in Your Populations
When adding criteria for a population, one of the filter options is Group. This allows you to isolate a subset of applications that meet more specific criteria.

For example, if you wanted to capture:
- all applications with a NY state residence and in your "Application Reviewed" phase, and
- all applications with a residence outside of NY and in the "Waiting for Review" phase,
you could create a group that finds the applications matching the first bullet, and a separate group that finds applications matching the second bullet, then marry the two groups together under the same population criteria. This allows you to build a more advanced filter that would otherwise not be possible in a single set of criteria.
For even more advanced criteria, consider building your population as a segment, and selecting that segment in your automation population. This allows you to create multiple levels of groups.
Best Practices When Configuring Automation Rules
Review the information below to learn what to avoid when you're setting up your automation.
- Repeated Runs: automation rules run every time they are scheduled. Unless you want a record to continue to qualify, make sure that at least one of your actions removes the record from the rule’s filters or segment (e.g., by setting a property, phase, or tag that disqualifies it). Otherwise, the same applications can be updated over and over on each run.
- Run frequency: avoid running rules too frequently. Automation rules are asynchronous and run at a lower priority than many interactive actions in Outcomes, so if you schedule a rule to run very frequently, a new run can begin before the previous run finishes. This can lead to overlapping updates and unexpected results. For this reason, schedule rules to run once per day. Avoid running a rule more than once every two hours.
Running Automation Rules
Automation rules run at their scheduled dates and times. If a rule is still processing when the next scheduled run time arrives, Outcomes may start evaluating the rule again for the same population. With this in mind, avoid scheduling rules too frequently, and consider adding an action that will remove individuals from the targeted population.
You can also run automation rules on demand. To do so:
- Navigate to the Automation Rules page.
- Click the checkbox next to the Automation Rule you want to run.
- Click Run Now.
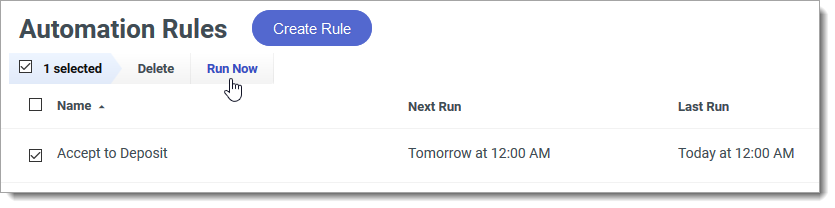
- When the confirmation window appears, click Run Now.
Disabling Automation Rules
Once an automation rule is created, it is active. Automation rules do not have an on/off toggle. To stop a rule from running, either delete it or set its schedule to a one-time run in the past.
To delete an automation rule:
- Navigate to the Automation Rules page.
- Click the checkbox next to the Automation Rule you want to delete.
- Click Delete from the menu.

To change an automation rule's schedule:
- Navigate to the Automation Rules page.
- Click Edit near When should this workflow run?
- Select a different date and time. To ensure the rule doesn't run, set it to run Once, and select a date and time in the past.