Inviting Applicants to Interview
Overview
There are 6 main steps involved in inviting applicants to interview and finalizing your interview schedule. Before sending email invitations, you’ll need to complete several setup tasks. Once invitations are sent and applicants begin selecting their preferred interview dates or registering for sessions (based on your scheduling configuration), you can move on to finalizing your interview schedule.
Video Overview
1. Send Applicants to the Interview Portal
In the Program Portal, once you’ve chosen applicants to interview, you can send them to the Interview Portal individually or in bulk.
To send applicants to the Interview Portal individually, open their full application and click Send to Interview Portal.

To send applicants to the Interview Portal in bulk, select the applicants from the application grid and click Interview Portal.

If you add an applicant by mistake, you can remove them in the Interview Portal via the Applicant Profile panel, as long as they're not assigned to a session. If needed, you can always re-add them from the Program Portal.

2. Adjust Program Settings
From the Interview Portal menu, open Program Settings (gear icon in the bottom left) and review the following:
- Notifications Settings: choose which staff members, if any, receive automated emails about canceled interviews and declined invitations.
- Applicants Self-Scheduling: applicants are automatically assigned to their preferred session. If disabled, you’ll need to assign them manually. Most programs enable this feature.
- Applicant Session Waitlist: this option allows applicants to waitlist themselves for specific sessions. After accepting your invitation, applicants can schedule themselves for open sessions and/or waitlist for full ones. Once a spot opens, waitlisted applicants are notified in one of two ways.
- First-Come Waitlist: when a spot opens, all waitlisted applicants are notified. The first to respond gets the spot.
- Sequential Waitlist: applicants are notified one at a time in the order they joined the waitlist. If someone doesn't respond within the time limit you set (e.g., 24 hours), they move to the bottom of the list, and the next person is notified. Additionally, you can modify the waitlist order by accessing the session's Assigned Applicants.
- Applicant Reminder Email: sends a reminder email to applicants remaining in the Invited and Ready for Scheduling status after a specified number of days since their initial invitation.
- Session Management Deadline: sets how many days in advance applicants must accept, reschedule, or cancel their interviews. After this deadline passes, applicants are instructed to contact the program for changes.
Example of Waitlist Settings (Program View)

Example of Applicant View: Joining Waitlists

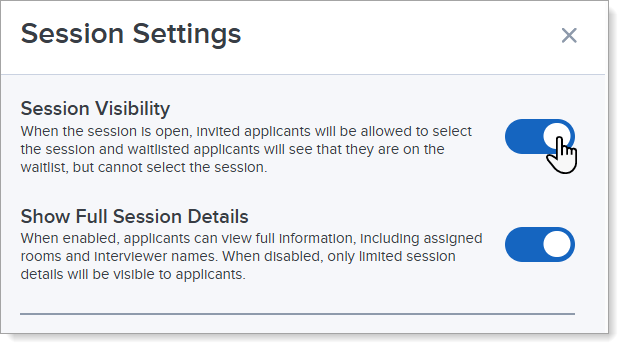
3. Enable Session Visibility
For each session, enable Session Visibility so that applicants can see the session when you send your invitations. Disabling session visibility conceals all session details from new applicants while still allowing scheduled applicants and interviewers to view the confirmed session on their dashboards.
4. Move Applicants to the "Invited and Ready for Scheduling" Status
This status ensures applicants can see and select your sessions.

5. Send Your Invitations
Once you've completed the steps above, you can send your interview invitation emails. Applicants can access the Interview Portal directly from their application to accept or decline the invitation and select their preferred interview dates. When sending these emails, consider adding a link to the Participating in Interviews guide for applicants, which provides key information about using the portal.
Allowing Applicants to Self-Schedule
If you have enabled self-scheduling, when an applicant receives your email invitation and logs in to the Interview Portal, they can accept or decline your invitation via the My Programs button. If they accept, the applicant then selects their preferred session, and if the session waitlist is enabled, any other sessions they would like to be waitlisted for.
In your view of the Interview Portal, the applicant's confirmed session appears in two places:
- The Applicants tab.

- The Sessions tab by clicking Assigned Applicants (this will also show any applicants that have waitlisted the session).

Note: if you're using the Interview Portal to conduct your interviews, applicants can see their specific interview rounds and times once the schedule is generated. If you're conducting interviews outside the portal, only the confirmed session appears.
Manually Assigning Applicants to Sessions
If you have not enabled self-scheduling, once applicants receive your email invitation and log in to the Interview Portal, they can accept or decline your invitation via the My Programs button. Then, you'll need to confirm their selection.
Once the applicant submits their session preference, they see the program as pending.

In your view of the Interview Portal, the applicant's preferred session appears in the Applicants section, and you can manually assign it. Once you manually assign the session, it moves from Pending to Confirmed for the applicant.

Scheduling Notifications
To ensure transparency between applicants and programs during the scheduling process, a set of system-generated emails are sent as follows:
|
Action |
Email Recipient |
Email Content |
|---|---|---|
|
Applicant declines an interview invitation. |
Program |
Subject: Invitation Declined Hello [Program Manager First Name] [Program Manager Last Name], Please be advised that [Applicant First Name] [Applicant Last Name] has declined the invitation to participate in an interview session with your program. If you need to contact the applicant, their email address is [Applicant Email Address]. Regards, |
|
Applicant cancels an interview. |
Program |
Subject: Interview Cancellation Hello [Program Manager First Name] [Program Manager Last Name], Please be advised that [Applicant First Name] [Applicant Last Name] has cancelled a scheduled interview with your program. They will no longer be attending the [Session Name] session. If you need to contact the applicant, their email address is [Applicant Email Address]. Regards, |
|
A spot becomes available to an applicant on a session waitlist – the waitlist is set up as first-come, first-served. |
Applicant |
Subject: Interview Spot Available – First to Respond Will Be Scheduled Hello [Applicant First Name], Please be advised that a spot just became available for the [Program Session Name] interview session you are waitlisted for at [Program Name]. This opening will be filled on a first-come, first-served basis. To accept the open spot, please log in to the ResidencyCAS Interview Portal and go to the Interviews tab of the My Programs panel to update your assignment with [Program Name]. Only the first applicant to respond will be scheduled. All others will remain on the waitlist and be notified if additional spots become available. Regards, |
|
A spot becomes available to an applicant on a session waitlist – the waitlist is set up sequentially, and the next applicant in line gets the spot. |
Applicant |
Subject: Interview Spot Available - Limited Time to Respond Hello [Applicant First Name], Please be advised that a spot just became available for the [Program Session Name] interview session you are waitlisted for at [Program Name]. As the next person in line, you now have the opportunity to claim it. Please note: You have until [Date and Time] to accept the open spot. If you do not respond by then, the spot will be offered to the next applicant on the waitlist. To accept the open spot, please log in to the ResidencyCAS Interview Portal and go to the Interviews tab of the My Programs panel to update your assignment with [Program Name]. If you no longer wish to take the open spot for the [Program Session Name], no action is needed. Regards, |
|
Applicant remains in the Invited and Ready for Scheduling status after a specified number of days, as determined by the program, following their initial invitation. |
Applicant |
Subject: ResidencyCAS Interview Invitation Reminder Hello [Applicant Full Name] [Applicant Last Name], As a reminder, [Program Name] has invited you to participate in an interview. Please log into your ResidencyCAS application and accept or decline the invitation. Regards, |
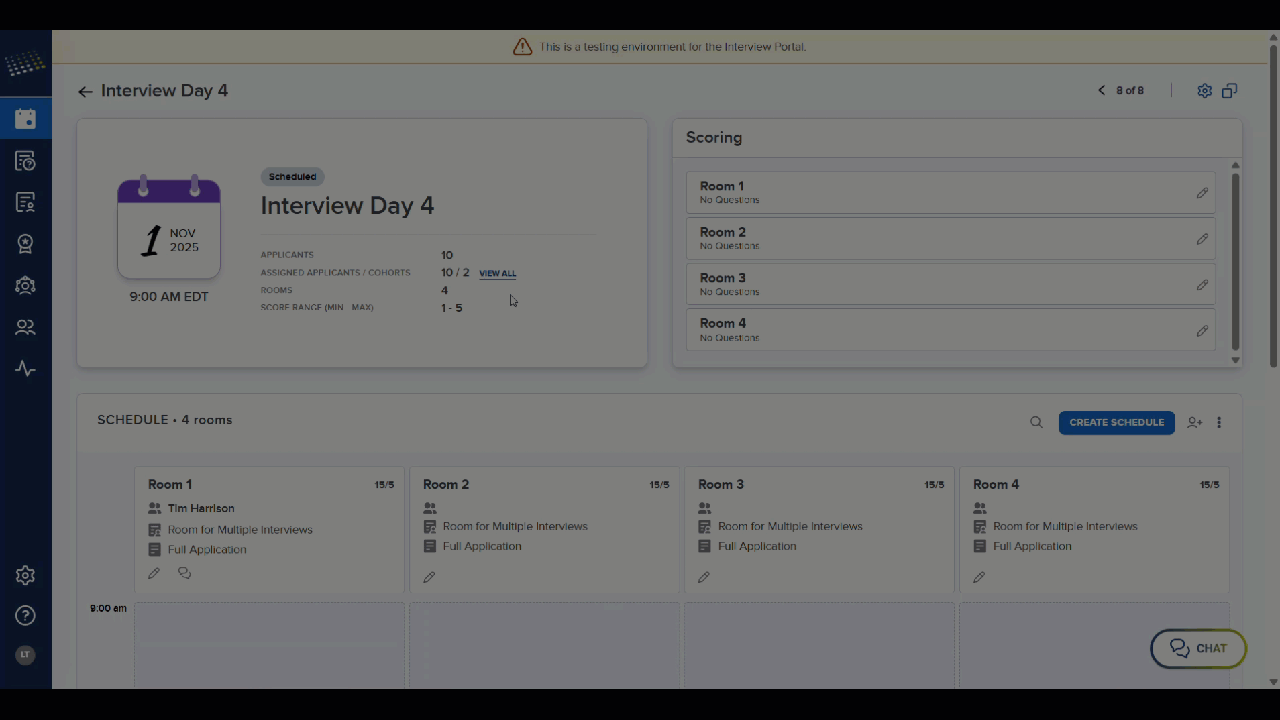
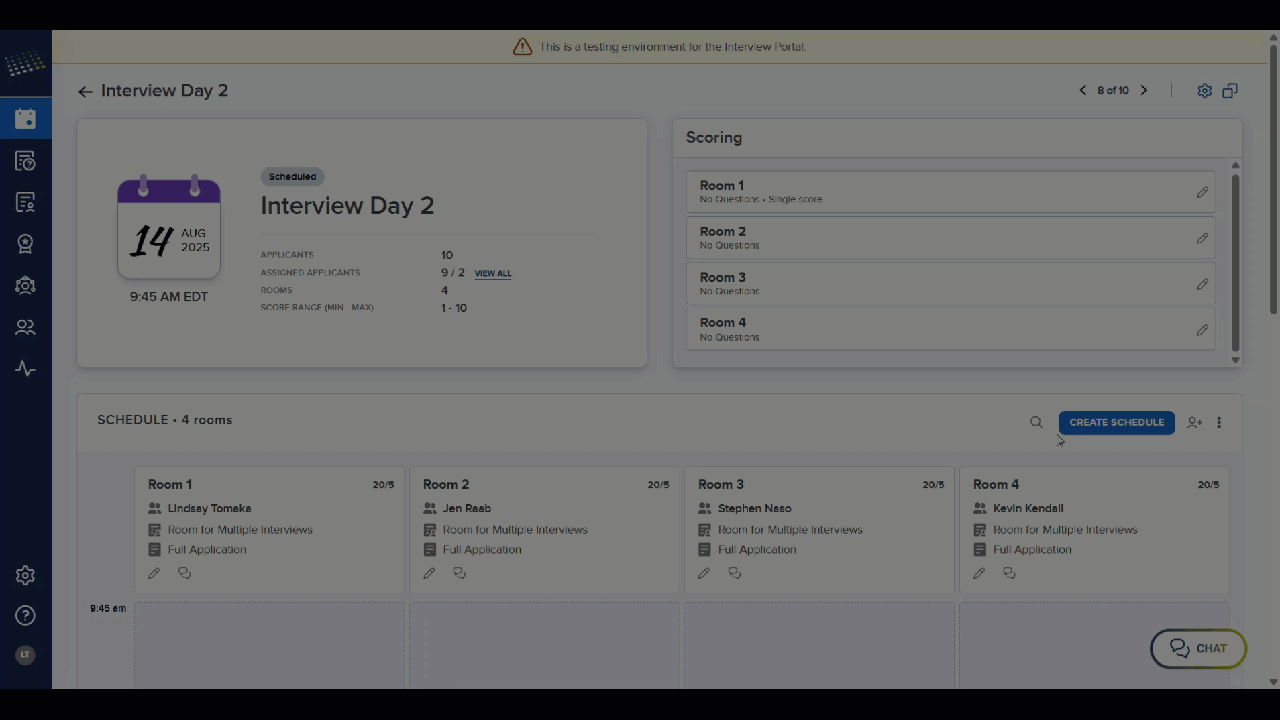
6. Finalize Your Interview Schedule
Once applicants accept their interview invitations and sign up for sessions, you can monitor how the sessions fill, make adjustments as needed, and finalize the interview schedule, which sets the times and pairings of applicants with their interviewers. Depending on the session type and its settings, the schedule is either created automatically or generated when you click Create Schedule.
You have full control over the schedule and can make adjustments as needed. For example, you can:
- Move applicants by clicking and dragging them.
- Remove, replace, or switch an applicant using the Manage Applicants menu (three dots) next to their name.
- Use the pencil icon in the top-right corner of any room to add/remove interviewers, adjust times, and add breaks.
- Clear the schedule entirely.
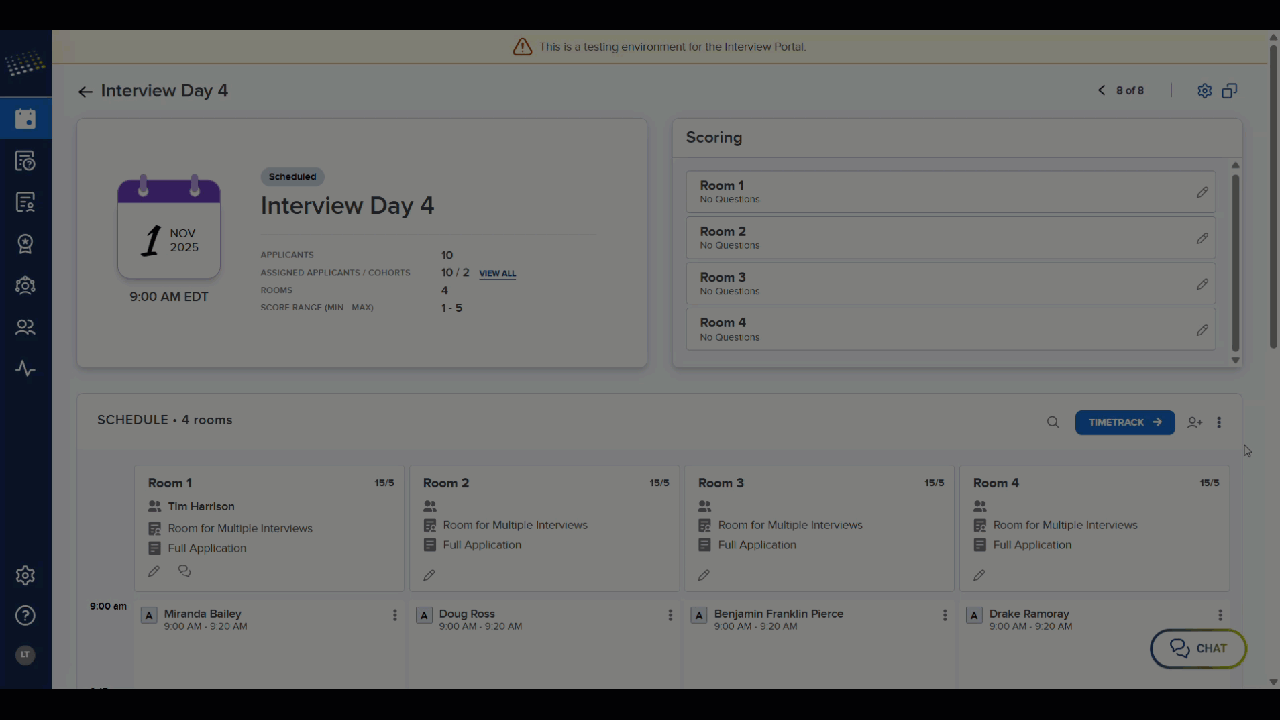
- Manually build the schedule.
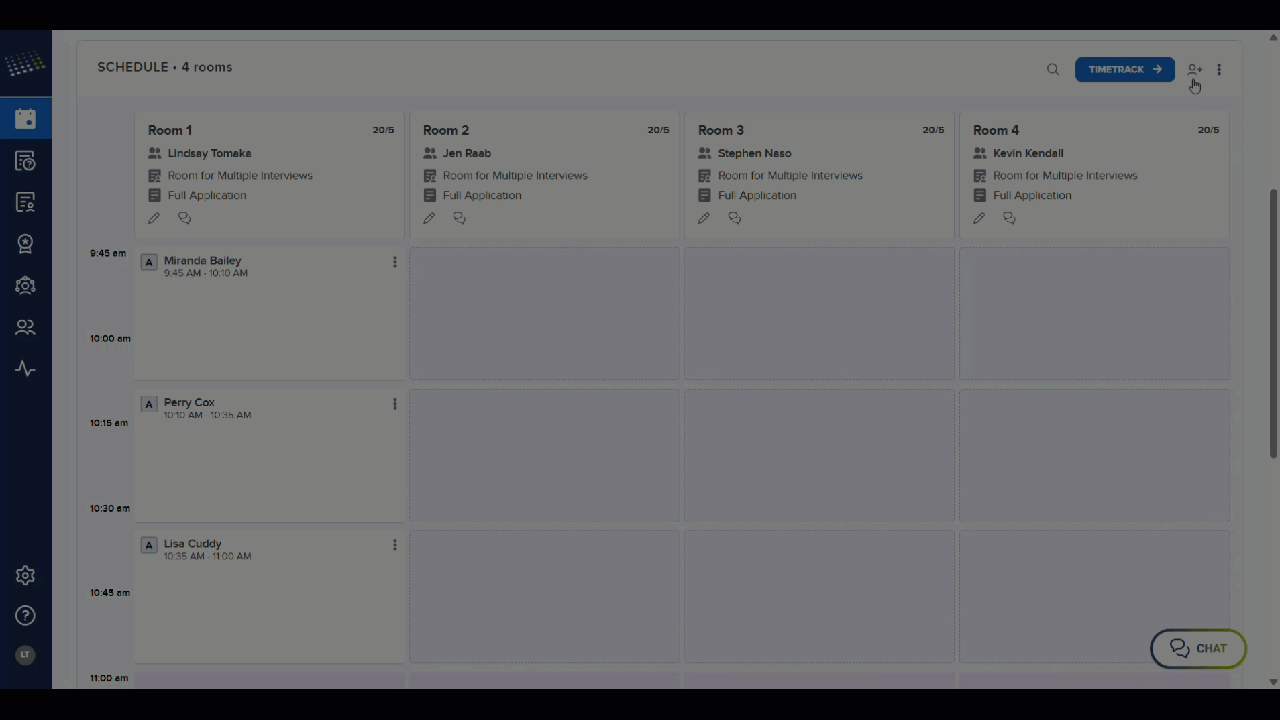
- If using Applicant Cohorts, change an applicant's assigned cohort.