Working with the Export Scheduler
Once you build export templates in SlideRoom, you can run them manually, or schedule them to run automatically. The Export Scheduler is a tool that allows you to schedule files to be exported without being manually initiated. Files can be downloaded to an individual computer, uploaded to a vcloud storage service, or passed along via SFTP (secure file transfer protocol) at the scheduled time of your choice. generate exports without creating a schedule
To create an export schedule:
- Navigate to your Account Settings by clicking the gear icon at the top right of your Administrator dashboard, then Account Settings.
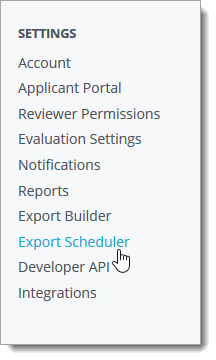
- From the Settings menu, click Export Builder. From here, you can review your existing scheduled exports.
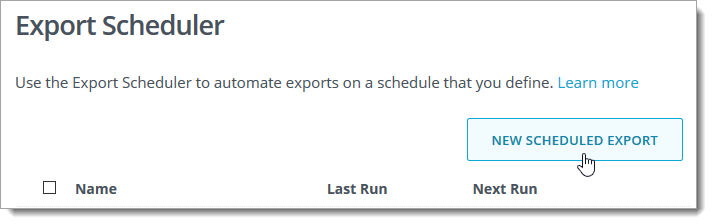
- Click NEW SCHEDULED EXPORT, then choose your output file type.
- From the Configure a Scheduled Export window, enter a description for your schedule.
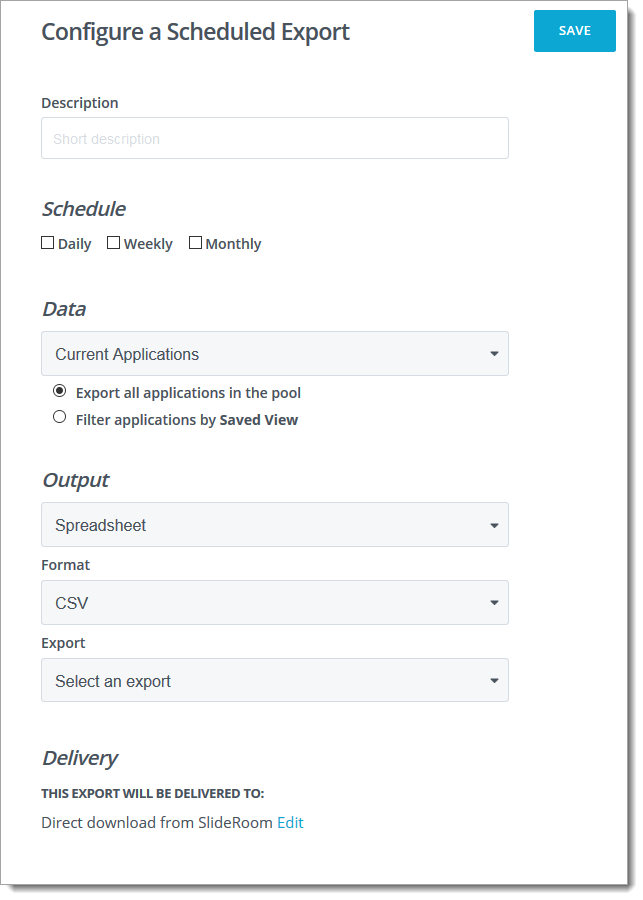
- Next, choose whether you want the schedule to be run Daily, Weekly, or Monthly. Then choose your desired date, day, and time.
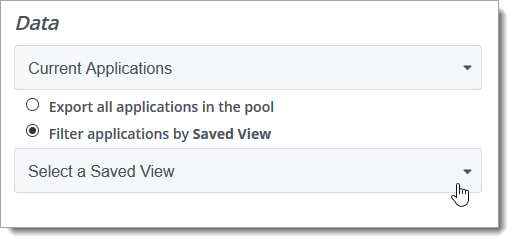
- In the Data area, choose which data source you'd like to use and whether to export all applications in this pool, or to filter them using a Saved View. If you select Filter applications by Saved View, a drop-down appears allowing you to select which Saved View you'd like to use.
- In the Output area, confirm your data file type. For Spreadsheets, choose which format you want to generate the export in, and which export template you'd like to use. For PDFs or Files, choose which items you'd like to include.
- Choose your delivery method. To adjust the default method, click Edit, and select a delivery destination by clicking CHOOSE. Once they've been generated, Direct Downloads are available by clicking the download icon at the top right of your SlideRoom window. Additional delivery destinations can be added from the Integrations section of your Account Settings.
- Click SAVE to complete the setup.
Scheduled Exports will run and be delivered without any further action from you. You can edit, delete or create new scheduled exports by returning to the Export Scheduler.