Creating Forms
Video Overview
Getting Started with Forms
Forms are sets of questions you create to be answered by applicants, reviewers, or evaluators. You can attach Forms to your programs so that each applicant can complete your desired form. You can create as many forms as you'd like, but it's usually best to reuse forms where possible to make your process more manageable.
To add Forms:
- Click Forms at the top of your Administrator Dashboard.

- Click +NEW FORM. Chose Application Form to create a form for applicants, or choose Reference Form to create a form for reference providers.
- Enter a name for your form and click CONTINUE. This opens the Form Builder.

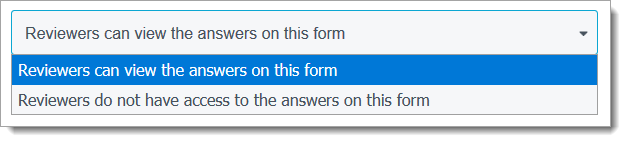
- If you're creating an application form, you can click on the page header to select whether the Form's answers should be visible to reviewers.
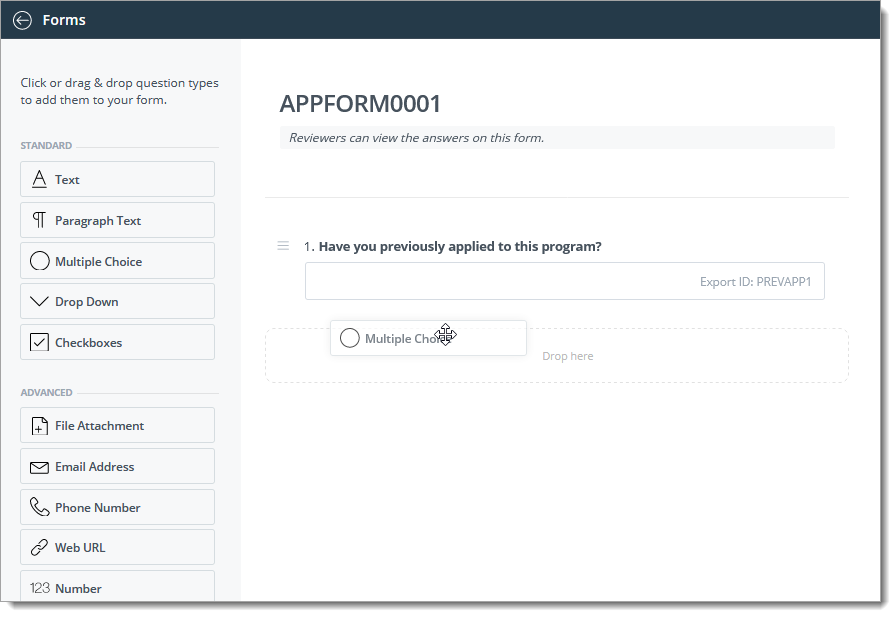
- Question types are listed on the left. Drag and drop questions types into your form as desired, and configure each question.
Question Types
There are several question types available to add to application forms:
- Text: Allows respondents to type in a text response. Selecting this option also requires setting the Max Length for a response. Use this option for questions requiring a short response.
- Paragraph Text: Allows respondents to type a paragraph-length reply.
- Multiple Choice: Presents respondents with multiple options to select from. When selecting this Question Type, enter each option individually in the Answer Option area, or add several answer options at once by clicking Paste Options and pasting the desired options in the text box. Each option must be separated by line breaks. Check the Allow Write In option to allow respondent to write in their own response.
- Drop Down: Works the same as the Multiple Choice option, except answer options are presented to respondents in a drop-down menu.
- Checkboxes: Works the same as the Multiple Choice and Drop Down options, except multiple answer options can be selected.
- File Attachment: Requests that respondents upload a file in response to the question. Attachments in forms are limited to 10 MB.
- Email Address: Allows respondents to respond with an email address.
- Phone Number: Allows respondents to respond with a phone number.
- Web URL: Allows respondents to respond with a URL.
- Number: Allows respondents to enter a numeric response.
- Date: Allows evaluators to enter a date in responses to the question.
- Scale: Allows respondents to rate the items on a scale of your choice. Scales can be up to 10. After selecting this option, choose your Scale range and how label will display.
- Table: Allows respondents to respond by completing a table. For example, entering their contact information.
- CEEB Code Lookup: Allows respondents to respond with a school name.
Configuring Questions
When you drop a question type into your form, a panel opens asking for the details and requirements of this question. To configure your question:
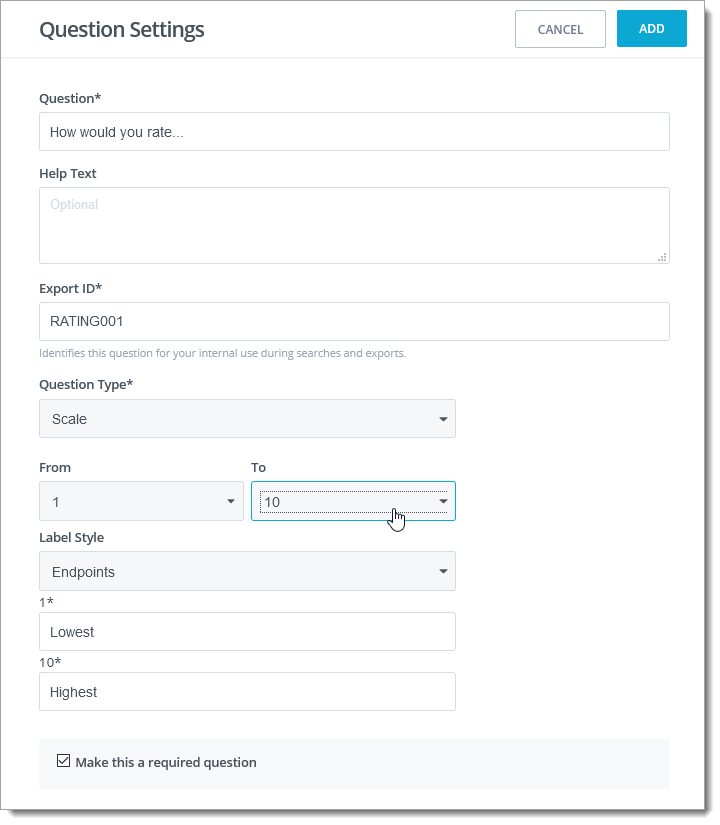
- Enter the text of the question in the Question field.
- If desired, enter additional guidance in the Help Text area.
- Enter an Export ID to identify the question in searches and exports. This ID is internal only.
- Confirm your Question Type.
- Complete any other required items, depending on what type of question you're using.
- Click Make this a required question if you'd like this question to be mandatory.
- Click ADD to add your question.
Continue adding questions as desired. Where necessary, click and drag to reorder them.
To edit, delete, or duplicate a question, hover your cursor over the question and click the more options button. Then select which action you'd like to perform.
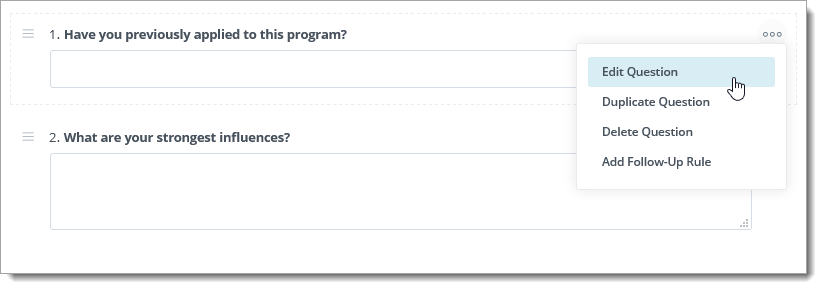
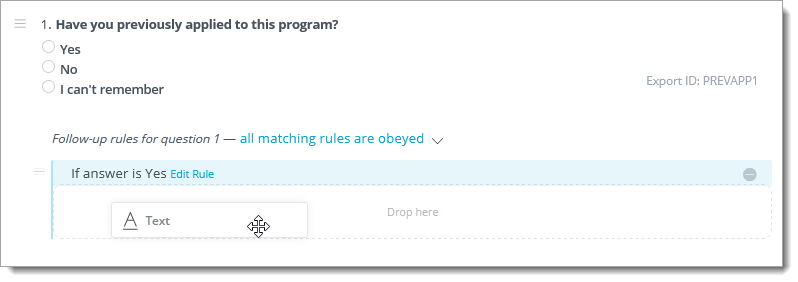
One of the available actions is Add Follow-Up Rule. Follow-up rules allow you to add conditional questions based on the applicant's response to the selected question. To do this:
- Select Add Follow-Up Rule.
- Select your IF condition and click CONTINUE.
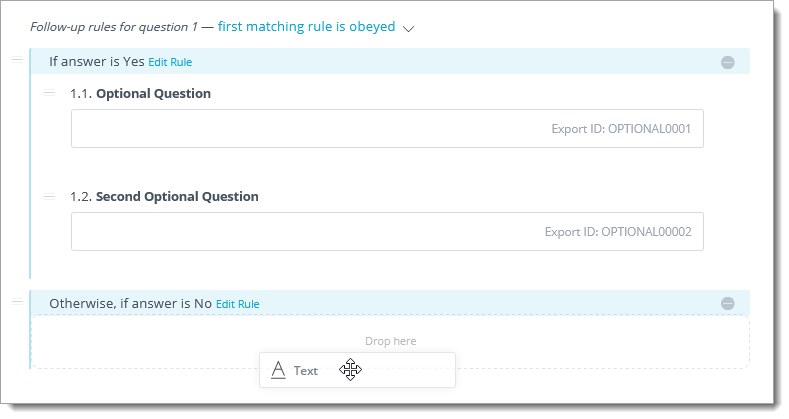
- Drag your conditional questions into the Follow-up rules area.
- Select whether all rules must be met or just one of them by clicking all matching rules are obeyed.
- If desired, click Add Follow-Up Rule again on the original question to add more rules to this question.
When you're done adding questions, click the Forms at the top left of the page to return to the Forms View.
Keep in mind, SlideRoom collects and provides basic applicant data. This includes first and last name, email address, physical address, and phone number, so you won't need to create questions for this information.
Editing Existing Forms
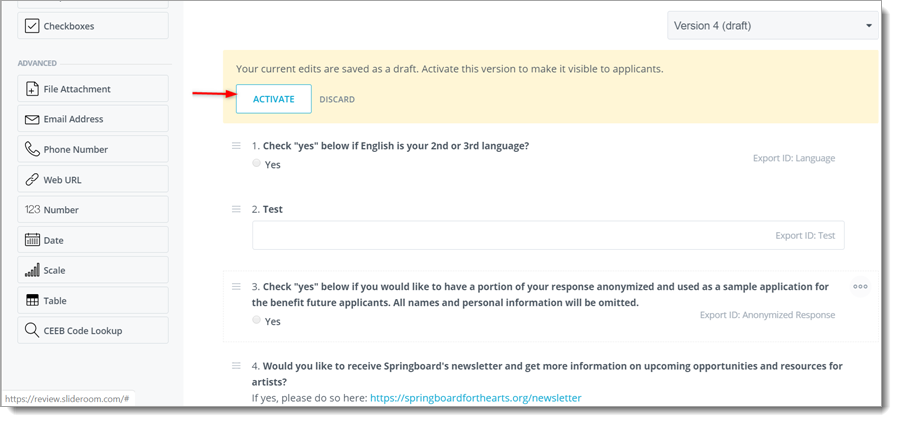
SlideRoom allows you to return to your Form to make edits. If you change a Form that is in use in a current program, the Form updates on all live applications. Upon logging back into their application, any In-Progress applicants will see a note at the top of the Form asking them to review their answers to your updated Form. This doesn't change any answers on already submitted applications.
To edit an existing Form:
- Return to the Forms page.
- Click on your desired Form.
- Edit the Form as described above.
- Changes are automatically saved as a draft. To make your changes visible to applicants, click ACTIVATE.
- Click Forms at the top left to return to the Forms page.