Creating Programs
Video Overview
Creating a New Program
In SlideRoom, Programs are the opportunities to which applicants can apply. Each program can have its own requirements, instructions, deadline, and evaluation process. While programs run independently, they can share resources like application forms and rating sets. Sharing resources across programs can help you save time when configuring new programs.
To create a program:
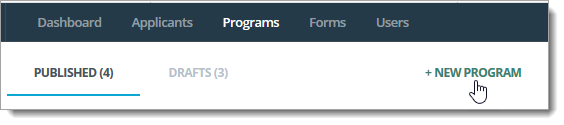
- Click the Programs tab at the top of your Administrator Dashboard.
- Click New Program.
- Name your program. If this is a repeating program, consider including the year in its name to help you distinguish one year's programs from the next.
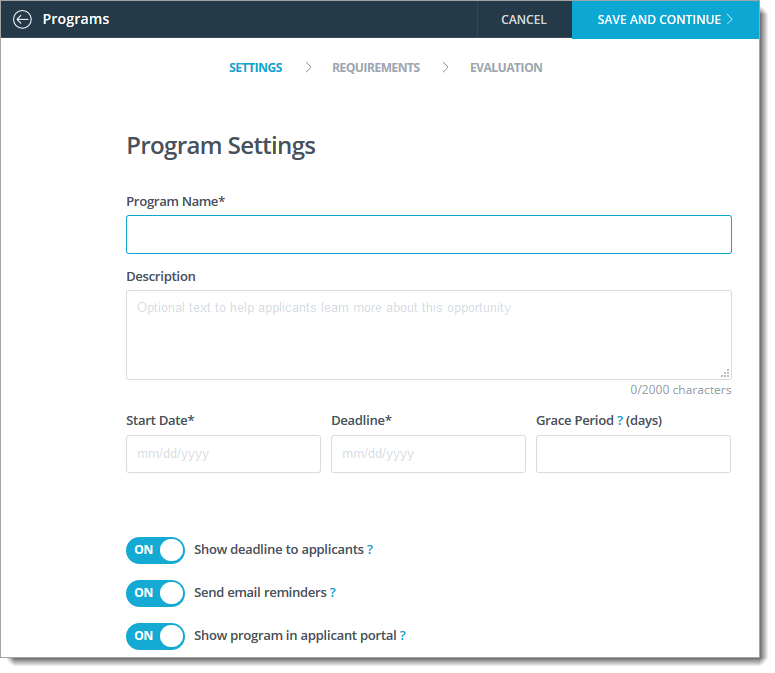
- Use the description field to add more details about this opportunity for your applicants.
- Enter the Start Date and Deadline. The program will go live on the Start Date and end on the Deadline at midnight of your time zone. When they are logged in to SlideRoom, applicants will see a countdown timer showing how many days and hours they have left to complete each application. This helps prevent time zone confusion.
- If desired, add a Grace Period. This is optional, but it grants extra time for applicants who have already started their application to complete the process. Without a grace period, applicants will no longer be able to submit their applications once the deadline has passed.
- Decide if you want to show your deadline. Note that, if you've enabled the Show deadline option and included a grace period, applicants who have started their application will see the time remaining in the grace period once your deadline passes.
- Decide if you want to send email reminders. Email reminders are sent 72 hours in advance of the deadline to all your In Progress applicants.
- Decide if you want to show your program in the applicant portal. If you have a program that is invite-only, set this option to OFF. This will hide the program from the general public and allow you to send the program link only to invited applicants.
- Click SAVE AND CONTINUE to proceed to the Program Requirements page.
Note that once you begin creating a program, you can save your progress to resume later. If you do not publish your program, it is saved in the DRAFTS tab. A draft program is never displayed to applicants, regardless of its start date.
Program Requirements
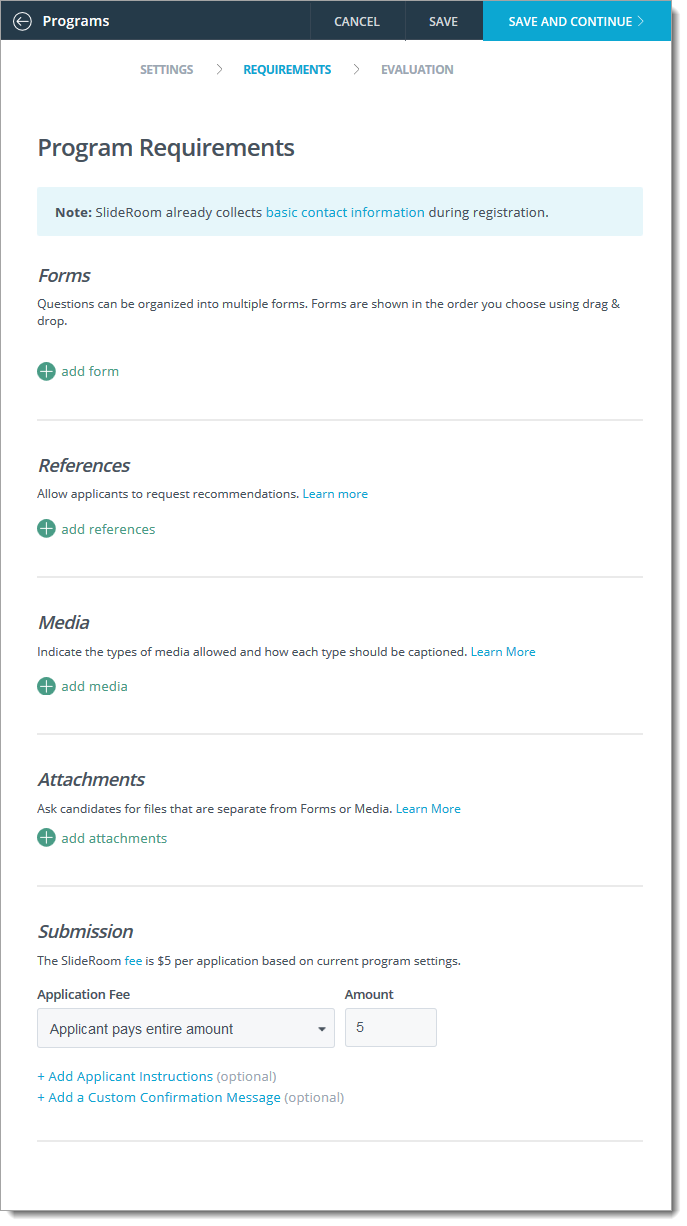
The Program Requirements page allows you to decide which sections you'd like to include in your program's application. There are several sections available:
Adding Forms
The Forms area allows you to include Forms on the application to this program. You can do this by selecting from your existing Forms, or creating new ones.
To add a Form:
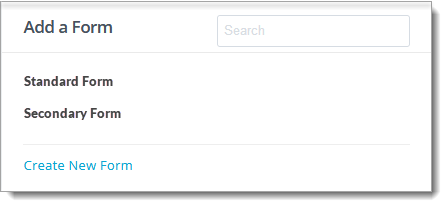
- In the Forms area, click add form.
- Select one of your existing Forms from the menu that appears, or click Create New Form to create one from scratch. Use the Search box to search for a specific Form.
- Continue adding Forms as desired.
Adding References
The References area allows applicants to request a recommendation from someone they know. When the applicant completes this area, the recommender of their choice receives an email including a link to provide their feedback within a secure portal, branded for your organization.
A reference may be submitted in one of three formats: Plain Text, PDF Upload, Reference Form.
To add references to your program's application:
- In the References area, click add references.
- Select how many references you'd like to allow.
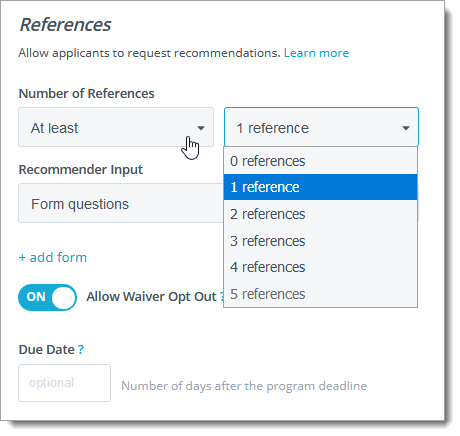
- Select what type of response you'd like to receive in the Recommender Input area. To have the recommender complete a specific set of questions, select Form questions, then +add form. From here, you can select from your existing forms, or click Create New Form to create a form from scratch.
- Decide whether to allow applicants to waive their right to view recommendations using the Allow Waiver Opt Out slider. Turning this option off means that applicants always waive their right to view recommendations. Leaving it on means that applicants have the option to waive this right or not.
- If desired, include a Due Date. This means recommenders are asked to submit their reference by the entered date. Note that references are still accepted after this date.
- Decide whether to turn on email reminders. If this option is on, applicants are sent an email if their recommenders have not responded one week before the due date.
- If desired, click +Add applicant instructions to provide any special instructions you have regarding references.
Adding Media
The Media area allows you to request that applicants upload some type of media to the application. You can request images, videos, audio files, PDFs, and other document types.
To include a request for media:
- In the Media area, click +add media.
- Enter the minimum and maximum number of items applicants can include.
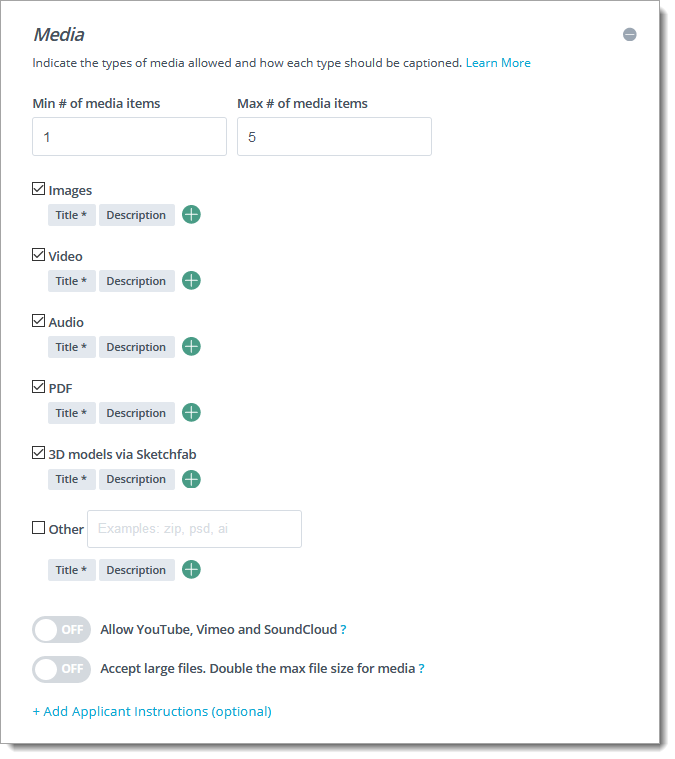
- Select the type of media allowed. For example, if you don't want audio files, uncheck the box next to Audio.
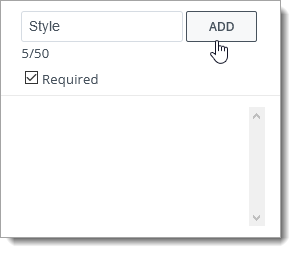
- For each media type, applicants can label their files using Title and Description fields. The Title field is required. To include more labels for applicants to complete, click the + and enter a name for the label. Then click the Required checkbox if you'd like to require applicants to enter text in the new field. Click ADD to add your new field.
- To include media types that are not listed by default, check the box next to Other and type the file extensions into the text box, separated by commas.
- Turn on the Allow YouTube, Vimeo, and SoundCloud option to enable applicants to submit embedded media from these external sites.
- Turn on the Accept large files option to double the max file size for media uploads. This can be useful if you'd like to access the uncompressed version of the media files.
- Lastly, click +Add Applicant Instructions to provide special instructions for your applicants regarding media uploads. For example, if you only want a certain type of project, indicate that here. It is not necessary to include technical information, as this type of instruction is already included.
Adding Attachments
The Attachments area provides a place to request that applicants upload a document separate from what they've uploaded in your Forms or Media sections. The primary reason for using this section is for visual emphasis since it will be listed as its own step in the application process. Attachments are limited to 10 MB in size.
To include a request for attachments:
- In the Attachments area, click +add attachments.
- Enter a title and any additional help text for this attachment.
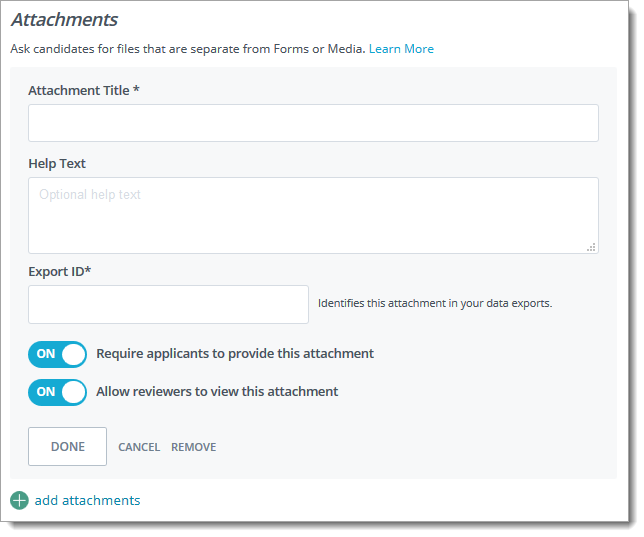
- Enter an Export ID. This allows you to identify the attachment in your data exports.
- To make this attachment required, turn on the Require applicants to provide this attachment option.
- To make this attachment visible to reviewers, turn on the Allow reviewers to view this attachment option.
- Click DONE to include this attachment request.
- Continue adding attachment requests by clicking +add attachments.
Configuring an Application Fee
SlideRoom charges a fee based on the number of uploads contained in your application process. The SlideRoom Fee is calculated as follows:
- Up to five uploads: $5
- From 6-25 uploads: $10
- From 26-40 uploads: $15
If you've enabled the option to accept larger files, this can incur larger fees.

- Up to five uploads: $6
- From 6-25 uploads: $12
- From 26-40 uploads: $18
In the Submission area, you have several options:
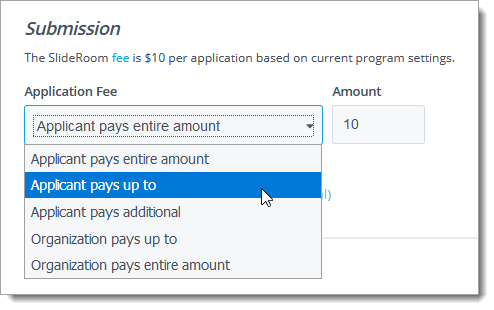
- To have applicants pay the standard fee, select Applicant pays entire amount.
- To have applicants pay up to a specific amount, and your organization covers the rest, select Applicant pays up to.
- To add your own fee in addition to the SlideRoom fee, select Applicant pays additional. When you select this option, SlideRoom collects the payments on your behalf and remits a check or wire transfer to your organization on a quarterly basis*.
- To have your organization pay up to a specific amount, and the applicant cover the rest, select Organization pays up to.
- To pay the fee yourself, so that applicants pay $0, select Organization pays entire amount.
*A 3.9% credit card processing fee will be deducted from the remittance due to your organization. This processing fee only applies to fee amounts over and above the SlideRoom fee. If you are only charging or paying the SlideRoom fee, no processing fee will be added.
After you've made your selection, you can click +Add Applicant Instructions to provide special instructions for the application fee. This is usually only needed if you want to indicate something specific about the payment process.
Lastly, if you can click +Add a Custom Confirmation Message to configure a message to be displayed to applicants after they have successfully completed their submission. This can be used, for example, to convey some expectations about when applicants can expect to hear from you.
Click SAVE AND CONTINUE to proceed to the Evaluation Settings page.
Note that SlideRoom is subject to Office of Foreign Assets Control (OFAC) regulations. As a result, payments from individuals who live in some countries cannot be accepted. If this affects any of your applicants, you can accept their payment directly and then waive their fee to allow them to apply.
Configure Evaluation Settings
When configuring a program, the Evaluation Settings step allows you to determine who your reviewers will be, how they will rate your applicants, and what tags they can place on your applicants.
To complete the Evaluation Settings page:
- Select which Rating Set to use from the drop-down. Rating Sets allow you to establish the details of how your reviewers will rate applicants. The available Rating Sets listed here are those created by an administrator.
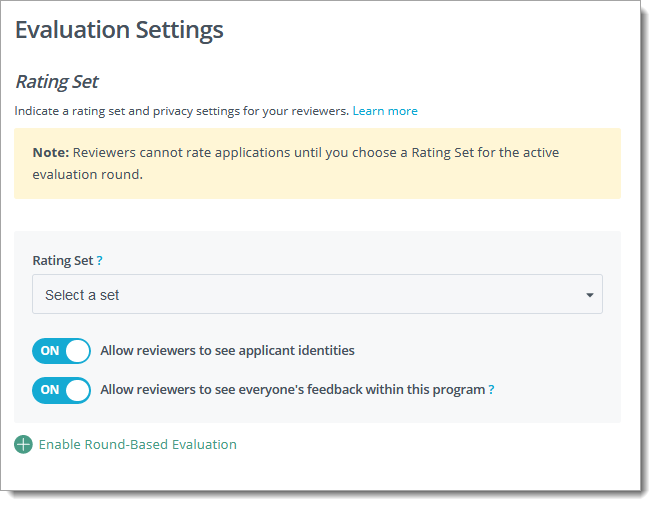
- If you'd like to establish a process through which different Rating Sets are used at different stages of the application process, click Enable Round-Based Evaluation. Then, click the edit round pencil to adjust your Round 1 settings.
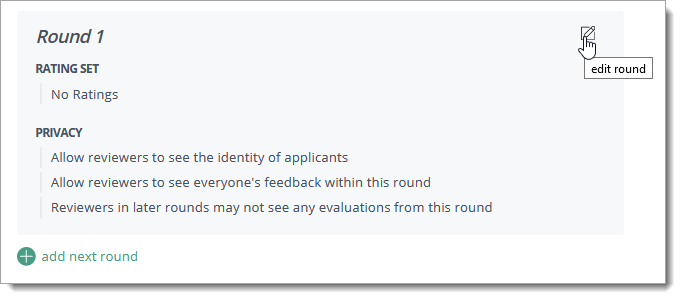
Next, click add next round to configure the next round. Name your next round and select a Rating Set to associate with it. When you're done configuring this round, click SAVE.
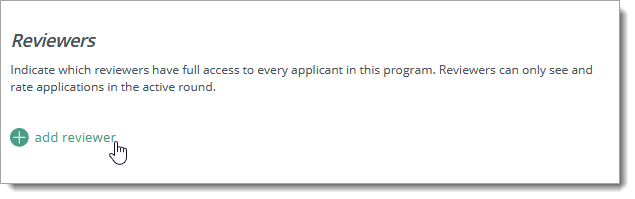
If desired, continue adding rounds by clicking add next round. - In the Reviewers area, indicate which reviewers you'd like to grant access to work with the applicants to this program. Click +add reviewer to add your reviewers.
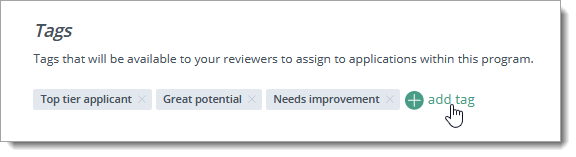
- In the Tags area, add tags that you'd like to make available for your reviewers. Tags are labels used to categorize your applicants.
Finalizing Program Settings
When you're done configuring your program as described above, click PUBLISH at the top right.
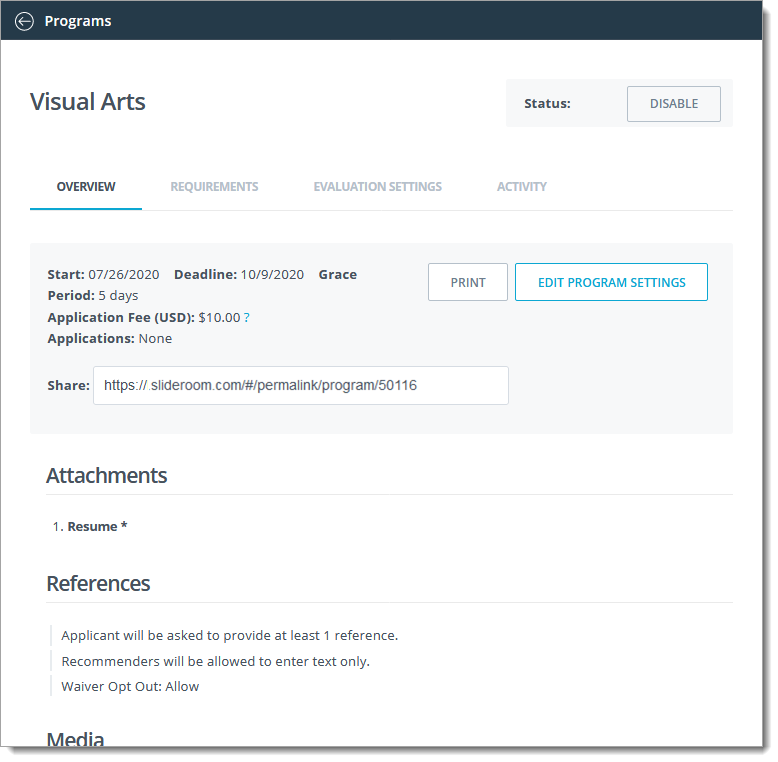
Now you can review your program. Use the menu to review each section, and click EDIT SETTINGS to make changes.
Click DISABLE at the top right to close your program. To return to your list of programs, click Programs at the top left.
Previewing Your Program
Each program has an overview page that displays all of your instructions, forms, and requirements in a format similar to the one presented to applicants.
If you wish to experience the application process exactly as an applicant would, you'll need to create a test application.