Using the Programs Page
From the Programs page in SlideRoom, you can view all of your programs, including those that are published, drafts, closed, and live. You can use this page to create new programs, edit them, copy them, categorize them, and archive them.
You can access the Programs page by clicking Programs from the Navigation Menu.
Editing Programs
If you need to change any of your program's settings, you can do so from the Programs page.
To edit an existing program:
- Navigate to the Programs page and locate your desired program.
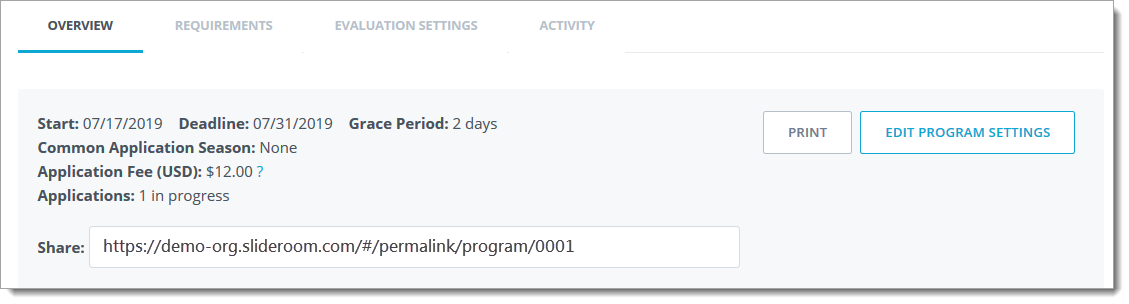
- After clicking on the program, click EDIT PROGRAM SETTINGS.
- Make your desired edits and click SAVE.
- You can also edit your requirements or evaluation settings by clicking on the appropriate tab.
Extending Your Deadline for Individuals Yet to Select Your Program
You may wish to extend your deadline to allow one or more applicants more time to select your program and apply. You can change your deadline to accomplish this, even if your program has already reached its current deadline. To do so:
- Navigate to the Programs page and locate your desired program.
- After clicking on the program, click EDIT PROGRAM SETTINGS.
- Enter your desired Deadline.
- If you wish to extend your deadline for specific applicants, without allowing other applicants to find your program or see your updated deadline:
- Set the Show deadline to applicants, Send email reminders, and Show program in applicant portal options to OFF.
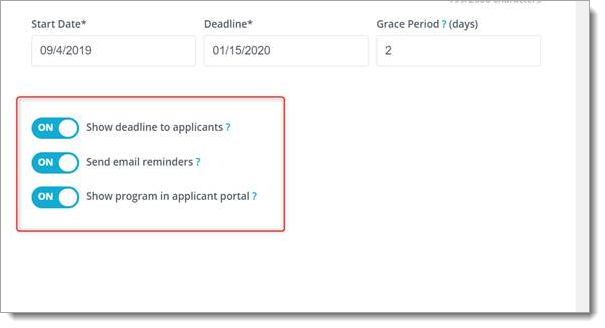
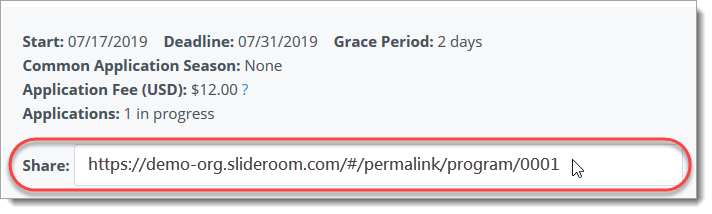
- Then copy the share link to send directly to the applicants you wish to extend.
- Set the Show deadline to applicants, Send email reminders, and Show program in applicant portal options to OFF.
Keep in mind, for applicants who already appear in your applicant pool, you may waive their deadline to allow more time to complete your requirements.
Copying Programs
To quickly create a program with many of your settings already established, you can copy an existing program. Copying a program creates a duplicate with all the same settings. This is useful if you have a reoccurring program, or if you have several programs with similar settings. When copying a program, you have an opportunity to establish a new name, deadline, and reviewer access.
To copy a program:
- Navigate to the Programs page.
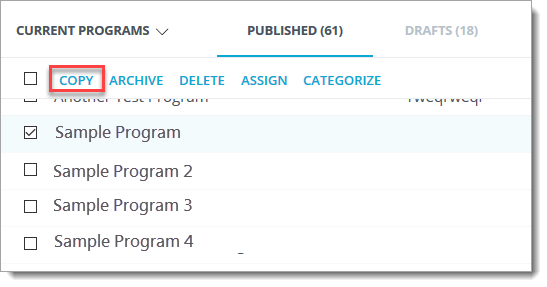
- Click the checkbox next to the program you wish to copy.
- Click COPY from the menu that appears at the top of the grid.
- Confirm or update the program name, start date, deadline, and grace period. Choose if you also want to coy your previous reviewers.
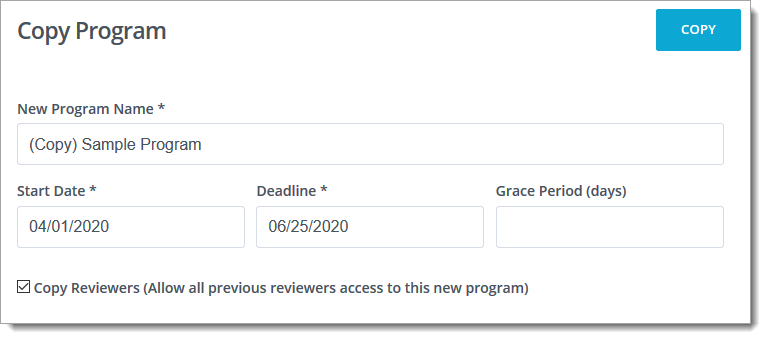
- Click COPY.
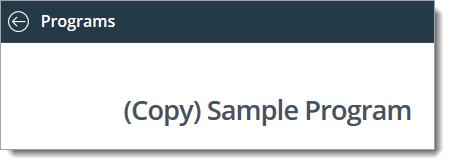
- From the Program Settings page, you can edit your requirements or evaluation settings, or edit the program settings you established on the previous screen.
- Click Programs at the top left to return to the Programs page.
Categorizing Programs
You can use categories to keep your programs organized. Categorizing a program causes it to appear in your desired category in the Applicant Portal, making it easier for applicants to find the program they're looking for.
To categorize a program:
- Navigate to the Programs page.
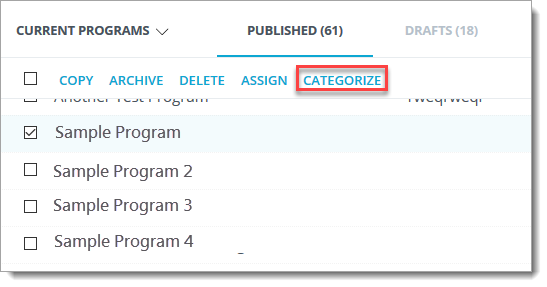
- Click the checkbox next to the program(s) you wish to categorize.
- From the menu that appears at the top of your programs grid, click CATEGORIZE.
- Select from one of your existing categories, or click Manage to add, edit, or delete categories.
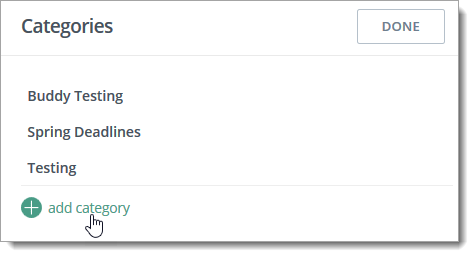
After selecting it here, your program is now associated with this category.
Archiving Programs
Archiving a program hides all applications within that program and freezes any evaluations that have been made. This can be used to protect the data when you've finished interacting with those applicants, and to keep your Programs page uncluttered.
To archive a program:
- Navigate to the Programs page.
- Click the checkbox next to the program(s) you wish to archive.
- From the menu that appears at the top of your programs grid, click ARCHIVE.

- When the confirmation message appears, click ARCHIVE.
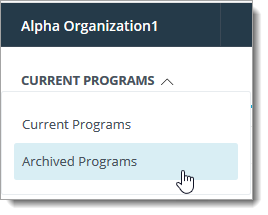
Your program is now archived. To revisit your archived programs, click the drop-down at the top left and change your view to Archived Programs.
From the Archived Programs view, you can unarchive any of your programs by clicking its corresponding checkbox and selecting UNARCHIVE from the menu at the top of the grid.
Deleting Programs
Once you archive a program, you can delete it along with its applications. To delete a program:
- Archive the program as described above.
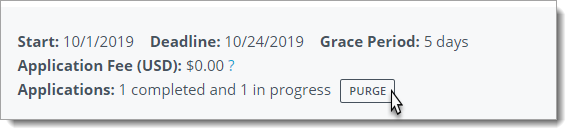
- Click PURGE.
- Select the desired purge option.
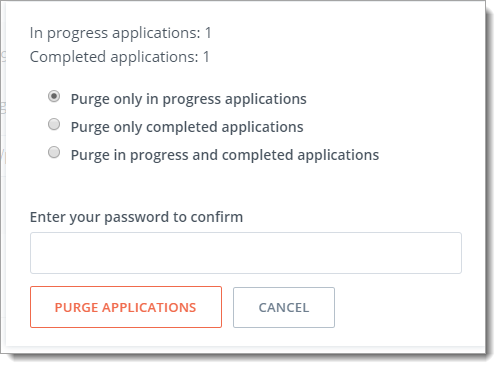
- To confirm, enter your password and click PURGE APPLICATIONS.