Working with Applications
When you click on any applicant's name from the Applicants Grid, you're taken to the corresponding application. Applications in SlideRoom are comprised of the questions you've asked the applicants via your forms, along with any media, references, and attachments you've requested.
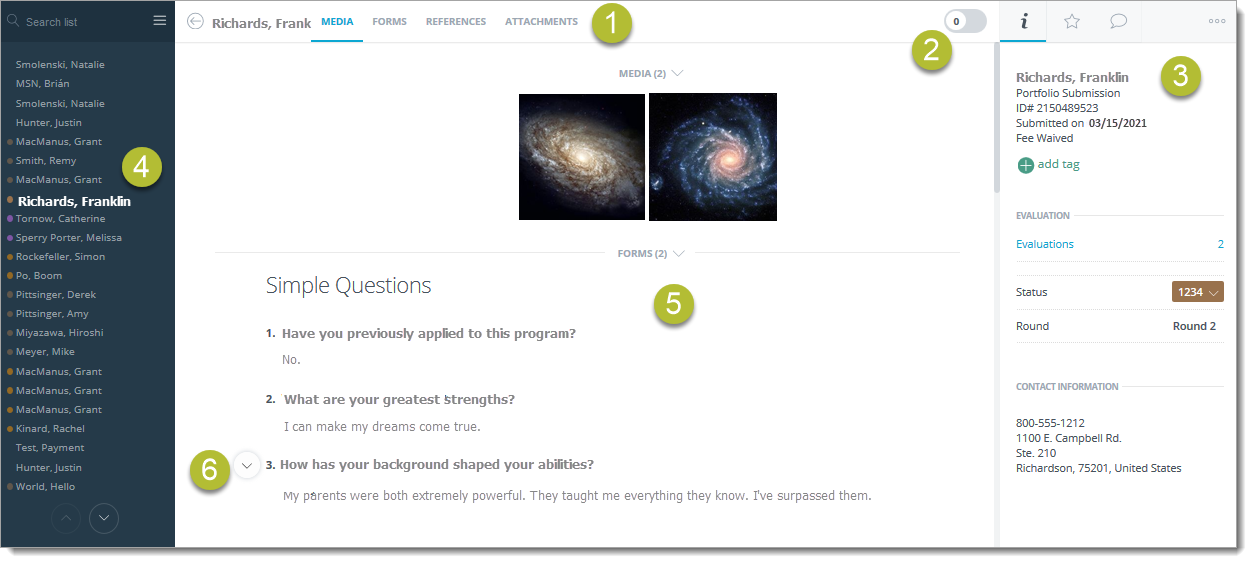
- Navigation Bar: You can use this bar to quickly jump to different sections of the application.
- Highlights Switch: You can use this switch to toggle Application Highlights on or off.
- Information Pane: This pane contains a summary of the applicant. From here, you can change the applicant's Status, add a Tag, complete an evaluation, and enter comments.
- Applicant List: This panel allows you to quickly switch to a different application.
- Application: You can scroll through the entire application from this window. Click on any media item to expand it for full-screen viewing.
- Highlight Icon: This icon appears when you hover over any part of the application. Click to open a menu allowing you to highlight this part of the application.
Assigning Applicants
Throughout your Admissions cycle, you can assign applicants to the reviewers of your choice.
To assign an individual applicant:
- Navigate to the desired application.
- From the Information Pane, click the More Options icon, then Assign Reviewers.

- Select the reviewers of your choice and click ASSIGN TO REVIEWERS.
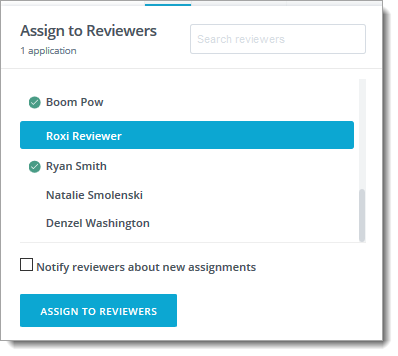
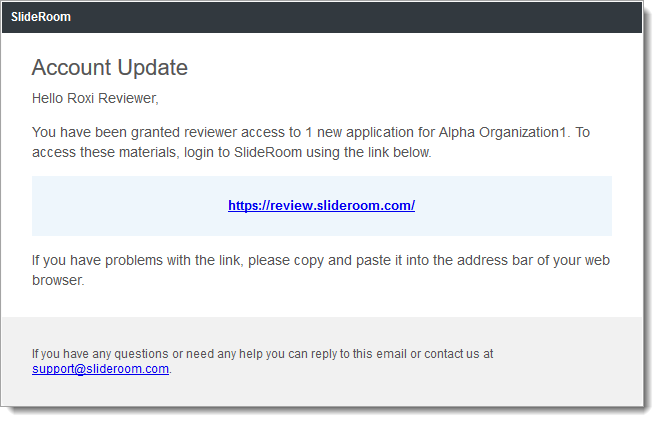
Checking Notify reviewers about new assignments causes SlideRoom to generate an email to inform reviewers of the assignment.
Note that applicants can also be assigned to reviewers in batch.
Using Applicant Highlights
Highlighting is a tool in SlideRoom allowing you to call attention to specific items. You can highlight the answers, media, references, or attachments of your choice.
To highlight an item:
- Hover over the item you want to highlight.
- Click the Highlights icon, and select the highlighter from the menu.
To turn highlights on or off, use the Highlights toggle at the top of the application.
Adding Attachments
If you have a file you'd like to associate with one of your applicants, you can add an attachment to their application. This can be useful if an applicant sends a file directly to you, or if you need to collect additional information.
To add an attachment:
- Navigate to the desired application.
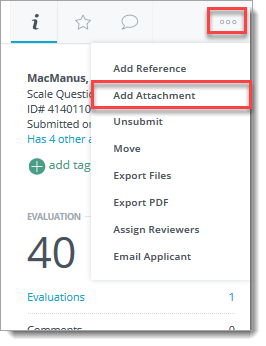
- From the Information Pane, click the More Options icon, then Add Attachment.
- On the Add Attachment window, enter a name for your attachment in the Title field and enter a note, if desired.
- Click ATTACH FILE to browse for an attachment.
- Use the toggle to enable or disable reviewers from viewing the attachment.
- Click SAVE to save your attachment.
To return to your attachment, or view existing attachments, scroll to the Attachments section of the application.
View the attachment by clicking its name. This opens the Edit Attachment window. From here, you can rename the attachment, edit its note, or adjust whether it is visible to reviewers. To replace the attachment, click the minus sign and then click ATTACH FILE to browse for a new attachment. To remove the attachment, click DELETE.
Making Comments
While viewing an application, you can leave comments on the application as a whole or on individual items.
To comment on an individual item:
- Hover over the item on which you want to comment.
- Click the Highlights icon, and select the Comment bubble from the menu.
- From the Comment window, type your comment in the text box and click SUBMIT.
- Click the X to close the Comment window.
To return to your comment, or to view existing comments on any item, open the comments window as described above. You can edit or delete your comments by clicking edit comment.
To comment on the application as a whole, go to the Information Pane and click the Comment bubble. Type in your comment and click SUBMIT.
From the Information Pane, you can edit or delete your comments by clicking edit comment.
Adding and Removing References
Where necessary, reference letters or reference requests can be manually added to an application. Perhaps a recommender sends an updated reference directly to you, or you need to collect a different type of reference than the one submitted by the applicant.
To manually add references:
- Navigate to the desired application.
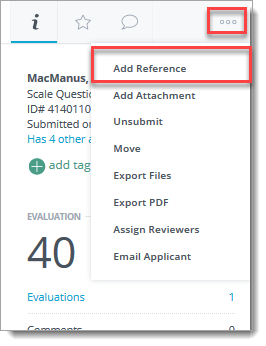
- From the Information Pane, click the More Options icon, then Add Reference.
- When the Add a Reference panel opens, you have two options:
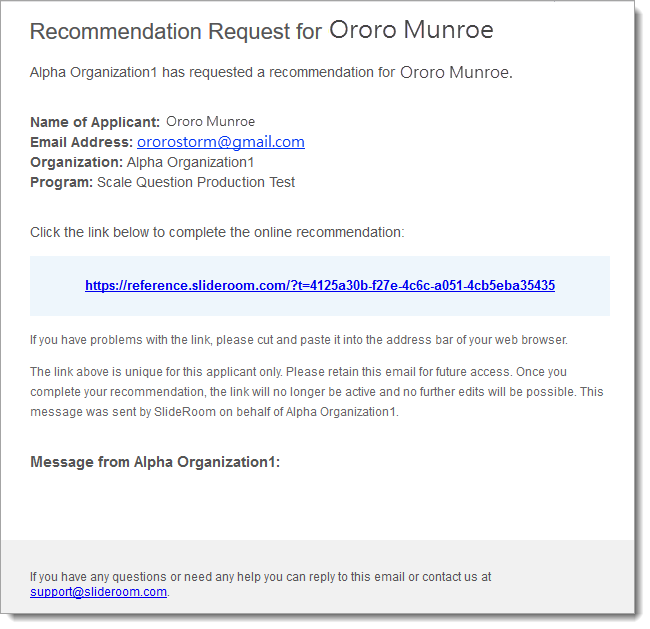
- Request a Reference: This option sends an email to a new recommender of your choice. The reference email contains your program's instructions and a link to a private recommender portal. Turn on the Allow File Upload option to allow the recommender to upload a file.
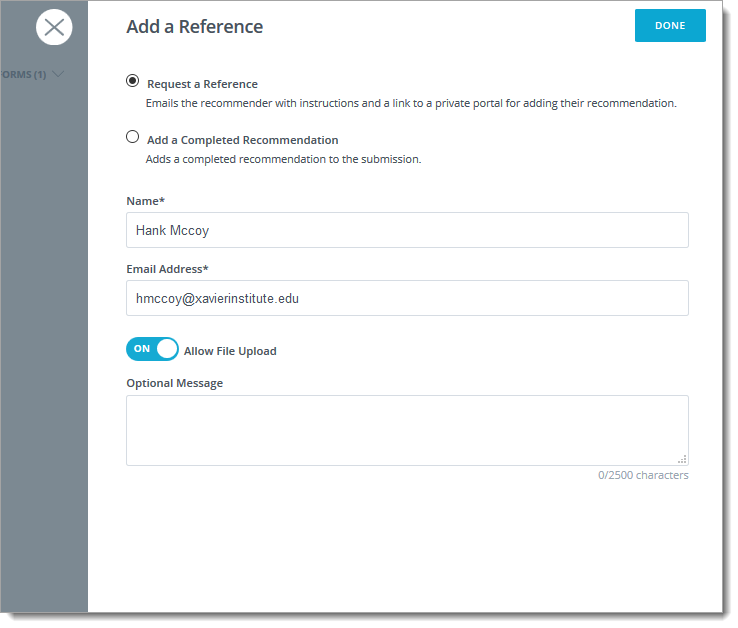
- Add a Completed Reference: This allows you to upload a recommendation that you already have for this applicant. Enter the recommender's details and attach the file.
- Request a Reference: This option sends an email to a new recommender of your choice. The reference email contains your program's instructions and a link to a private recommender portal. Turn on the Allow File Upload option to allow the recommender to upload a file.
- Click DONE to send the email or to save the reference.
If you've requested a new reference, the recommender gets an email inviting them to complete the reference.
Unsubmitting References
If a recommender requests to edit their recommendation for an applicant, that letter must first be unsubmitted. Unsubmitting a reference manually removes it, and allows the recommender to return to resubmit.
To unsubmit a reference:
- Navigate to the desired application and scroll down to the References section.
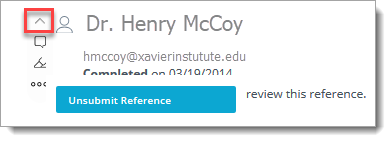
- Click the Highlights icon near the recommender's name and then click the More Options button.
- Click Unsubmit Reference. When the confirmation message appears, click UNSUBMIT.
Once you unsubmit the reference, SlideRoom marks the reference as incomplete and sends an email to the recommender with instructions on completing it again. The recommender can use the link previously emailed to them and resubmit when they're ready.
Moving Applications
You can move an application from one of your programs to another. This is useful if an applicant has applied to the wrong program, or if you'd like to consider them for a different program. Moving an applicant from within SlideRoom allows them to be considered for a different program without reapplying.
To move an application:
- Navigate to the desired application.
- From the Information Pane, click the More Options icon, then Move.
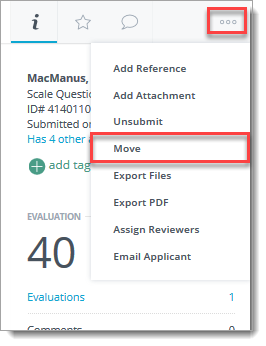
- Select the program you'd like to move the applicant into and click MOVE TO PROGRAM.
- Where applicable,select which evaluation round you'd like to place the applicant in and click CONTINUE.
Note that you can also move applications in batch.
Unsubmitting Applications
If you need an applicant to make an edit to their application, you can reopen it for edits by unsubmitting it. Unsubmitting reverts the application back to the In progress status, after which the applicant can make edits and resubmit without additional cost. This is useful if you need to update a form after an applicant has already submitted, or if an applicant requests to make a change to their application.
To unsubmit an application:
- Navigate to the desired application.
- From the Information Pane, click the More Options icon, then Unsubmit.
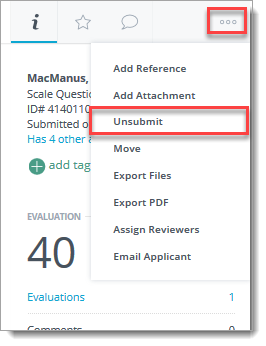
- On the confirmation window, click UNSUBMIT.
Note that this removes the applicant from the Submitted applicant pool on the Applicant Grid, but the applicant can still be found among the In Progress pool.
Waiving Applicant Fees
You can waive applicant fees from SlideRoom.
To waive a fee:
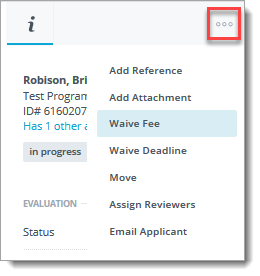
- Navigate to the desired application. From the Applicant Grid, you can change your view to In Progress applicants by clicking IN PROGRESS on the navigation bar.
- From the Information Pane, click the More Options icon, then Waive Fee.
- When the confirmation message appears, click WAIVE FEE.
Waiving Applicant Deadlines
You can also waive deadlines from SlideRoom. You can make use of this feature if you want to give an applicant more time to complete their application.
To waive a deadline:
- Navigate to the desired application. From the Applicant Grid, you can change your view to In Progress applicants by clicking IN PROGRESS on the navigation bar.
- From the Information Pane, click the More Options icon, then Waive Deadline.
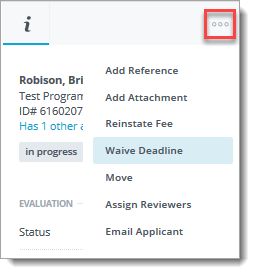
- When the confirmation message appears, click WAIVE DEADLINE.
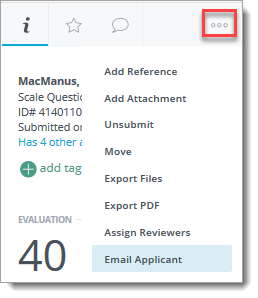
Emailing Applicants
You can send emails from SlideRoom both individually and in batch.
To email an applicant individually:
- Navigate to the desired application.
- From the Information Pane, click the More Options icon, then Email Applicant.
- By default, emails will appear as coming from your SlideRoom account's email address. If desired, you can type in a new email address to use.
- Type in your desired subject and begin typing your message.

To insert a merge field, click INSERT VARIABLE. This allows SlideRoom to customize the message based on the applicant receiving it. For example, click Program Deadline to insert the deadline for the program the applicant applied to. - Click See Email Preview to see what the email will look like for an applicant. Click Include Additional Recipients to cause SlideRoom to send a copy of the email to other email addresses.
- When you're done composing the email, click SEND.
If an applicant chooses to reply to your email, replies are sent to the From email address you used.
Note that emails can also be sent in batch.