Sending Bulk SMS
Creating a Bulk SMS
Before a user can send Bulk SMS, they must have the Bulk SMS checkbox selected for that Inbox.
- Create a Report with the Contacts you want to message.
- Navigate to the SMS Inbox you wish to send Bulk SMS messages from.
- Click on the Bulk Messages option:
- Click the + in the top right corner of the window.
- Select a Report.
- Name will default to the Report Name + (Current Date).
- Select a Message Template (optional) or enter the Body of your message. You can use the Add Merge Fields picklist to include merge fields from your report to personalize the message:
- To add a Merge Field, place your cursor where you want the Merge Field inserted and select the field from the picklist:
- Click Submit.
- A confirmation message will be displayed, alerting the user that they are about to send messages to multiple recipients. Click Confirm to proceed.
- A confirmation message will display.
- Once completed, the messages will display in the list of Bulk SMS:
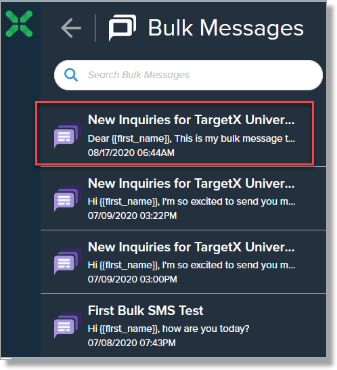
- Click the entry to view the details of the Bulk send, including the Message, Report, Date sent, and Recipients.
Scheduling a Bulk SMS
- Follow the above steps to create a bulk SMS.
- Under Additional Settings, select Schedule Message.
- If you want to send the same message multiple times, toggle on Send duplicate messages to recipients. If you only want a recipient to receive this message once, leave this setting off.
- Select the Schedule Message box.
- Choose your frequency and set schedule details.
- Choose a Time Zone.
- To view Scheduled Messages, navigate to the Scheduled tab.
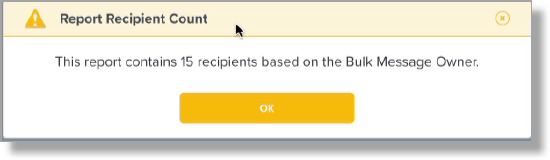
- To view an estimated Recipient Count click on the scheduled message and select View Recipient Count in the information side panel.
- Recipients are generated based on the message owner. This count does not account for recipients excluded after deduplication or opt-out filtering. It looks at the exact number of recipients on the Salesforce report associated with the message.
- Individual messages sent via a scheduled message can be viewed along with all other bulk messages in the sent tab. Scheduled messages appear with the calendar icon.
- The information side panel displays the message status and recipient list.
Note: To deactivate the schedule, click the Scheduled tab, then click the Schedule icon to open the Bulk Message Details window. Click the three dots, then Edit Bulk Message. From here, you can click the Schedule Message toggle to off.
Limits and Logging of bulk messages
- Logged messages will use an API call for every 10,000 records in a single broadcast.
- Bulk message sends should not exceed 100k recipients per message.
Viewing Recipients
You can view the Recipients of a Bulk SMS by selecting the Recipient List for the Bulk Message:
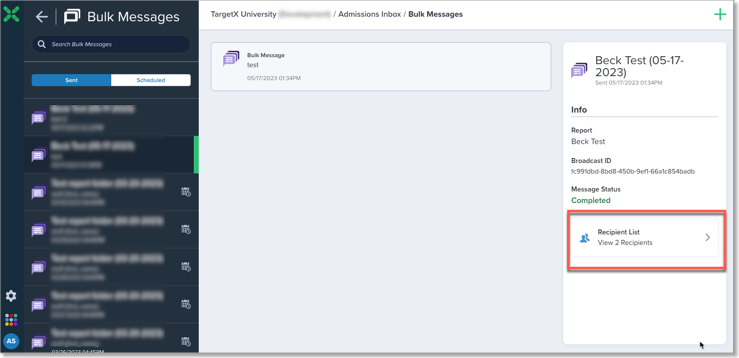
Clicking the Recipient List will display the Message Status. You can view details for failed messages in Twilio.
Creating a Report for sending Bulk SMS
- Navigate to Reports and create a Salesforce Report which includes the following fields:
- Contact Id
- Mobile
- Any additional fields you wish to use as Merge Fields
- Navigate to home.targetx.com
- Click SMS.
- Click Settings.
- Click Reports.
- Click the + in the top right.
- Enter a Name.
- Select the Salesforce Report Folder that contains your Report.
- Select the Report to use.
- Then, select the First Name, Last Name, Contact ID, and Mobile fields from the dropdown. In most cases, these will be called first_name, last_name, contact_iD, and mobile if you have not changed the field labels in your Salesforce instance.
- Click Create.
Note: If you plan to use a Message Template, the report must include all merged fields in the template. If the report does not include the field, you must replace or remove the merge field before sending it.
Logging Contact Activity for Bulk SMS messages
Users can choose to Log Contact Activity when creating bulk messages in TX SMS. This will create a record on the Student’s Activity tab with the following information:
- Assigned To = <User that created the Bulk Message>
- Subject = <Bulk Message Campaign Name (date)>
- Type = TX SMS Bulk Message
- Due Date = Date Bulk SMS Created
- Comments = <Contents of Bulk Message>
- Status = Completed
- Priority = Normal
Notes:
- Users must be signed in with SF Authentication to send and log a Bulk SMS.
- To LOG the activity - the user MUST have access to the Activity object.
- For full permission details, please see Logging Contact Activity for TX Print, which has the same set of required fields for activity logging.