Configuring Travel Planner
Creating the Travel Planner tab
- Navigate to Setup and search for Tabs.
- Click the New button in the section for Visualforce Tabs.
- Configure the new tab in the New Visualforce tab wizard.
- In the Visualforce Page picklist, select Travel Planner.
- Choose any tab style.
- Click Next and select which user profiles should have visibility of the new tab.
- Click Next and select the applications for which the tab should appear.
Note: You will likely only want this tab visible from the Events application.
- Click Save.
Configuring staff members to display in Travel Planner
- Navigate to Setup and search for Custom Settings.
- Select Manage next to Trip User Profiles.
- Select the New button.
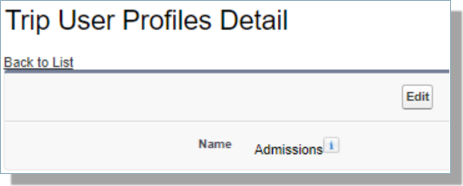
- In the Name field, enter either the Profile Name or the Profile Salesforce Id for those who should be listed as Staff in Travel Planner.
Note: If you wish to add multiple profiles, select New and enter a new record for the next profile.
Note: The Profile Name MUST match exactly to display in the Staff Picklist.