Working with Touch-points
Touch-points Overview
A Touch-point is any time a student interacts with you; for example, through a form fill or an advertisement, a meeting during travel, a phone call, etc. You can track these interactions through Touch-points.
Creating a Touch-point
- In the top navigation bar, click Account, then EMP Settings, then Touch-points.
- Click New Touch-point.
- Add the type of Touch-point (e.g., phone call, campus visit, etc.).
- Assign the Touch-point a value. This value can be a positive or negative number. The value will be added to the student's overall score and is helpful if you use EMP's scoring feature.
- Check the box next to the groups who can access the touch-point.
- Click Save.
Editing a Touch-point
Click the edit pencil next to the Touch-point to update the information.
Deleting a Touch-point
Click the trash can icon next to the Touch-point to remove it from EMP.
Manually Adding a Touch-point to a Student Record
- Navigate to the student record.
- Click the Actions drop-down menu.
- Select Add Touch-point.
- Choose the touch-point from the drop-down menu and add a comment describing it, if necessary.
- Click Save.
The student's timeline is updated with the touch-point and indicates the date and the rep who added it.
Adding Touch-points in Batch
Adding a touch-point in batch is an efficient way to update a large student population. For example, suppose you want to add a touch-point to all of the students you met at a college fair. Updating touch-points in batch can be done through a Group Action. In this example, import a list of prospective students you met while recruiting, create a group based on the imported list, and attach that list to the group action. Following the steps to complete the group action, you'll add the touch-point to all of the students in your group.
Importing Touch-points
Begin by following the steps to import a list to EMP.
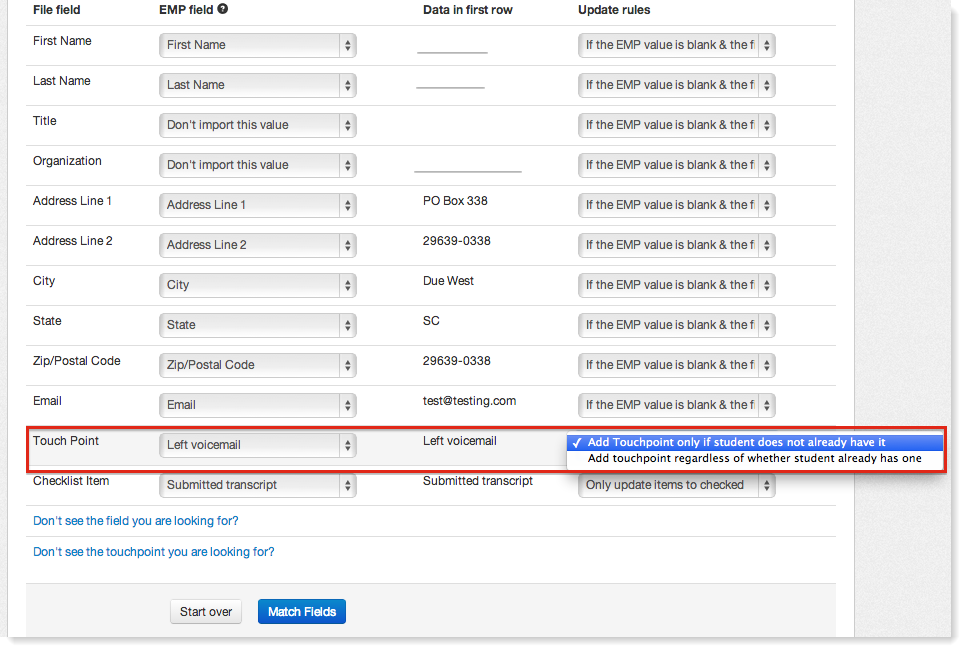
When you import your file, map the File field that contains the touch-point information to the matching touch-point in the EMP field. Under Update Rules, you can choose to either:
- Add Touch-point only if the student does not already have it, which mean the student receives the touch-point only if they do not currently possess it.
- Add Touch-point regardless of whether the student already has one, which means the student will receive the touch-point again even if they already have it.
Exporting Touch-points
Follow the steps for exporting data from EMP.
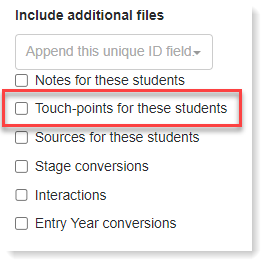
When creating your export, check the box next to Touch-points for these students under the Include additional files section.