Managing Users, Permissions, and Security
Overview
The actions outlined on this page apply to site administrators only. From the Main Menu, open the Admin section to get started.
Creating User Accounts
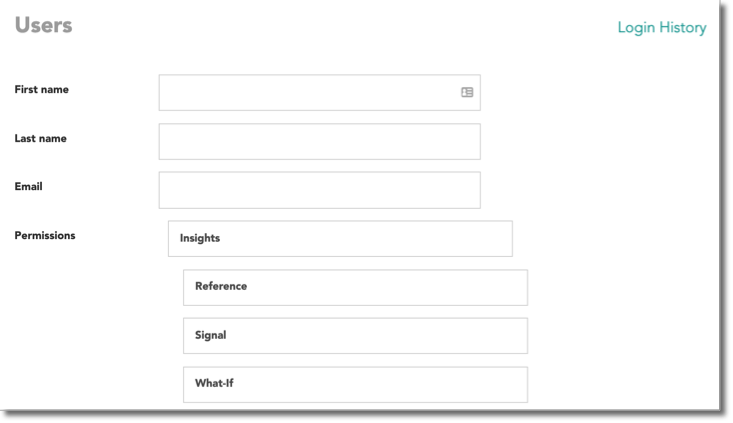
- Under Users, click on the + icon.
- Enter the user's name and email address, then enable the appropriate permissions.
- If your account has multiple Divisions (such as Enrollment and Retention), you can quickly select a user that's already been created and add them to the current Division.
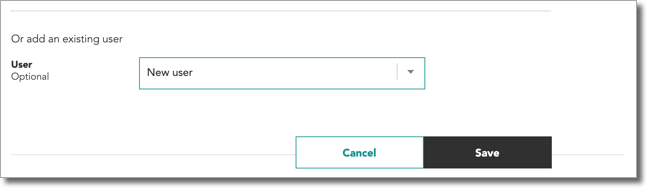
- Click Save.
Setting User Permissions
For some organizations, different users need different levels of access to features. Where necessary, you can set permissions for each member of your team.
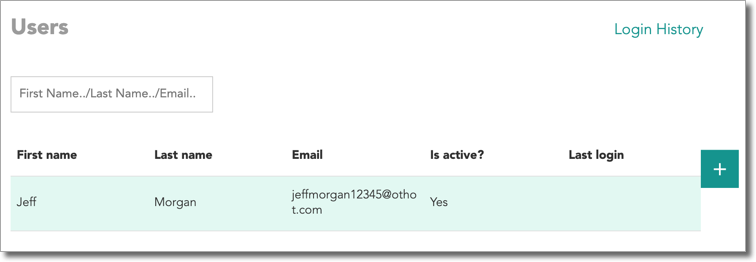
- Under Users, select a user.
- Scroll down to the Permissions section and select/deselect permissions, as needed.

- Select the Is active? checkbox (required for all users). If the user has multiple Divisions (such as Enrollment and Retention), select the Is active in division? checkbox.
Creating User Groups
If multiple members of your organization are likely to need similar Views or be assigned the same Task, add them to a Group to save time when selecting Users.
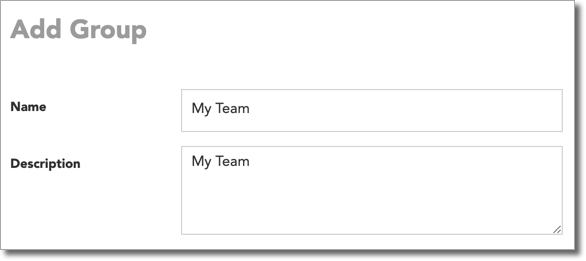
- Under Groups, click the + icon.
- Enter a Name and Description for the new Group.
- Select the Users to be included in your new Group.

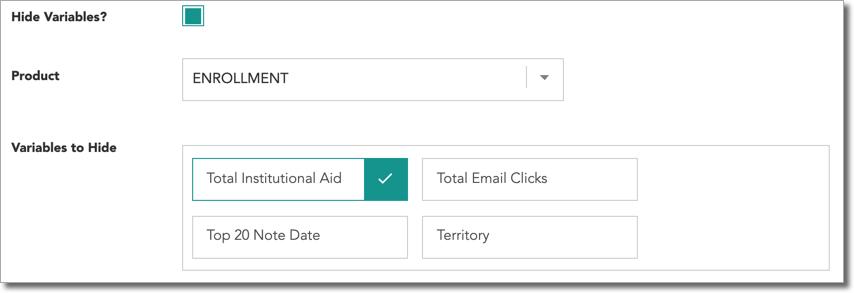
- If you'd like to prevent users within this Group from seeing sensitive information, select the Hide Variables? checkbox, then select any Variables to Hide.
- Click Save.
Updating Security Settings
Keep your account secure by configuring password-related settings. Users with the Users & Security permission enabled have the ability to make these changes for their own account.
- Under Security, enter the desired values for the following settings:
- The number of incorrect password attempts before your user's account is locked out.
- The number of previous passwords that cannot be reused.
- The number of days until your user's password expires.
- The number of days without login before user account will be locked out.
- The number of minutes that logged in user can be inactive before being logged out.
- Input list of allowed domains for user creation.
-
Click Save.
Adding Dashboard Filters for Users
When personalizing a dashboard, you can add data filters; however, admins must first enable these filters before they can be selected by any users.
- Under Dashboard Filters, select the Product.
- Select the columns that should be available as filters in the dashboard, then click save.
Adding Variable Grouping Buckets for Users
When using certain platform features, you can create grouping buckets for any variables being assessed. To create a grouping bucket for a specific variable:
- Under Variable Grouping Buckets, click the + icon.
- Select the product and variable, then add a description.
- Under Grouping Buckets, click the + icon.
- Enter a name, define the numeric range, then click Submit.
- Repeat steps 3 and 4 for any additional grouping buckets, then click Save.