Interview Portal Quick Start Guide for Interviewers
Overview
This guide is intended for interviewers and provides a general workflow for conducting interviews in the Interview Portal. For more details on Interview Portal features, see the Conducting Interviews and Scoring Applicants article.
Applicants can refer to the Participating in Interviews article.
Note: since interview processes vary by program, contact your PD/PM/PC directly for guidance on your interview day logistics.
Accessing the Interview Portal
From the Program Portal, access the Interview Portal via the portal switcher.

Switching Between Roles
Within the Interview Portal, program directors, managers, and coordinators can use the role switcher to become interviewers as needed:
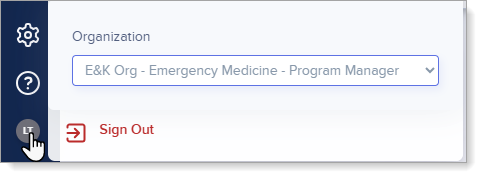
The Program Manager role is for configuring and monitoring sessions, meeting rooms, and settings, while the Interviewer role is for conducting interviews, scoring, and noting applicants.
Interview Portal Dashboard
From the dashboard, you can view your daily, weekly, or monthly calendar of events. Green dots on your calendar indicate the dates you have interview sessions.

Joining an Interview
Click Join to enter the interview room or meeting room. The type of room is noted on the schedule.
- Note: the Join button only appears for meeting rooms during the timeframe of the meeting room. For example, the Join button only appears for this meeting room from 8:00-9:00 am.

Reviewing Applicants
To review an applicant's application prior to or during the interview, click the PDF icon to view the application and use the tools in the PDF to adjust your view.

Conducting an Interview
1. Change your interview status to Ready
When you're ready to begin an interview, change the status to Ready. You can change statuses from your dashboard or from within the room. Changing your status to Ready indicates to the applicant the interview is set to begin and they will see the Join button from their portal.
Status Change from Dashboard:

Status Change from Interview Room:

2. Review the Timer
Once the applicant joins, the timer begins to count down and the interview status changes to In Progress.

3. Take Notes and Add Scores
Use the pencil icon to take notes during an interview and the calculator icon to enter your scores. You can pop out and move the scoring form and notes around your screen.
- If your program is not using scoring forms in ResidencyCAS, the calculator icon does not appear.

4. Change your interview status to Complete
End the interview by changing the status to Complete. If a review period is set after the interview, a separate timer will appear for that portion after you change the status.

5. Move to your next interview
Use the next icons (i.e., < and >) to move to your next interview. When you are ready to begin, change your interview status to Ready.

Note the following:
- Throughout the interview day, you can stay in the interview room and move between past and upcoming interviews via the previous and next icons (i.e., < and >) in the top menu bar.
- The timer provides audible notifications at the two-minute mark and at the end of the interview. If a review period is set after the interview, a separate timer will appear for that portion.
- As a safety precaution to ensure applicants don't enter an interview prematurely, applicants cannot join an interview until you change the status to Ready. Once you change the status to Completed, the Join button disappears for the applicant, preventing them from rejoining the interview.
- If needed, interviewers can force applicants out of the interview room via the Participants panel.

Reviewing Your Schedule
You can view your daily schedule directly from the interview room. Click the calendar icon to open your schedule.

Chatting with Program Directors, Managers, and Coordinators
You can communicate with members of your team using the chat feature. Click the chat bubble to send a message.
