Using Application Requirements Manager for Enrollment Matriculation Checklists
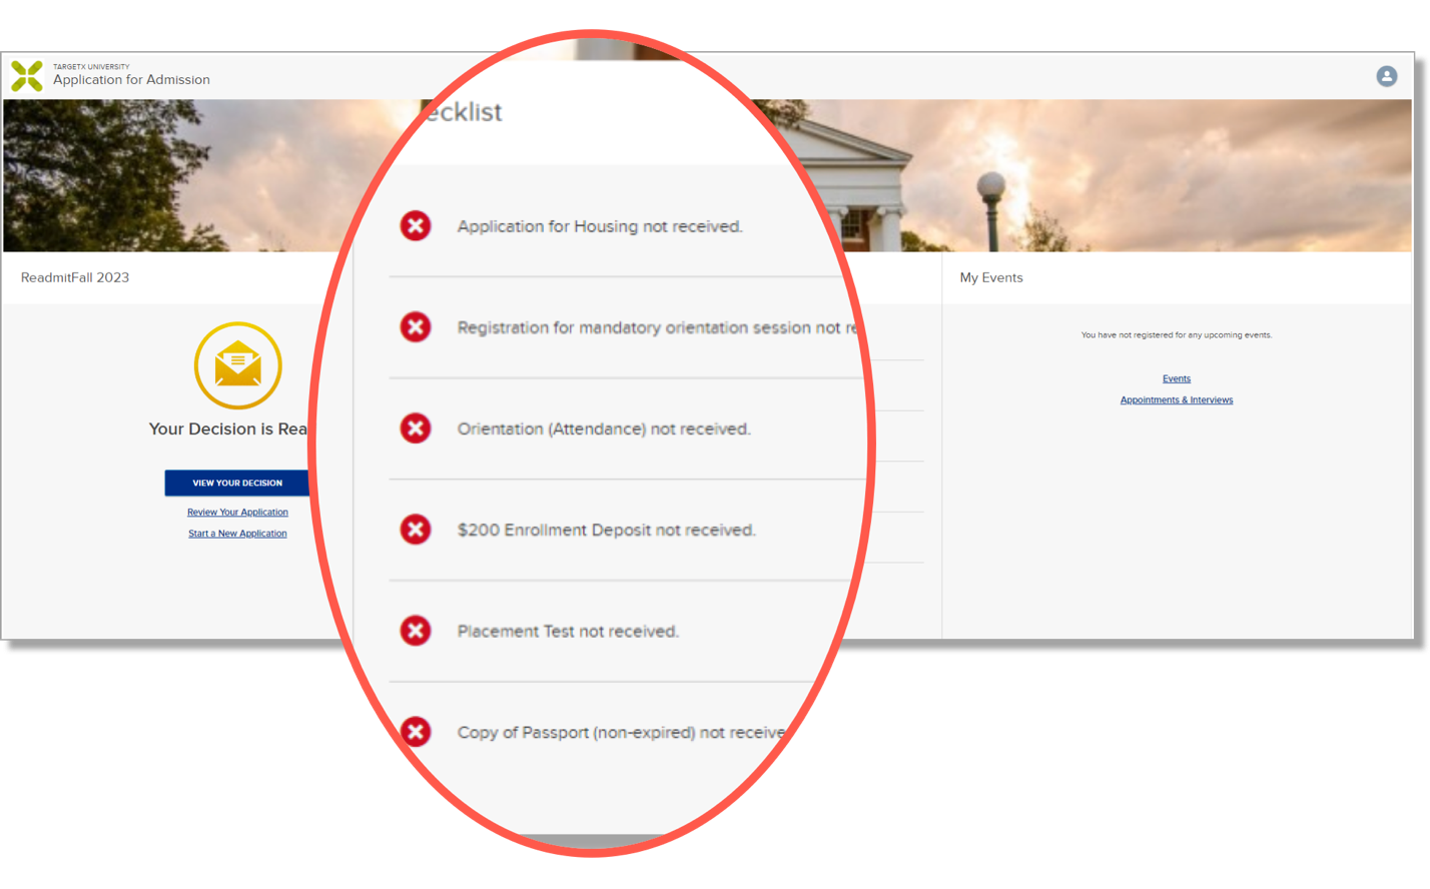
The Application Requirement Manager tool tracks the progress of application checklist items but can also be configured to monitor the subsequent steps that follow admission. Once a student receives an offer of admission or views their decision letter, they will see a list of post-admission next steps. These may include paying a deposit, submitting final transcripts, registering for orientation, and providing immunization records. This list can be tailored to include any additional tasks or requirements that your institution deems necessary after completing the application checklist items.

The steps below outline how to create a new set of requirement rules and edit the formula/Relevant Field value to replace the current checklist items with a new set after a given point.
Important Considerations before you begin
- If your institution has any automation based upon roll-up counts/summary of checklist items completed (such as ARM All Checklist Items Complete or ARM Open Checklist Items), be sure to review and restrict the impact of the existing automation to only pre-admit scenarios.
Examples:
- App Review (ART) record creation
- Application Status changes
- Audit your org for any processes that are looking for the indication that ‘all checklist items are complete’ so that you don’t accidentally trigger changes to an admitted student by making it look like they just completed items for the first time when in fact, they’ve already been admitted.
- If your institution has Dynamic Transcripts enabled, checklist items with a Record Type= Enrollment History Requirement will be displayed to a student after admission/when the checklist is ‘reset.’
- Depending on institutional transcript needs, the transcript status may not be relevant for matriculation. For example, an Applicants admission may have been based on 7th-semester high school transcripts, but Matriculation requires an official final transcript or admission was based on unofficial records, but matriculation requires official copies.
Options for Dynamic Transcripts
You have several options for dealing with Dynamic Transcripts on Matriculation checklists:
- Leave as-is.
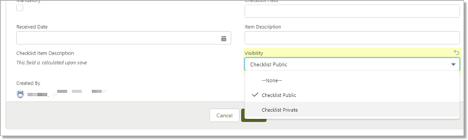
- Hide the Transcript checklist items from the student by setting any checklist item where Record Type= ‘Enrollment History Requirement’ to Visibility = ‘Checklist Private’ for the relevant Application.
- Edit the actual Enrollment History requirement completeness (change the Completes requirement (v2) = false) if the prior document is insufficient.
- Add Ad-hoc requirements for the additional document(s) needed.
Steps for Utilizing ARM for Enrollment and Matriculation Next Steps
Begin by brainstorming any possible Next Steps that would need checklist items created. For example:
- Pay a deposit
- Register for Orientation
- Attend Orientation
- Apply for on-campus housing
- Submit immunization forms
- Provide immigration paperwork
Add any new fields to your org to track fulfilled checklist items. For example, Registered for Orientation or Applied for Housing. Note: If you create new fields, update your Community User Profile(s) so they can access the new field(s) and update any related Page Layouts.
Consider the data points that will complete/fulfill your checklist items and how you will handle data integration (Supplemental Forms, SIS Integration, mass impact tools, manual data population). For example:
- Supplemental forms
- Payment Connectors
- SIS integration
- Manual data changes
- Dataloader/Workbench/DemandTools imports
Follow either option 1 or option 2, outlined below:
Option 1: Replace your existing checklist items with a post-admit set of checklist items
- Create new Application Type picklist values for admitted students, i.e., Admitted Undergraduate, Admitted Graduat
- Navigate to Setup and select Object Manager.
- Select the Application object.
- Under Custom Fields & Relationships select Application Type.
- Under Picklist Values click New.
- Add a value for your new application type.
- Click Save.
Repeat this for the Requirement Rules (v2) object, adding the same picklist values from above:
- From Object Manager, select the Requirement Rules (v2) object.
- Under Custom Fields & Relationships select Application Type.
- Under Picklist Values click New.
- Add a value for your new application type. Note: The values on these pick lists must be identical.
- Click Save.
- Create new Requirement Rule(s) for the new Application Types.
- Create related App Requirement(s) for each Requirement Rule.

- Update your Relevant Field to account for scenarios when the checklist items should change to the new. Be sure to take into consideration:
- Exceptions (when the checklist should not change)
- Complexity of Requirement Rules per program/campus/level, and the timing of when the checklist is being refreshed.
- Should your new checklist items happen after Decision View Date/Time is populated, after Decision Publish Date/Time has occurred, etc.? You don’t want students to see the new checklist items before their decision letter.
- If your Relevant Field is a formula and approaching the 3,900 Salesforce character limit, consider splitting the formula into multiple formulas and consolidating each result in a 3rd field.
- You can add Ad-hoc checklist items and the checklist items populated via ARM.
Option 2: Add additional item(s) to your existing checklist items via Ad Hoc requirements
- If one doesn’t already exist, create an Ad Hoc Requirement Rule.
- Add Ad Hoc to the Application Type picklist on the Requirement Rules (v2) object.
- Create App Requirements for all post-admission items under your Ad Hoc Requirement Rule.
- Utilize Flow to populate the NewRequirement field on the Application. For details, see Adding Ad-hoc Requirements to an Application.
- If you are using Ad Hoc requirements to append to existing checklist items, you can base the FlowStart Conditions on any factors that your institution deems relevant – specific data captured via the Application Review record, values on the application, or even just universally adding item(s) to all admitted students.
- If you are using Ad Hoc requirements to add to checklist items (generated in Option 1), i.e., updating the Application Type after the point of admission, you can personalize the checklist by configuring automation based on specific data points that aren’t already addressed in the student’s Requirement Rule.
In this scenario, all admitted students would already have X checklist items from the requirement rule, so the ad hoc item(s) are added to those checklist items, such as Copy of Passport in the image below. Any ‘universal’ checklist items would already be populated via the App Requirements attached to the Requirement Rule.