Managing Application Forms
Viewing all the fields used in your Application
The Visualforce Page ' ApplicationFormFields' (App Form Inventory Tool) allows you to display the sections, fields and related information from your published Application Forms.
You can use this Visualforce page to:
- Troubleshoot errors related to your Application by quickly reviewing any Conditional Visibility criteria on Forms, Sections or Fields.
- Review which fields are currently being used on the different forms so you can ensure that you are referencing the correct fields
- Use this as a guide to add the appropriate permissions for your Online Application Community Users.
Sections
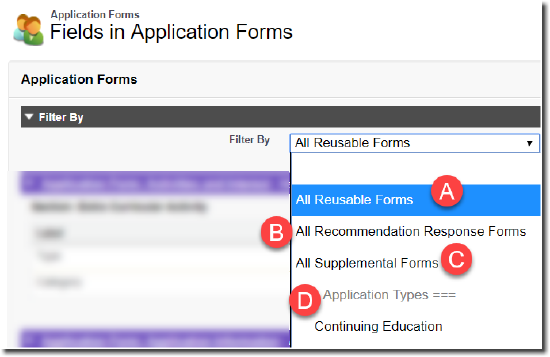
Begin by selecting an Application Form from the Filter By picklist at the top of the page. At the top of the list you will be able to select from the following:
- All Reusable Forms display all forms that have Reusable checked, Recommendation NOT checked, and Supplemental Button Text, Supplemental Headline, and Supplemental Subtext is BLANK.
- All Recommendation Response Forms display forms that have Recommendation checked.
- All Supplemental Forms display all forms that have Recommendation NOT checked, Supplemental Button Text, Supplemental Headline, and Supplemental Subtext is NOT BLANK.
- Application Forms display on separate pages if there are more than 50 application forms.
- These are followed by a list of Application Forms that are NOT Reusable, Recommendation or Supplemental forms.
The top of the page will display the Application Form selected, along with a list of each card/section included in the form. Click the Section Link to jump to that card/section:
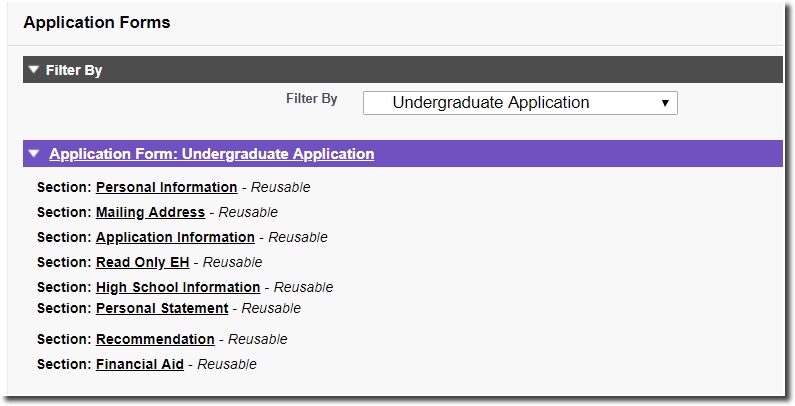
Below is detailed information on each Card in your form, including any reusable forms that are part of the main form. The following details will be displayed:
-
Form name
- Reusable cards are indicated with Reusable in the Section Name.
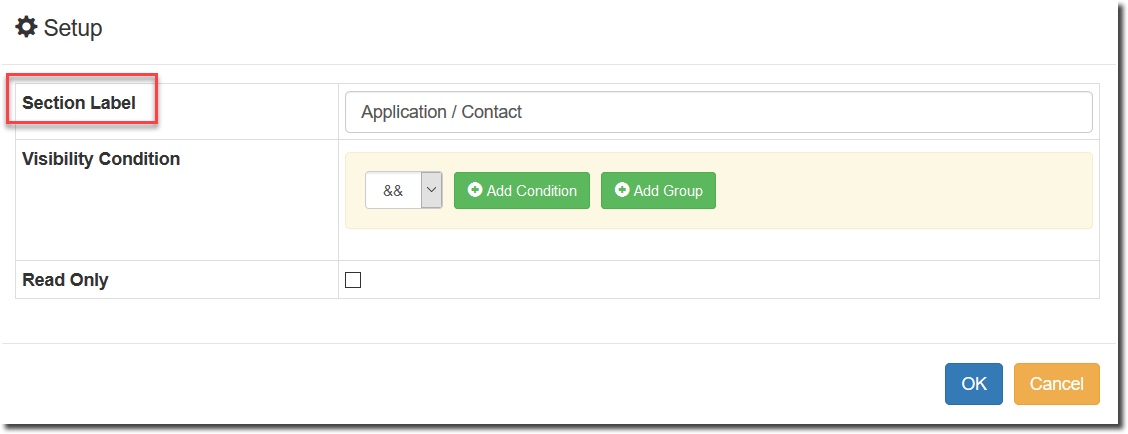
Note: Form name is generated by using the Section Label information located in the FormBuilder. This Section Label is accessed by clicking into the form, then click the gear icon on the top right of the form, then see the Section Label field:
-
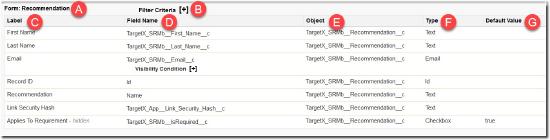
Filter Criteria or Visibility Conditions for the Card/Section (if specified) can be viewed by clicking on the [+] icon. You can use the Show/Hide All Criteria button to display all your criteria.
- Label
- Required fields display with a *
- Hidden fields display with ‘hidden’ after the field name
- Read Only fields display with ‘read only’ after the field name
-
Field Name (includes any FIlter Criteria or Visibility Conditions on the field)
- Text fields (Element) will display the text under the Field Name column.
- Object
- Type of Object (e.g. Checkbox, Text)
- Default Value (if specified)
Notes:
- And/Or Criteria will display as follows when viewing Filters and Visibility conditions:
&& is the logical operator for AND
|| is the logical operator for OR
For additional information, see the Salesforce Help & Training article: Formula Operators and Functions
- Clicking on the link on the field name for picklist, radio button, multipicklist, or multicheckbox fields will open a new page that will display the option label, option values, and conditions for the option values if they exist.
- To create a button for viewing the ApplicationFormFields page, please see the July '19 Online Application Upgrade.
Configuring the App Form Inventory tool
Step 1: Create a button for ApplicationFormFields page
To make the ApplicationFormFields visualforce page available to users, you can create a Custom Button and then add the button to the Application Form Layout:
- Navigate to Setup and search for Object Manager.
- Click on the Application Form object.
- Click on Buttons, Links and Actions.
- Click New Button or Link:
- Enter a Label. For example, Application Form Inventory
- Name will default
- Description is optional
- Display Type = Detail Page Button
- Behavior = Display in New Window
- Content Source = Visualforce Page
- Content = ApplicationFormFields [TargetX_App__ApplicationFormFields]
-
Save your changes.
Step 2: Add a new Button to the Application Form Page Layout
- Navigate to Setup and search for Object Manager.
- Click on the Application Form object.
- Click on Page Layouts.
- Click on the appropriate Page Layout, such as Application Process Layout.
- From the Page Layout palette, select Buttons.
- Drag the button you created into the Custom Buttons section of the layout.
- Save your changes.
Step 3: Add permissions for ApplicationFormFields page
- Navigate to Setup and search for Profiles.
- Click on the Profile(s) that should have access to the ApplicationFormFields page.
- Click on Visualforce Page Access.
- Click Edit.
- In the Available Visualforce Pages window, click on the ApplicationFormFields page and select Add.
- Save your changes.
For details on using the App Form Inventory tool, please see: Viewing all the fields used in your Application.