Configuring the Applicant Header
Overview
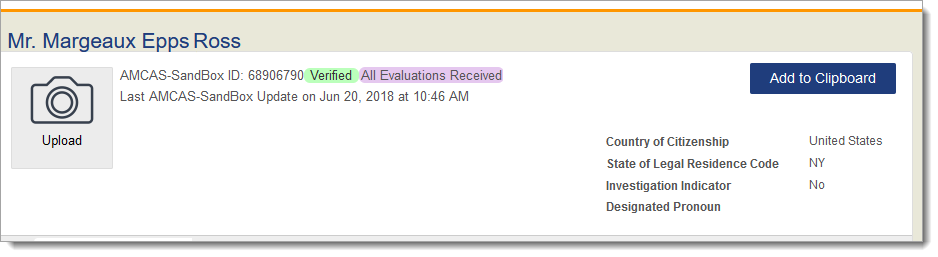
The Applicant Details page contains all data for a single applicant, organized by panels. The Applicant Header sits at the top of the Applicant Details page and displays key demographic information, including:
- Applicant Name
- Applicant Photo
- AAMC ID
- Application Status, which appears as a flag. Many applicants will appear in the Verified status, but schools have the option to receive a small subset of application data for applicants who have submitted to AMCAS but are not yet verified. These applicants will appear in the Received application status.
- An All Evaluations Received flag (highlighted in lilac) appears if all letters of evaluation have been received.
- The most recent date and time that information was transmitted from AMCAS to WebAdMIT for AMCAS (i.e., Last AAMC Update)
Additionally, the top right corner of the Applicant Header provides navigation options to move between applicants.
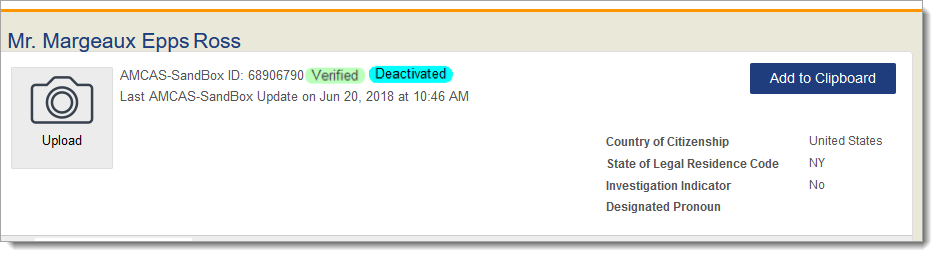
Note that when an applicant initially selects one designation and then changes to another, a "Deactivated" flag will display in the applicant header. This flag indicates that the initial designation is no longer active; it does not indicate that the applicant is deactivated.
Gaining Access to This Feature
Uploading an Applicant Photo
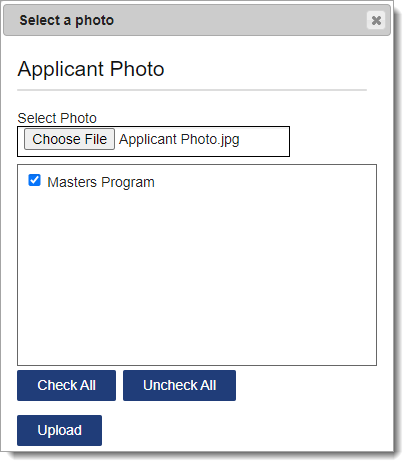
You can upload a photo in .jpg, .gif, .bmp, and .png formats. We recommend a size of 640x480 pixels. Note that photos are optional and are not provided by the CAS.
- From the Applicant Details page, click Upload in the Applicant Header section.
- Click Choose File to find and select the photo on your computer.
- WebAdMIT for AMCAS automatically selects the programs that the applicant applied to. Users will only see the photo for the programs you select and they have access to. If necessary, uncheck any programs.
- Click Upload.
Managing Applicant Photos
You can manage applicant photos on the Applicant Details page for each applicant.
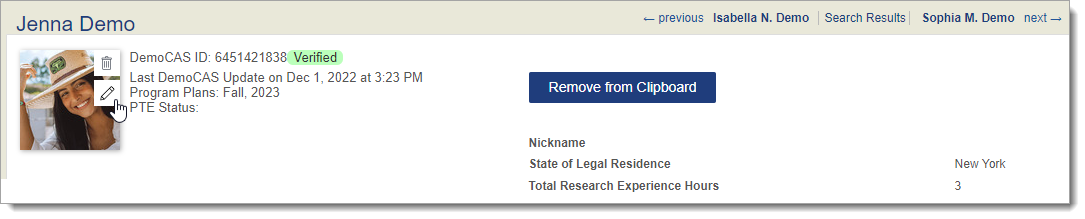
Editing Photos
Use the pencil icon to edit the photo.
Deleting Photos
Use the trash icon to delete a photo.
Adding Applicant Headers
WebAdMIT for AMCAS allows you to select up to 5 fields that display in the Applicant Details Page header.
- Using the Menu Bar, open the Management panel, then click Applicant Header.
- Click Add Field to Header.
- From the Select a Field drop-down list, select a category and field. We recommend including the fields that are only available in the Applicant Header (and not within any panels), including:
- Investigation Indicator
- State of Legal Residence Code
- Country of Citizenship Code
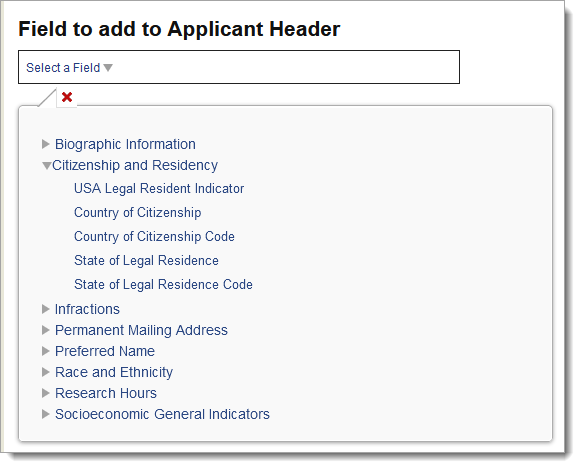
- Select the associated programs, then click Submit.
Note: we recommend adding the Total Research Hours field to the Applicant Header for the Combined Medical Degree programs. This field only applies to Combined Medical Degree programs and is visible in the Applicant Header even when there is no data to display; the field will not appear for other programs.
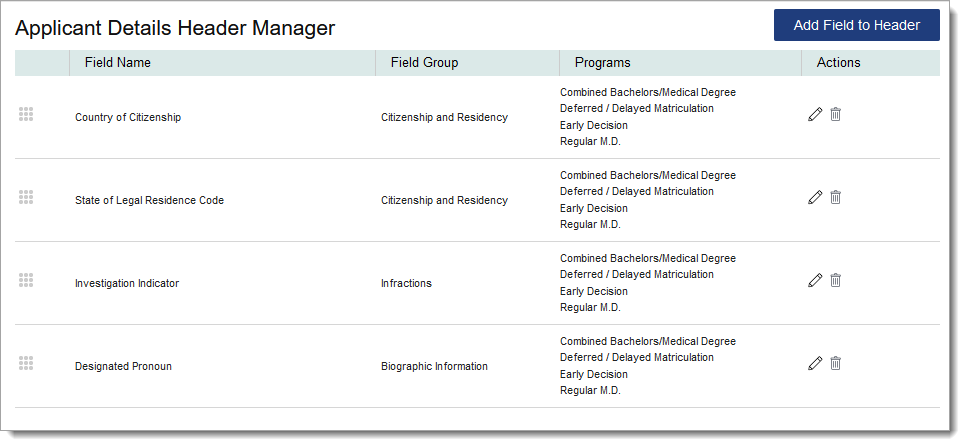
Managing Header Fields
To manage existing Applicant Header fields, click Applicant Header from the Menu Bar.

Reordering Fields
Use the grip icon to drag and drop the fields into the preferred order.
Editing Fields
Use the pencil icon to edit a field.
Deactivating Fields
Use the trash icon to deactivate a field.